Fatimah's Traditional Malay Baju Kurung

I have always been fascinated by the cultures and traditions of any country, especially my own Malaysian culture, of course.
Fatimah is my Mum, and this baju kurung was how she taught it to me.
I remember my sisters and I, even until today, would always get so immersed with the stories our Mum, would tell us about her life when she was young growing up in Muar, in the state of Johor in the 1940s and 1950s.
The traditional baju kurung was one of the first projects I learnt to make from my Mum. Sewing at the time was always primarily a necessity not as much a hobby. It still amazes me how they used to make the baju kurung completely by hand. We will definitely be using the sewing machine as much as possible for this project!
There is so many information now on how to make the baju kurung in books and on the internet. However, the difference for this project is that I will be making it as how my Mum taught me, which was how her mother taught her over the generations.
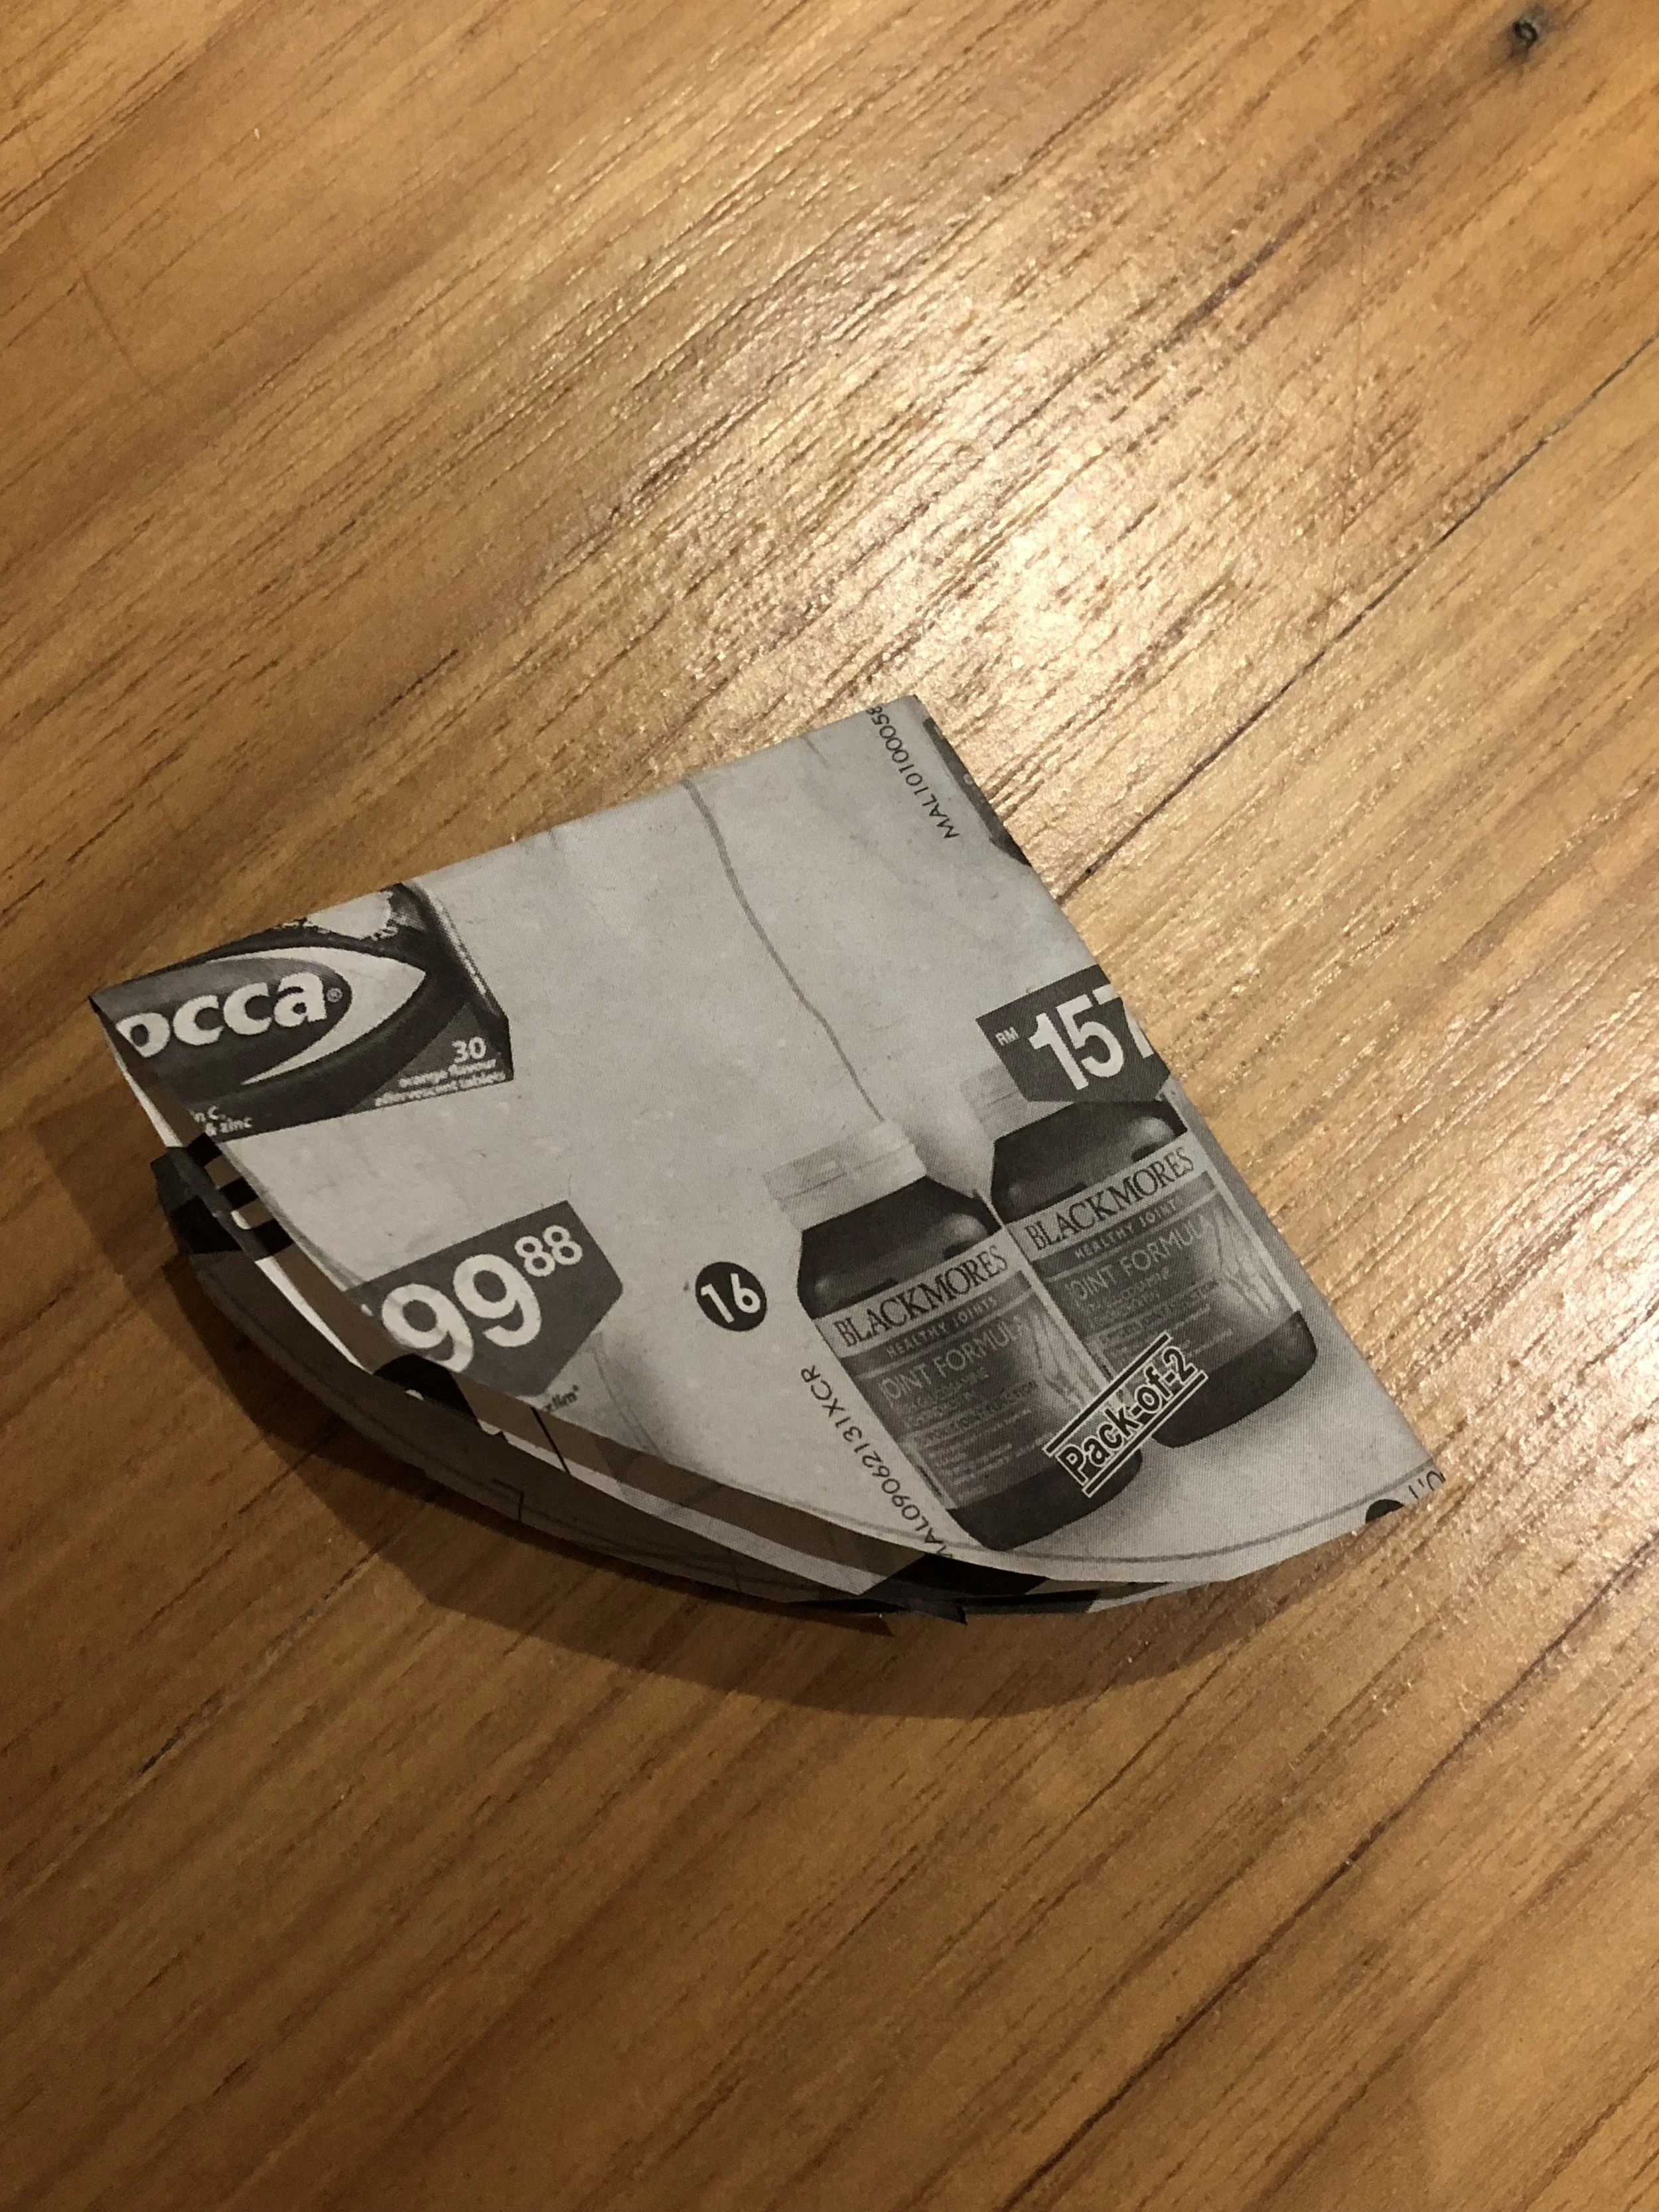
I will be using some of the methods she used during the time, such as when paper was not so accessible, so newspapers were used instead for paper patterns etc.
While measurements were often made with the fingers, for example, the distance between the tips of your first finger and your thumb (sejengkal), the distance of the lines of your fingers etc. I will definitely be using the normal inches and cm for this project! During my Mum’s time, a current favourite baju kurung is often used as a template for the new baju kurung they make.
This project was definitely interesting to make but may not be suitable for beginners. It is important to follow the instructions closely.
The Tulang Belut embroidery was sewn at the neckline. While traditionally a double or single thread is used, the “current” me opted to use a much thicker embroidery thread as while I really wanted to do it I just don’t have the luxury of time as they had during my Mum’s younger days, as she always says. Admittedly, I am not as patient as I was when I first made this embroidery in my late teens.
I made this traditional baju kurung for my then 12-year-old daughter.
All measurements for the Baju include a 1 inch (2.5 cm) seam allowance.
Enjoy!

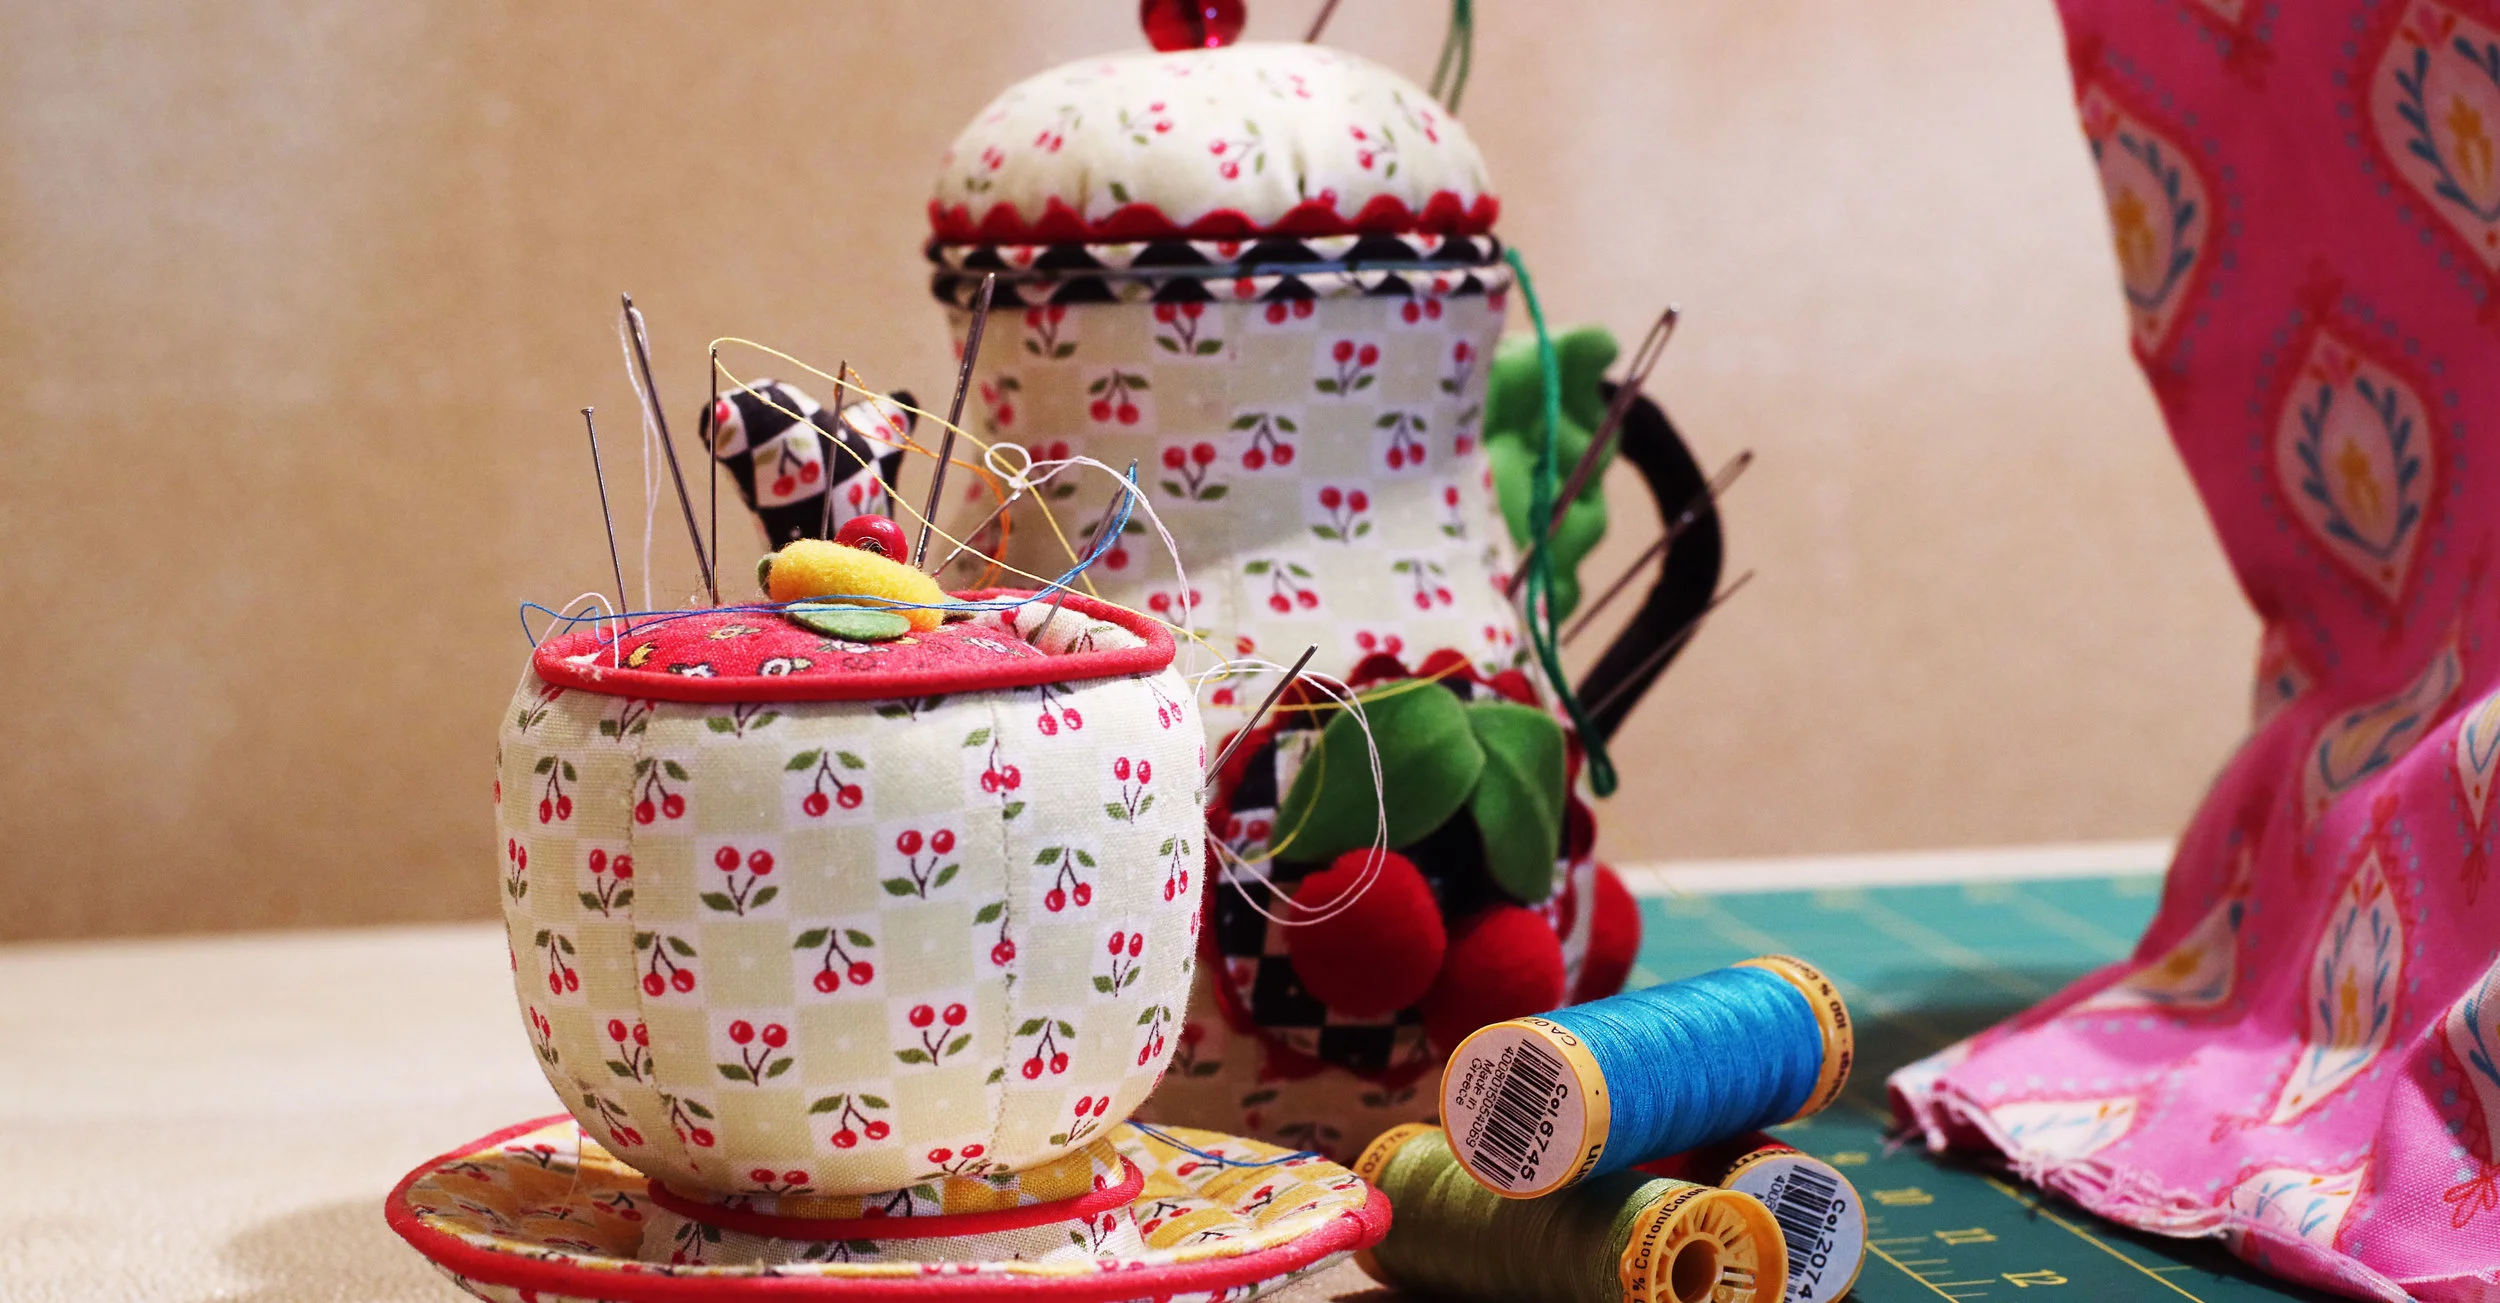
Materials Needed
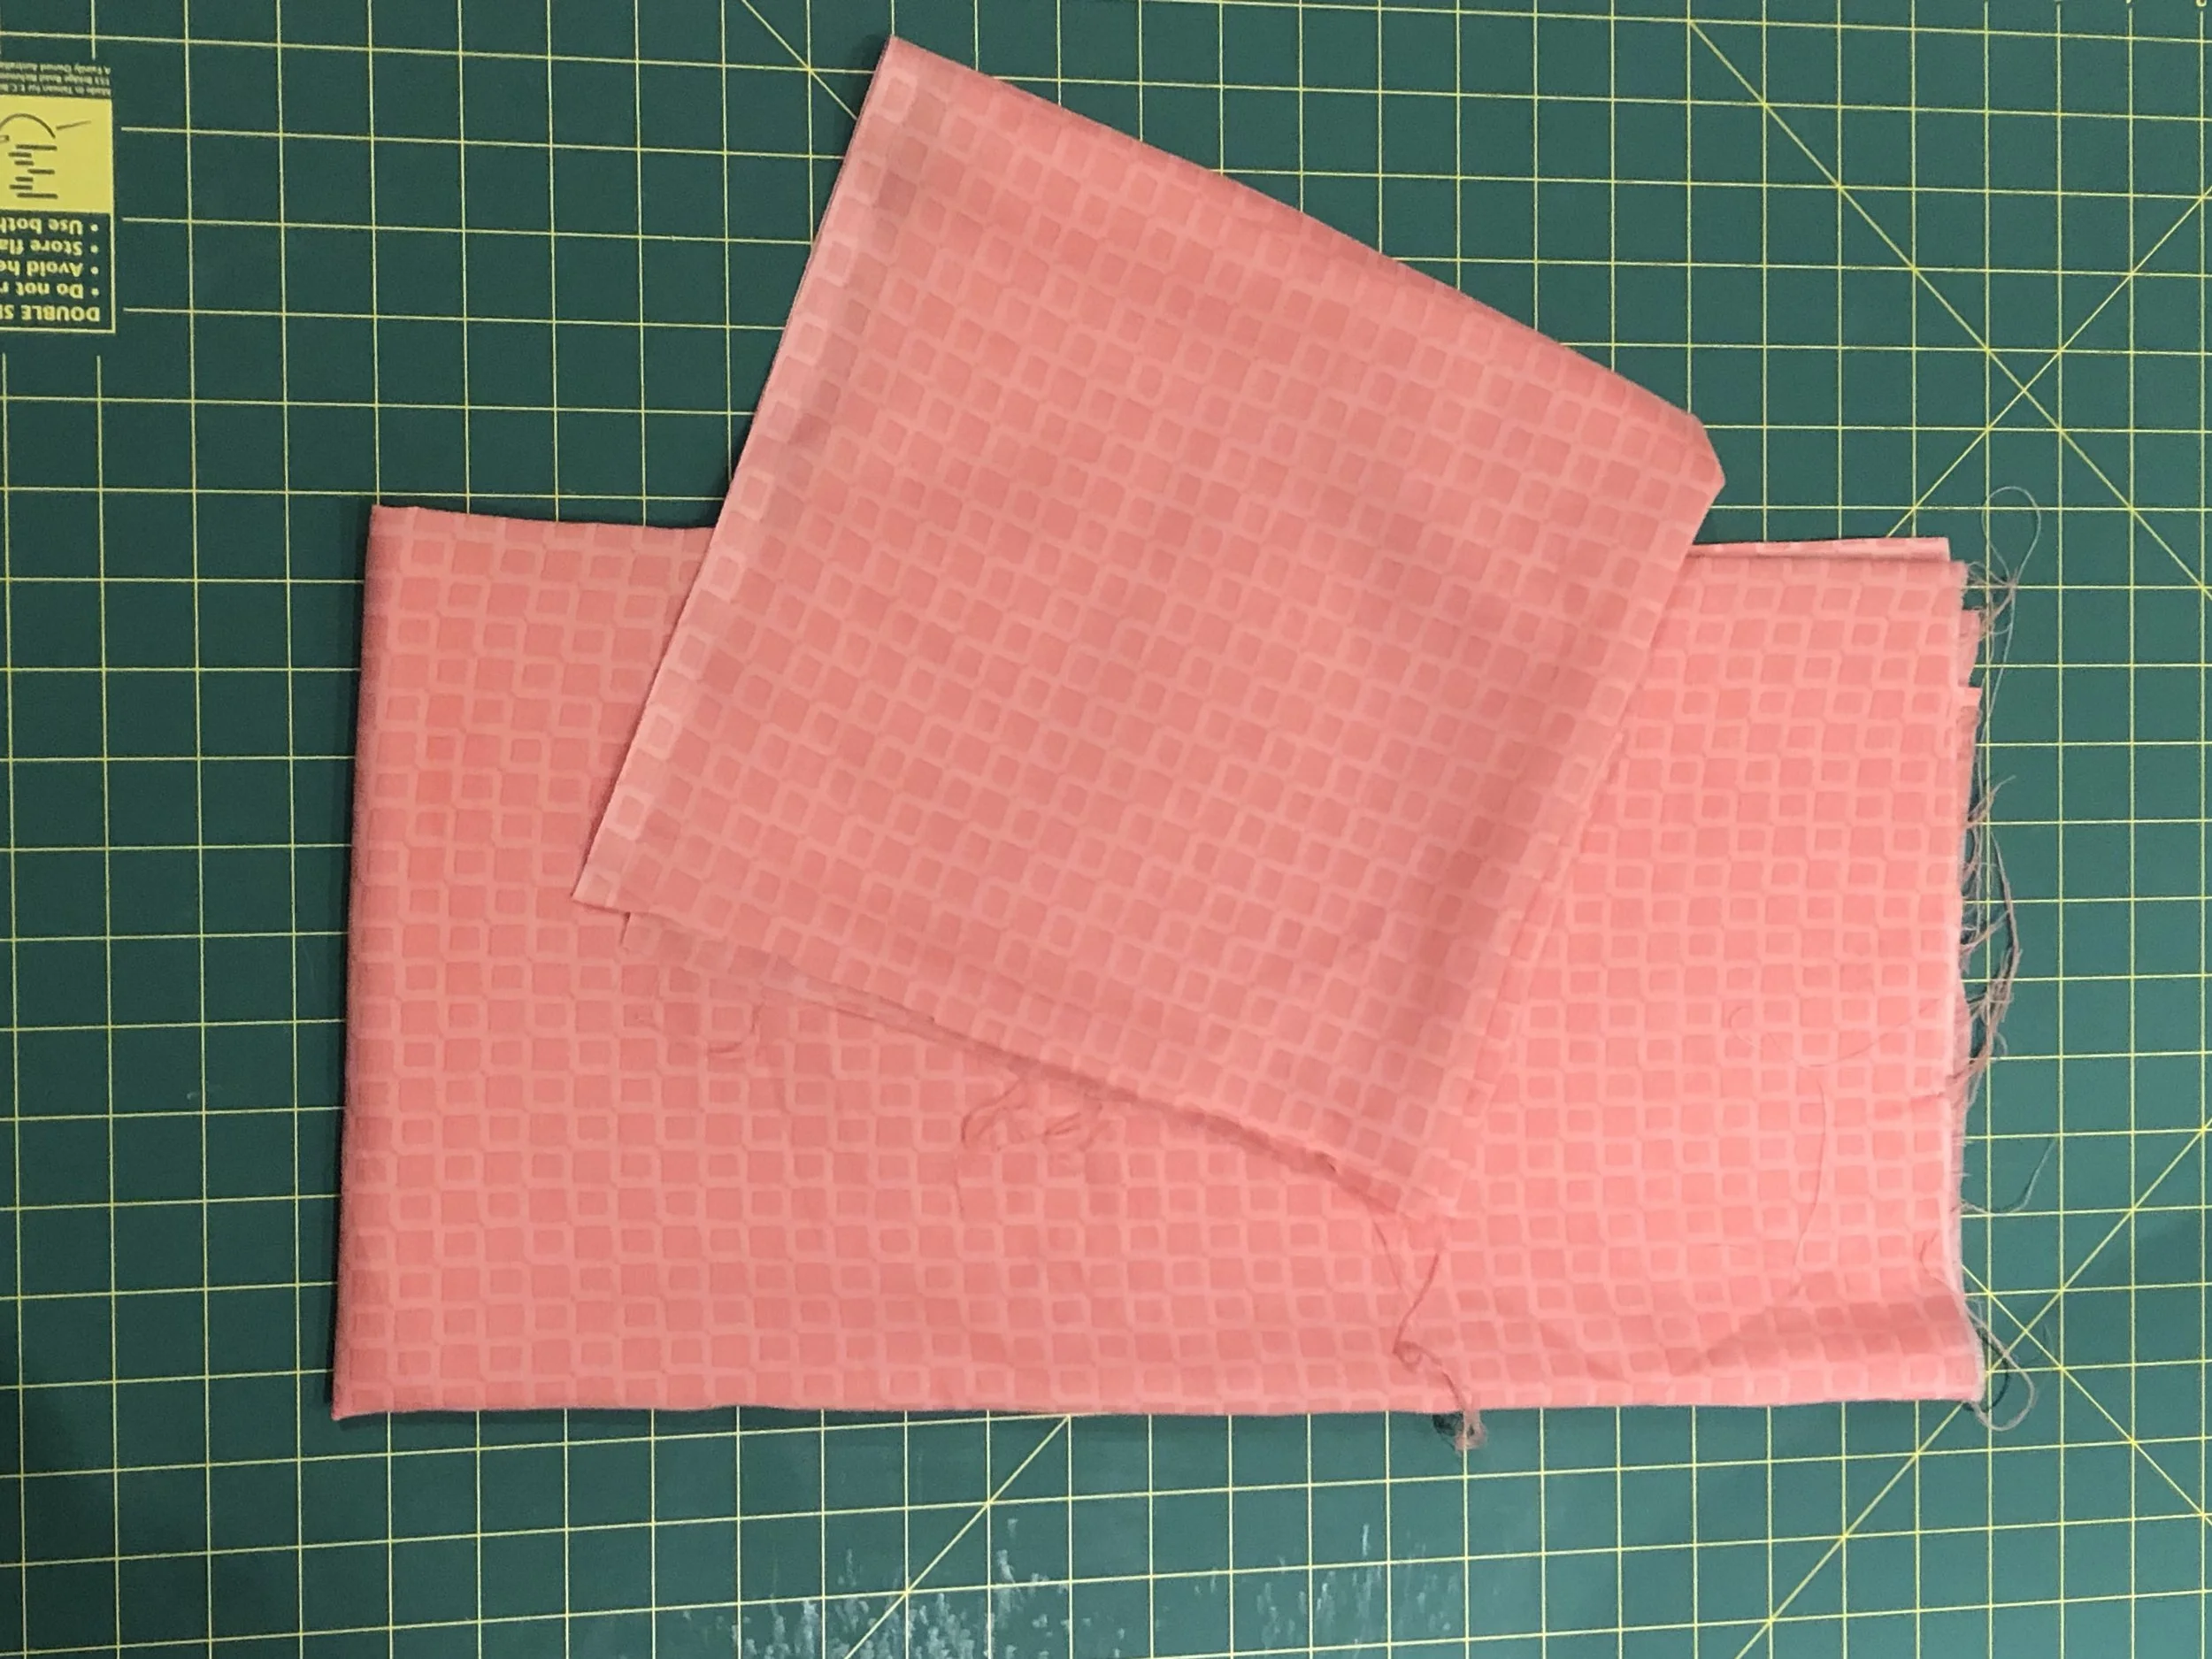
2 metres Floral/Printed Cotton for the baju top
2 metres Checkered/plain/batik for the skirt/sarong
33 inches (84 cm) Elastic for the waist
A simple button
Sections for the Baju at a glance

How to measure for the Paper
Total Body Circumference
Now to begin, measure the widest part of your body. Run through the measuring tape with this length up and down from your shoulders down to your knees, determining the most comfortable fit for you.
For my daughter it is 41 inches (104 cm).
Sleeves
The sleeves for the Baju Kurung is rectangular in shape. Measure from the shoulder to just below the wrist for length. Next get a comfortable and loose measurement for the width.
In this case, my daughter's measurements are 13 inches x 22 inches (33 cm x 56 cm)
Shoulder Width
Measured from one end of the shoulder to the next. In this case it is 17 inches (43 cm).
Body Length
Measure from the top of the shoulder to just below the knees. In this case it is 34 inches (86 cm).
Kekek
It is a perfect square and the measurement is standard for kekek. 4 inches x 4 inches (10 cm x 10 cm)
Pesak
This is not as tricky as it looks and just need extra attention. There will be 2 Sets or 1 set for each side. Each set compliments each other where the top part is narrower than the bottom.
Pesak Length
Body Length - Sleeves width halved (completed sleeve will be half front and half back)
34 inches - (13 inches/2)
34 inches - 6.5 inches =27.5 inches (70 cm)
Pesak Width
Total body width - shoulder
41 inches - 17 inches =24 inches
Each Pesak will have the width of 24 divided by 4 (2 sets pesak) = 6 inches (15 cm) each
Pesak Paper Pattern
Cut pattern paper for 27.5 x 6 inches. I have decided to use newspapers for this project paper pattern as how my mother was taught when she was younger.

Step 1
Identify the top right hand side of the Pesak paper pattern as A.

Step 2
Fold in half lengthwise to identify the centre position at the bottom. Mark clearly.This will be position B. The centre top will be position C.
Unfold.

Step 3
Join position A to B. A will be slightly lower as position C needs to intersect with the left bottom edge corner as shown.


Step 4
Fold to the right aligning the top together. Please ensure that the fold is equal on both sides as shown.
Note: The bottom will not be equal in length.

Step 5
Cut along the length at the fold as shown.

Open the cut pieces. You should now have 2 pieces or 1 set that compliments each other for each side of the pesak as shown.
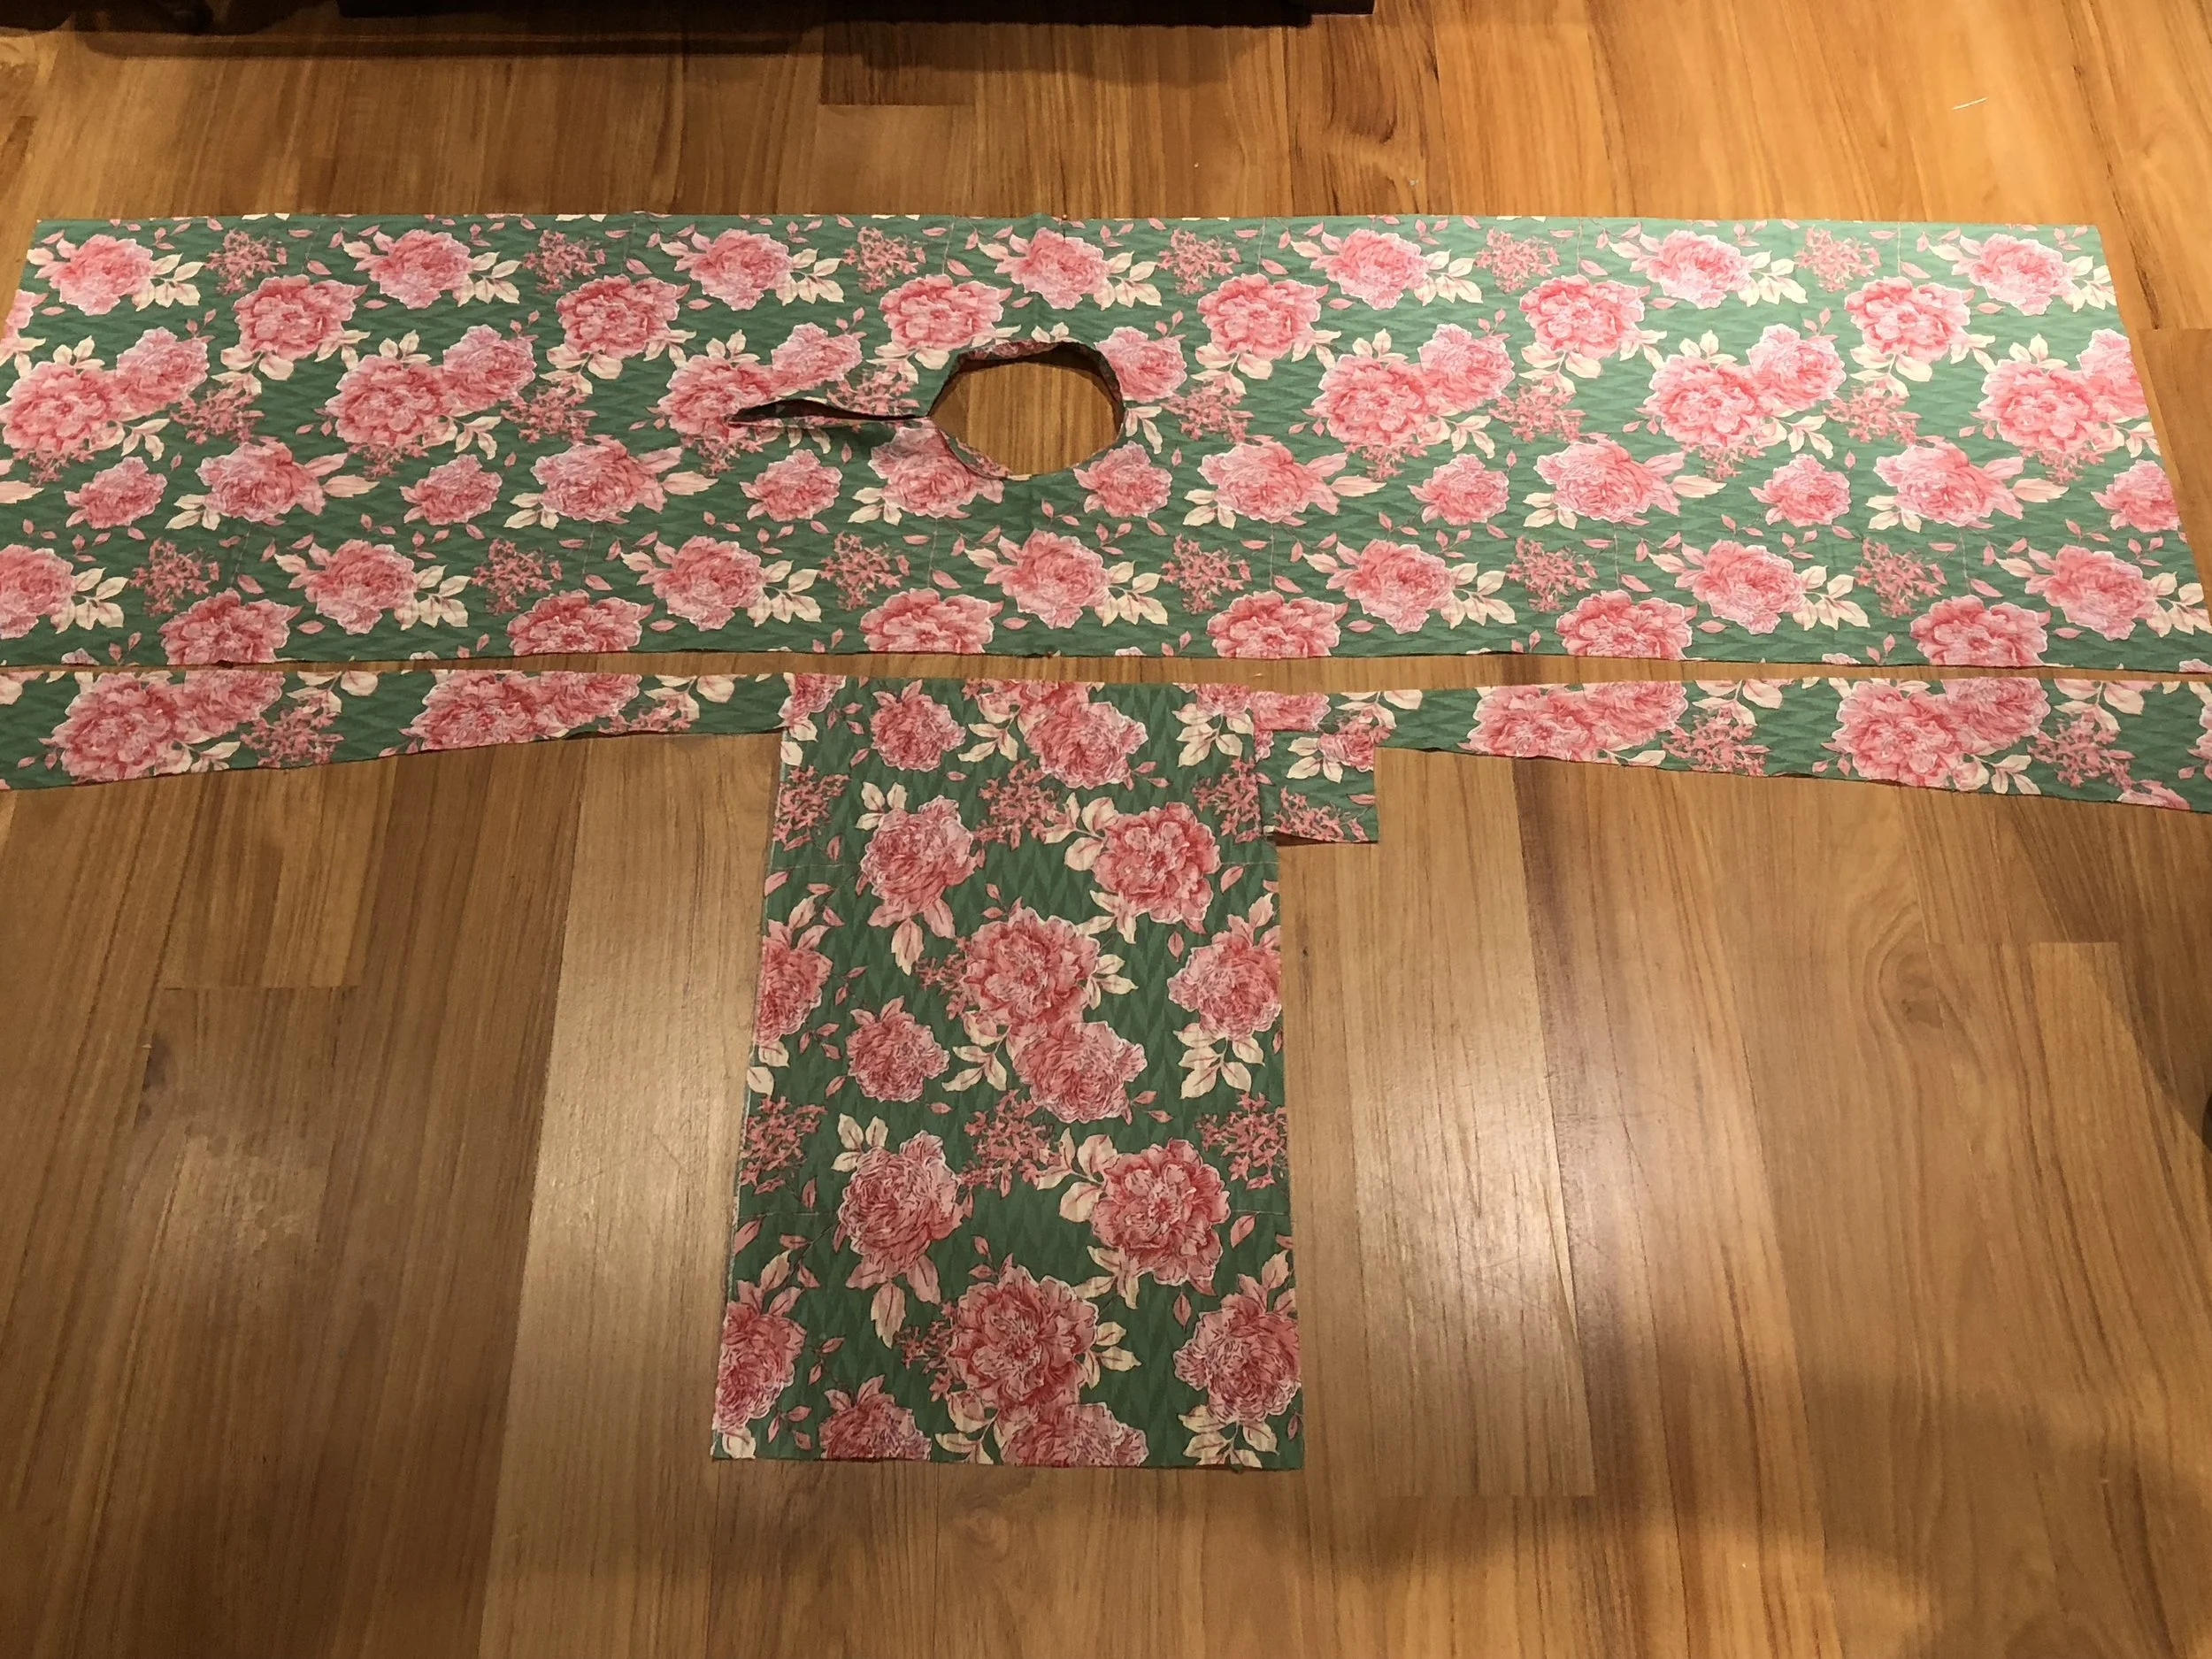
Below are the completed paper patterns for the Body, Sleeves, Kekek and Pesak.

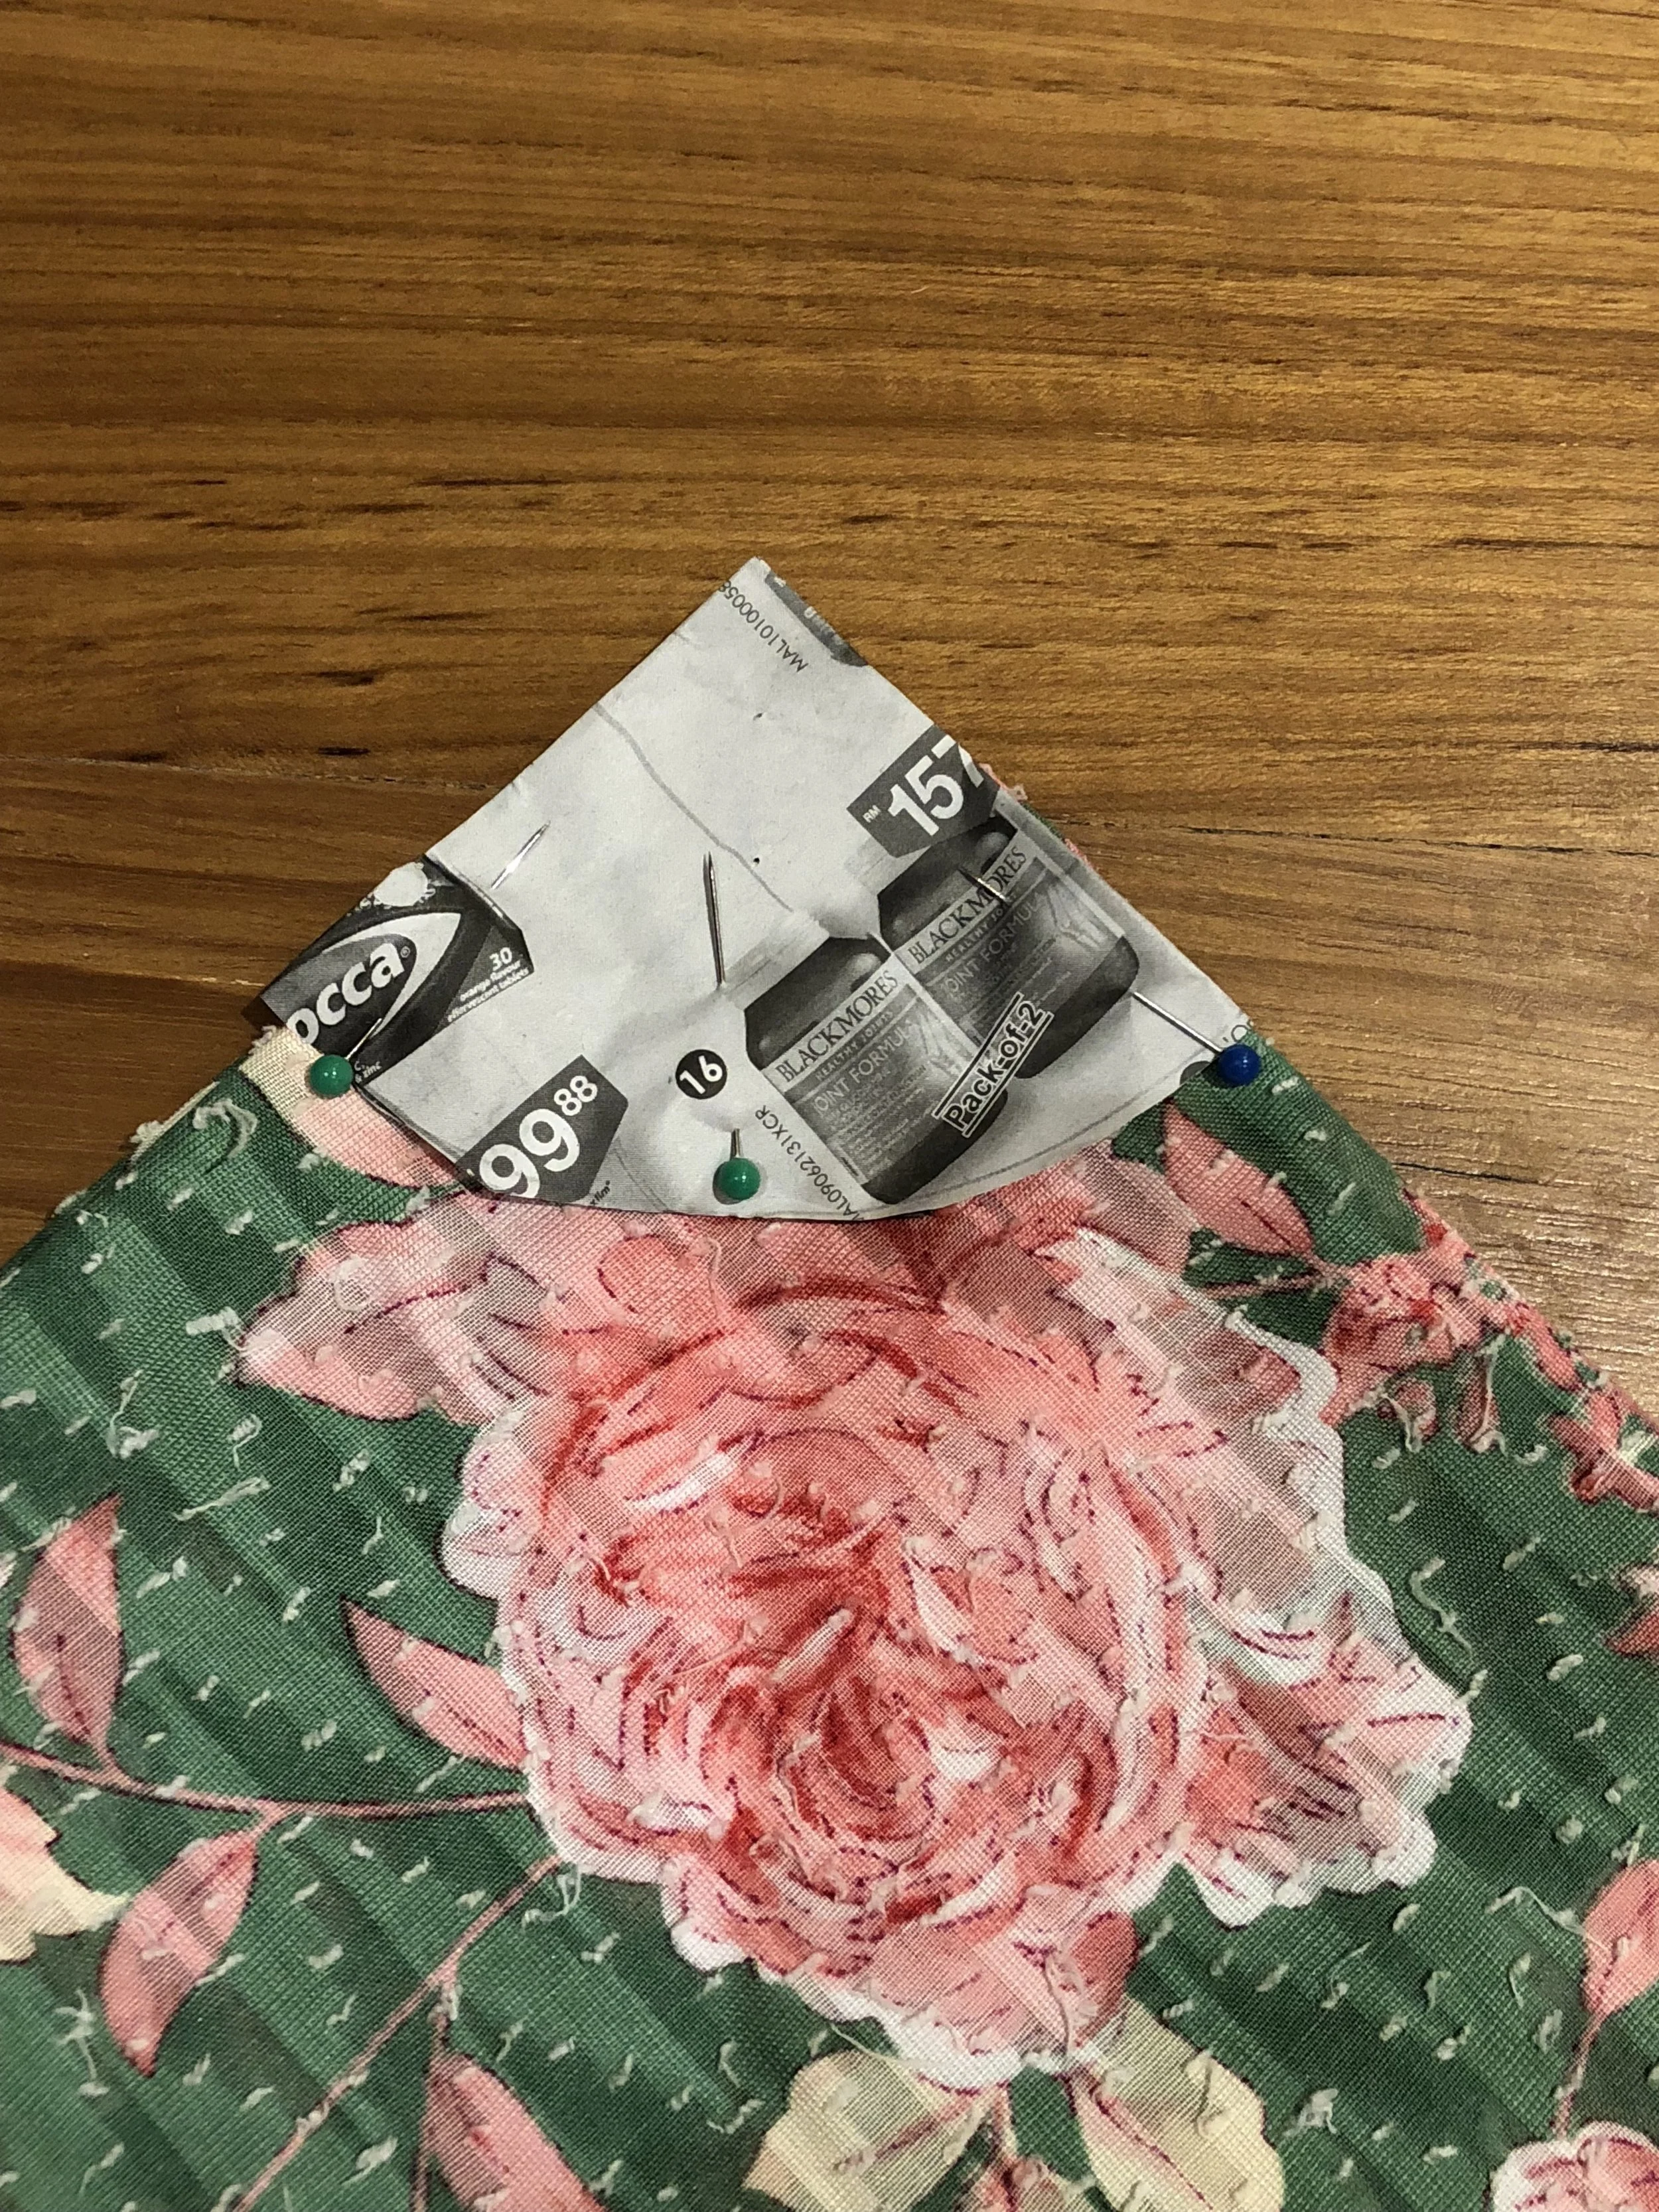
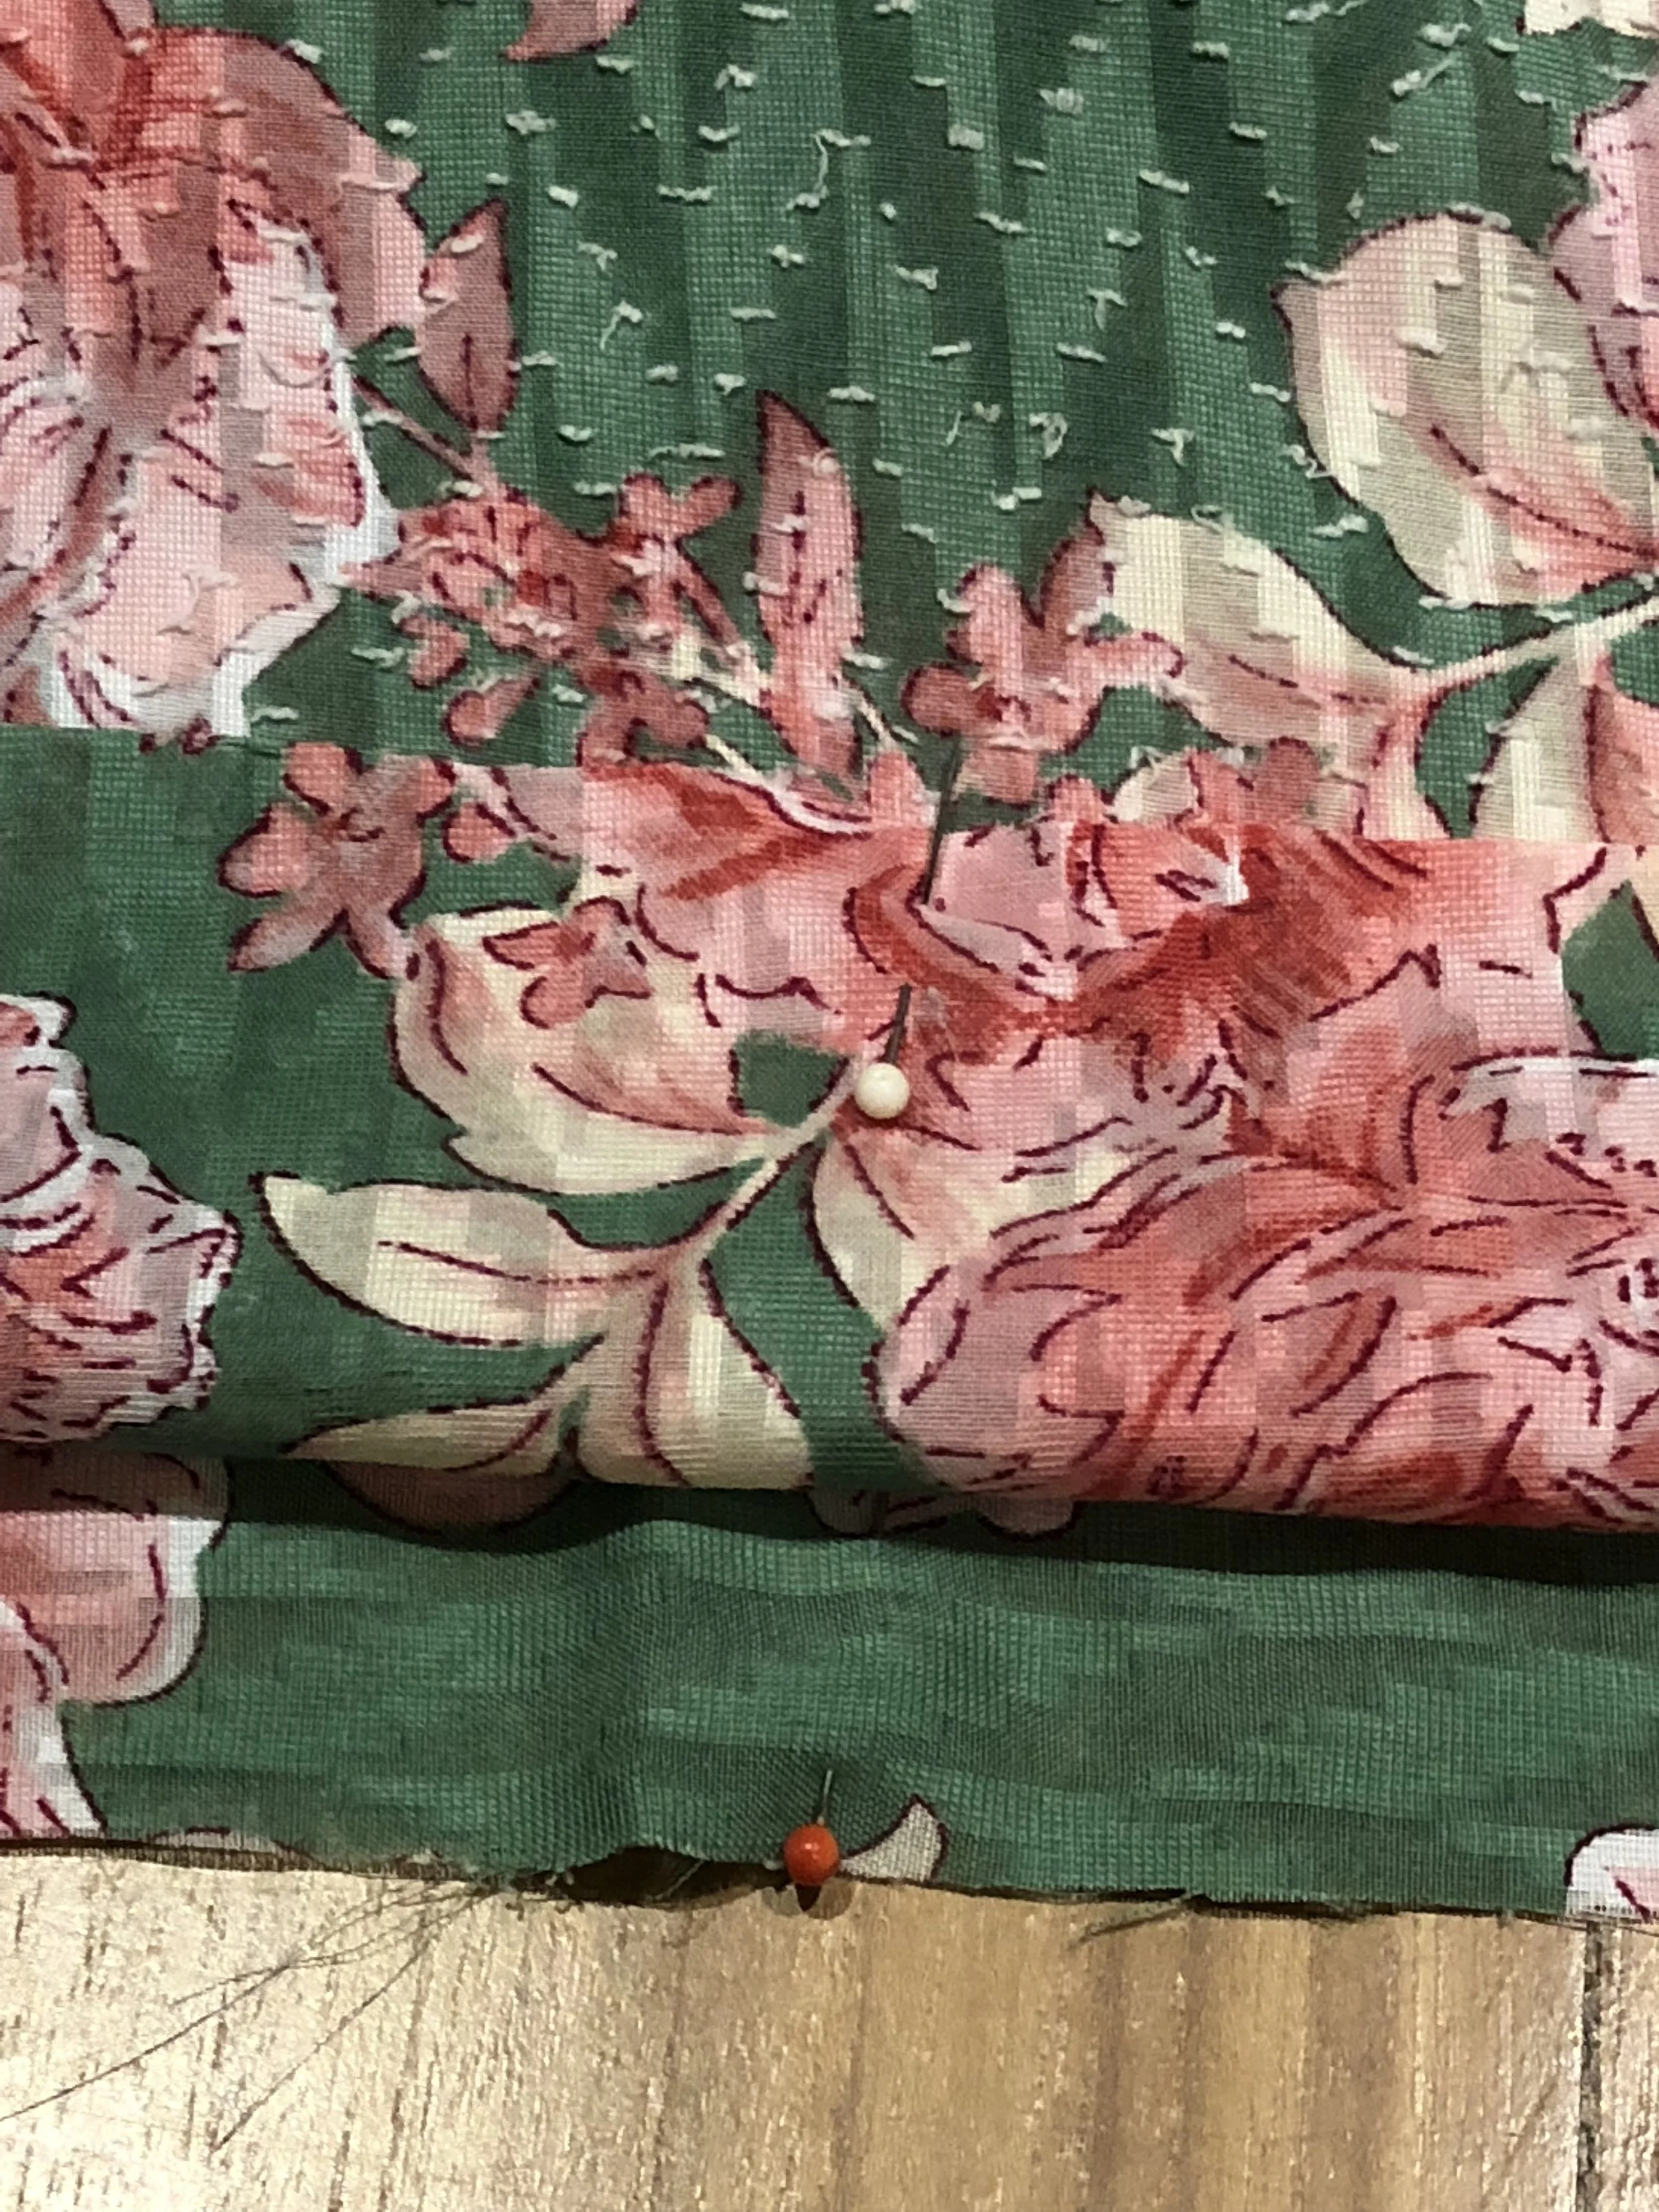
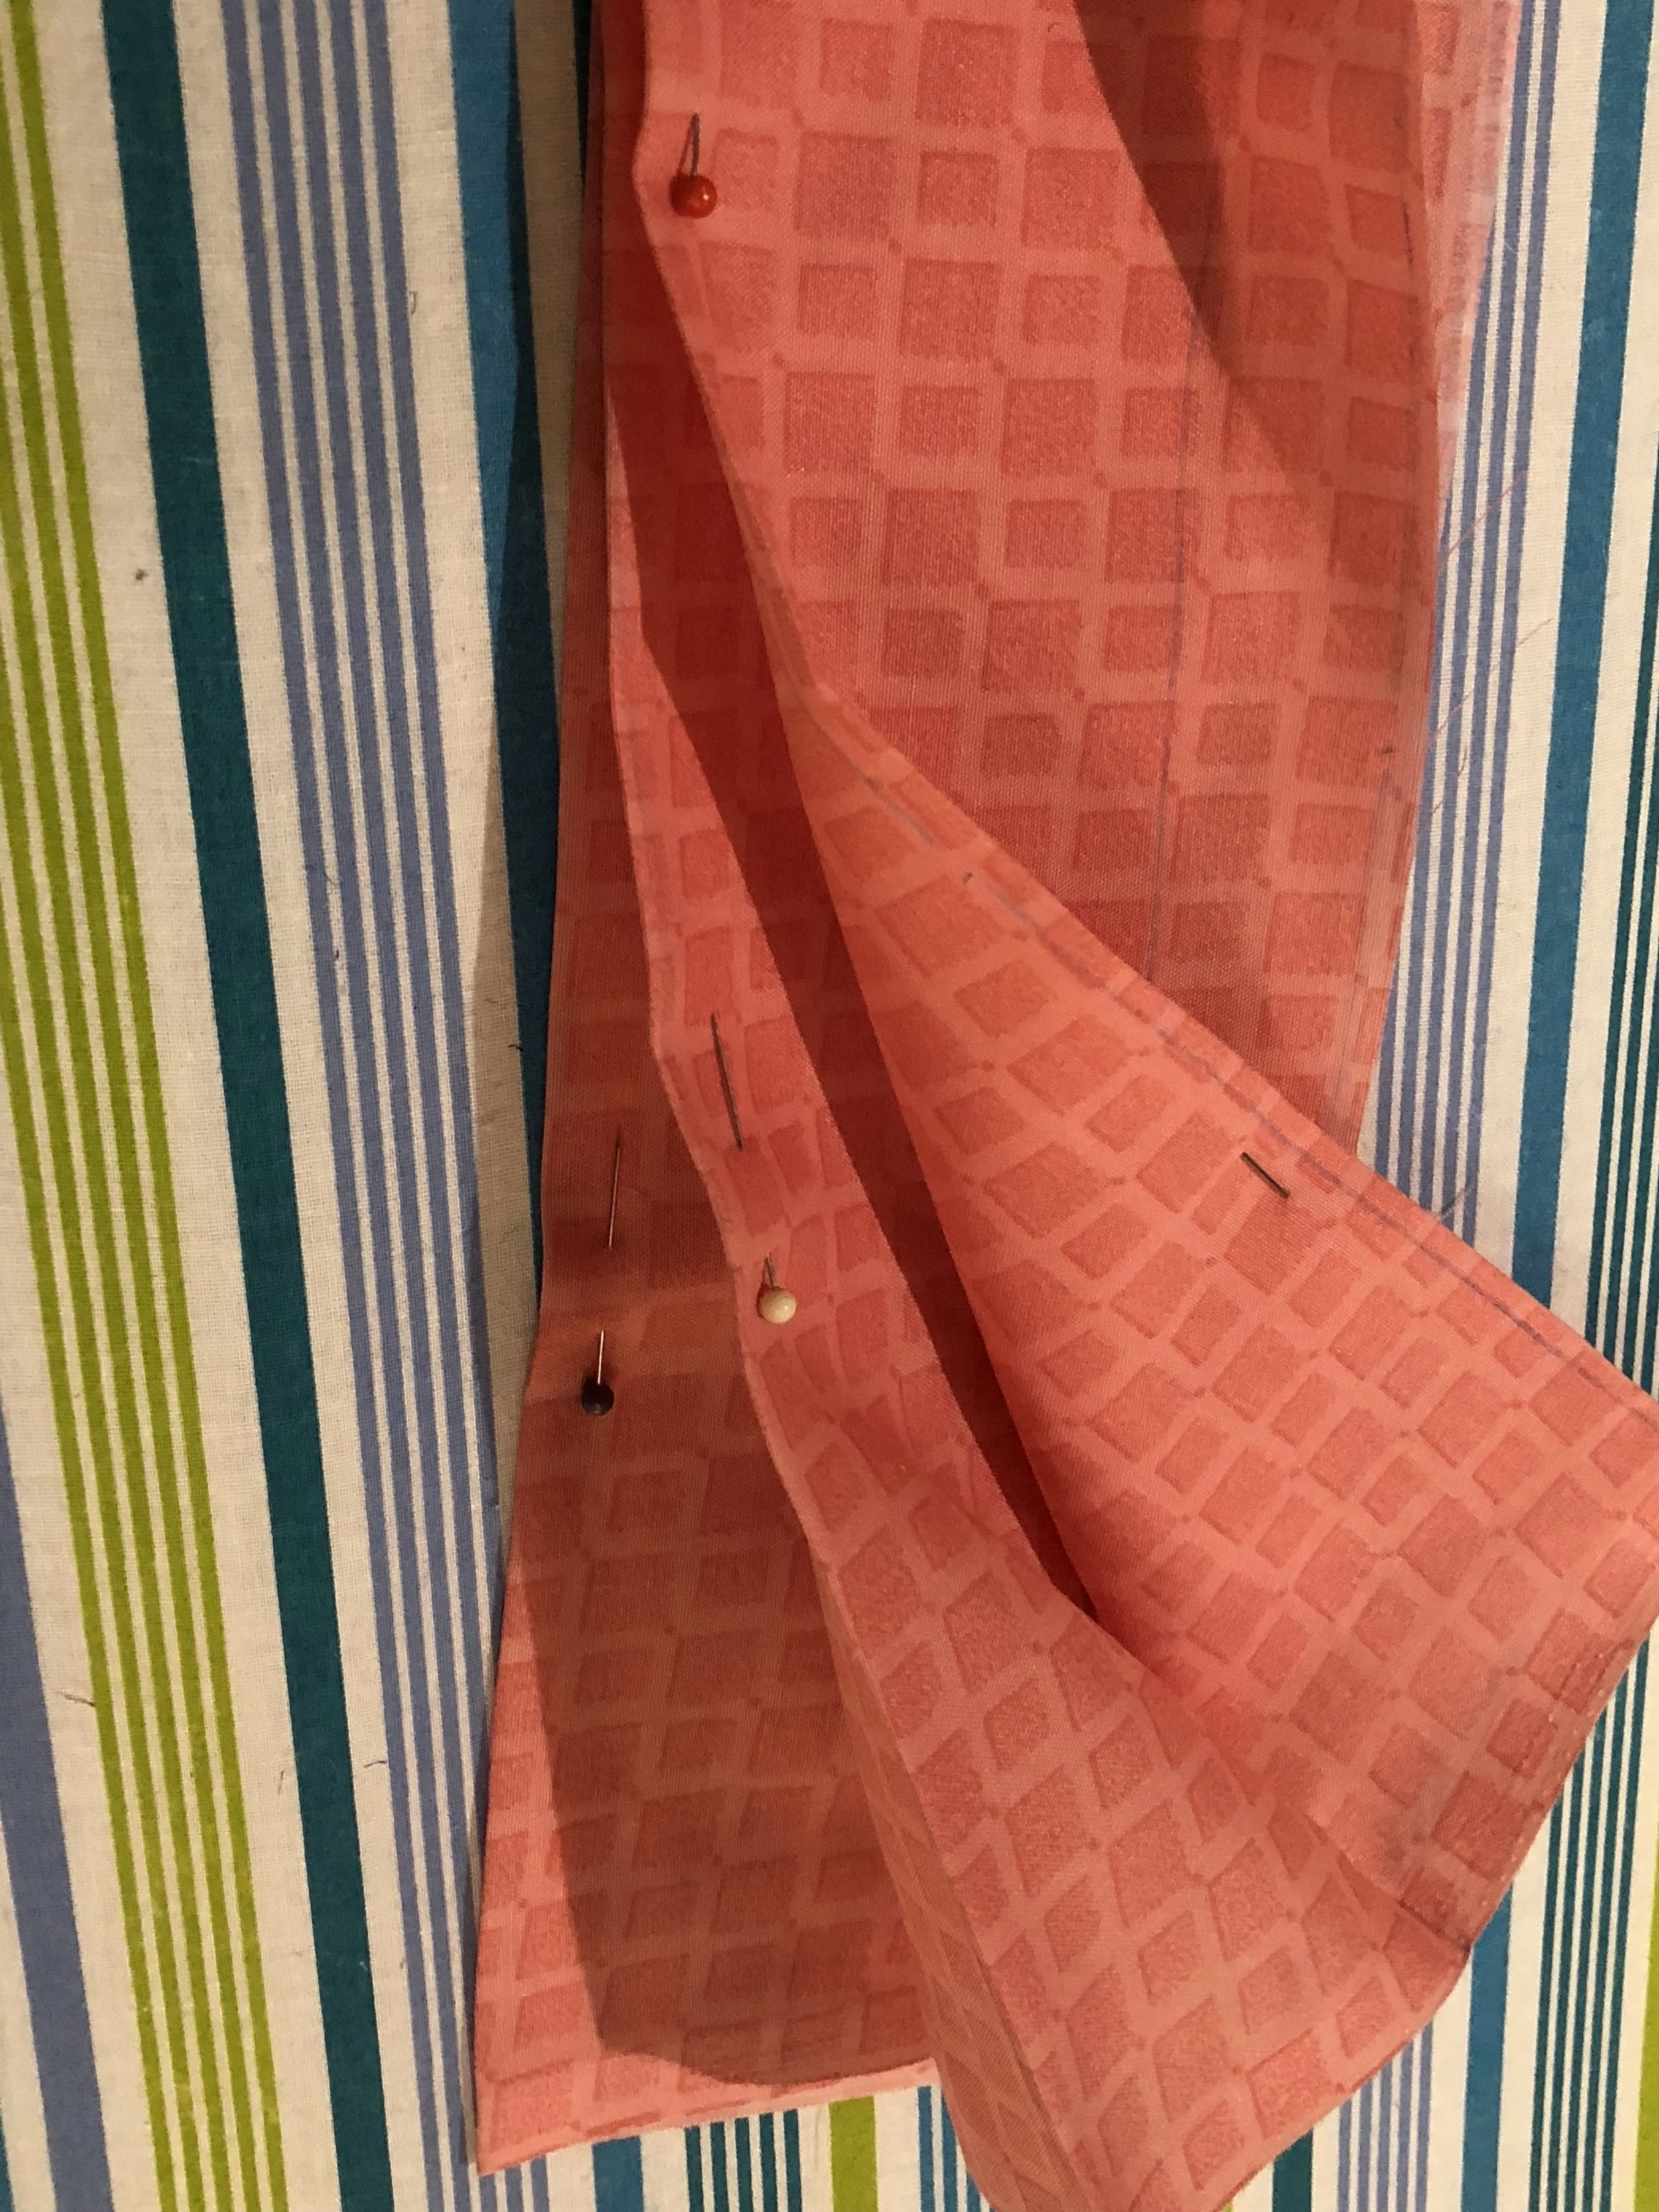
Fold the patterned fabric for the baju in half right sides together. Position the paper patterns as shown.
Only the paper pattern for the body width needs to be positioned at the fold of the fabric.
Pin and cut the fabric following the patterns.


Neck

Measure the length around the neck. My daughter’s neck measures at 15 inches (38 cm). This is when you need to remember the maths you did at school! We need the radius to make a circular hole for the neckline.
So we know the circumference is 15 inches.
C= 2 x 3.14 x r
15 =2 x 3.14 x r
15/6.28 =r
r = 2.4
radius = 2.4 inches (6 cm)
The neck paper should look as shown. Now fold to a quarter. Put aside.

The Baju/Top
The Body
The body for the top should look as below. Please note that the length is now doubled as it was placed at the fabric fold. Now fold at the width and position the bottom edges 2 inches (5 cm) apart as shown. Pin and baste.


Next fold lengthwise in half. Please ensure that they are aligned. Pin to secure position.

Now position the neck paper pattern that was quartered at the folded corner of the body. Pin then Cut as shown.


Once done, open the fabric length-wise again and remove the basting/tacking. Now level /equalise the bottom fabric back. You can now see the neckline opening.
The side with the lower part of the neckline is now the front of the baju.
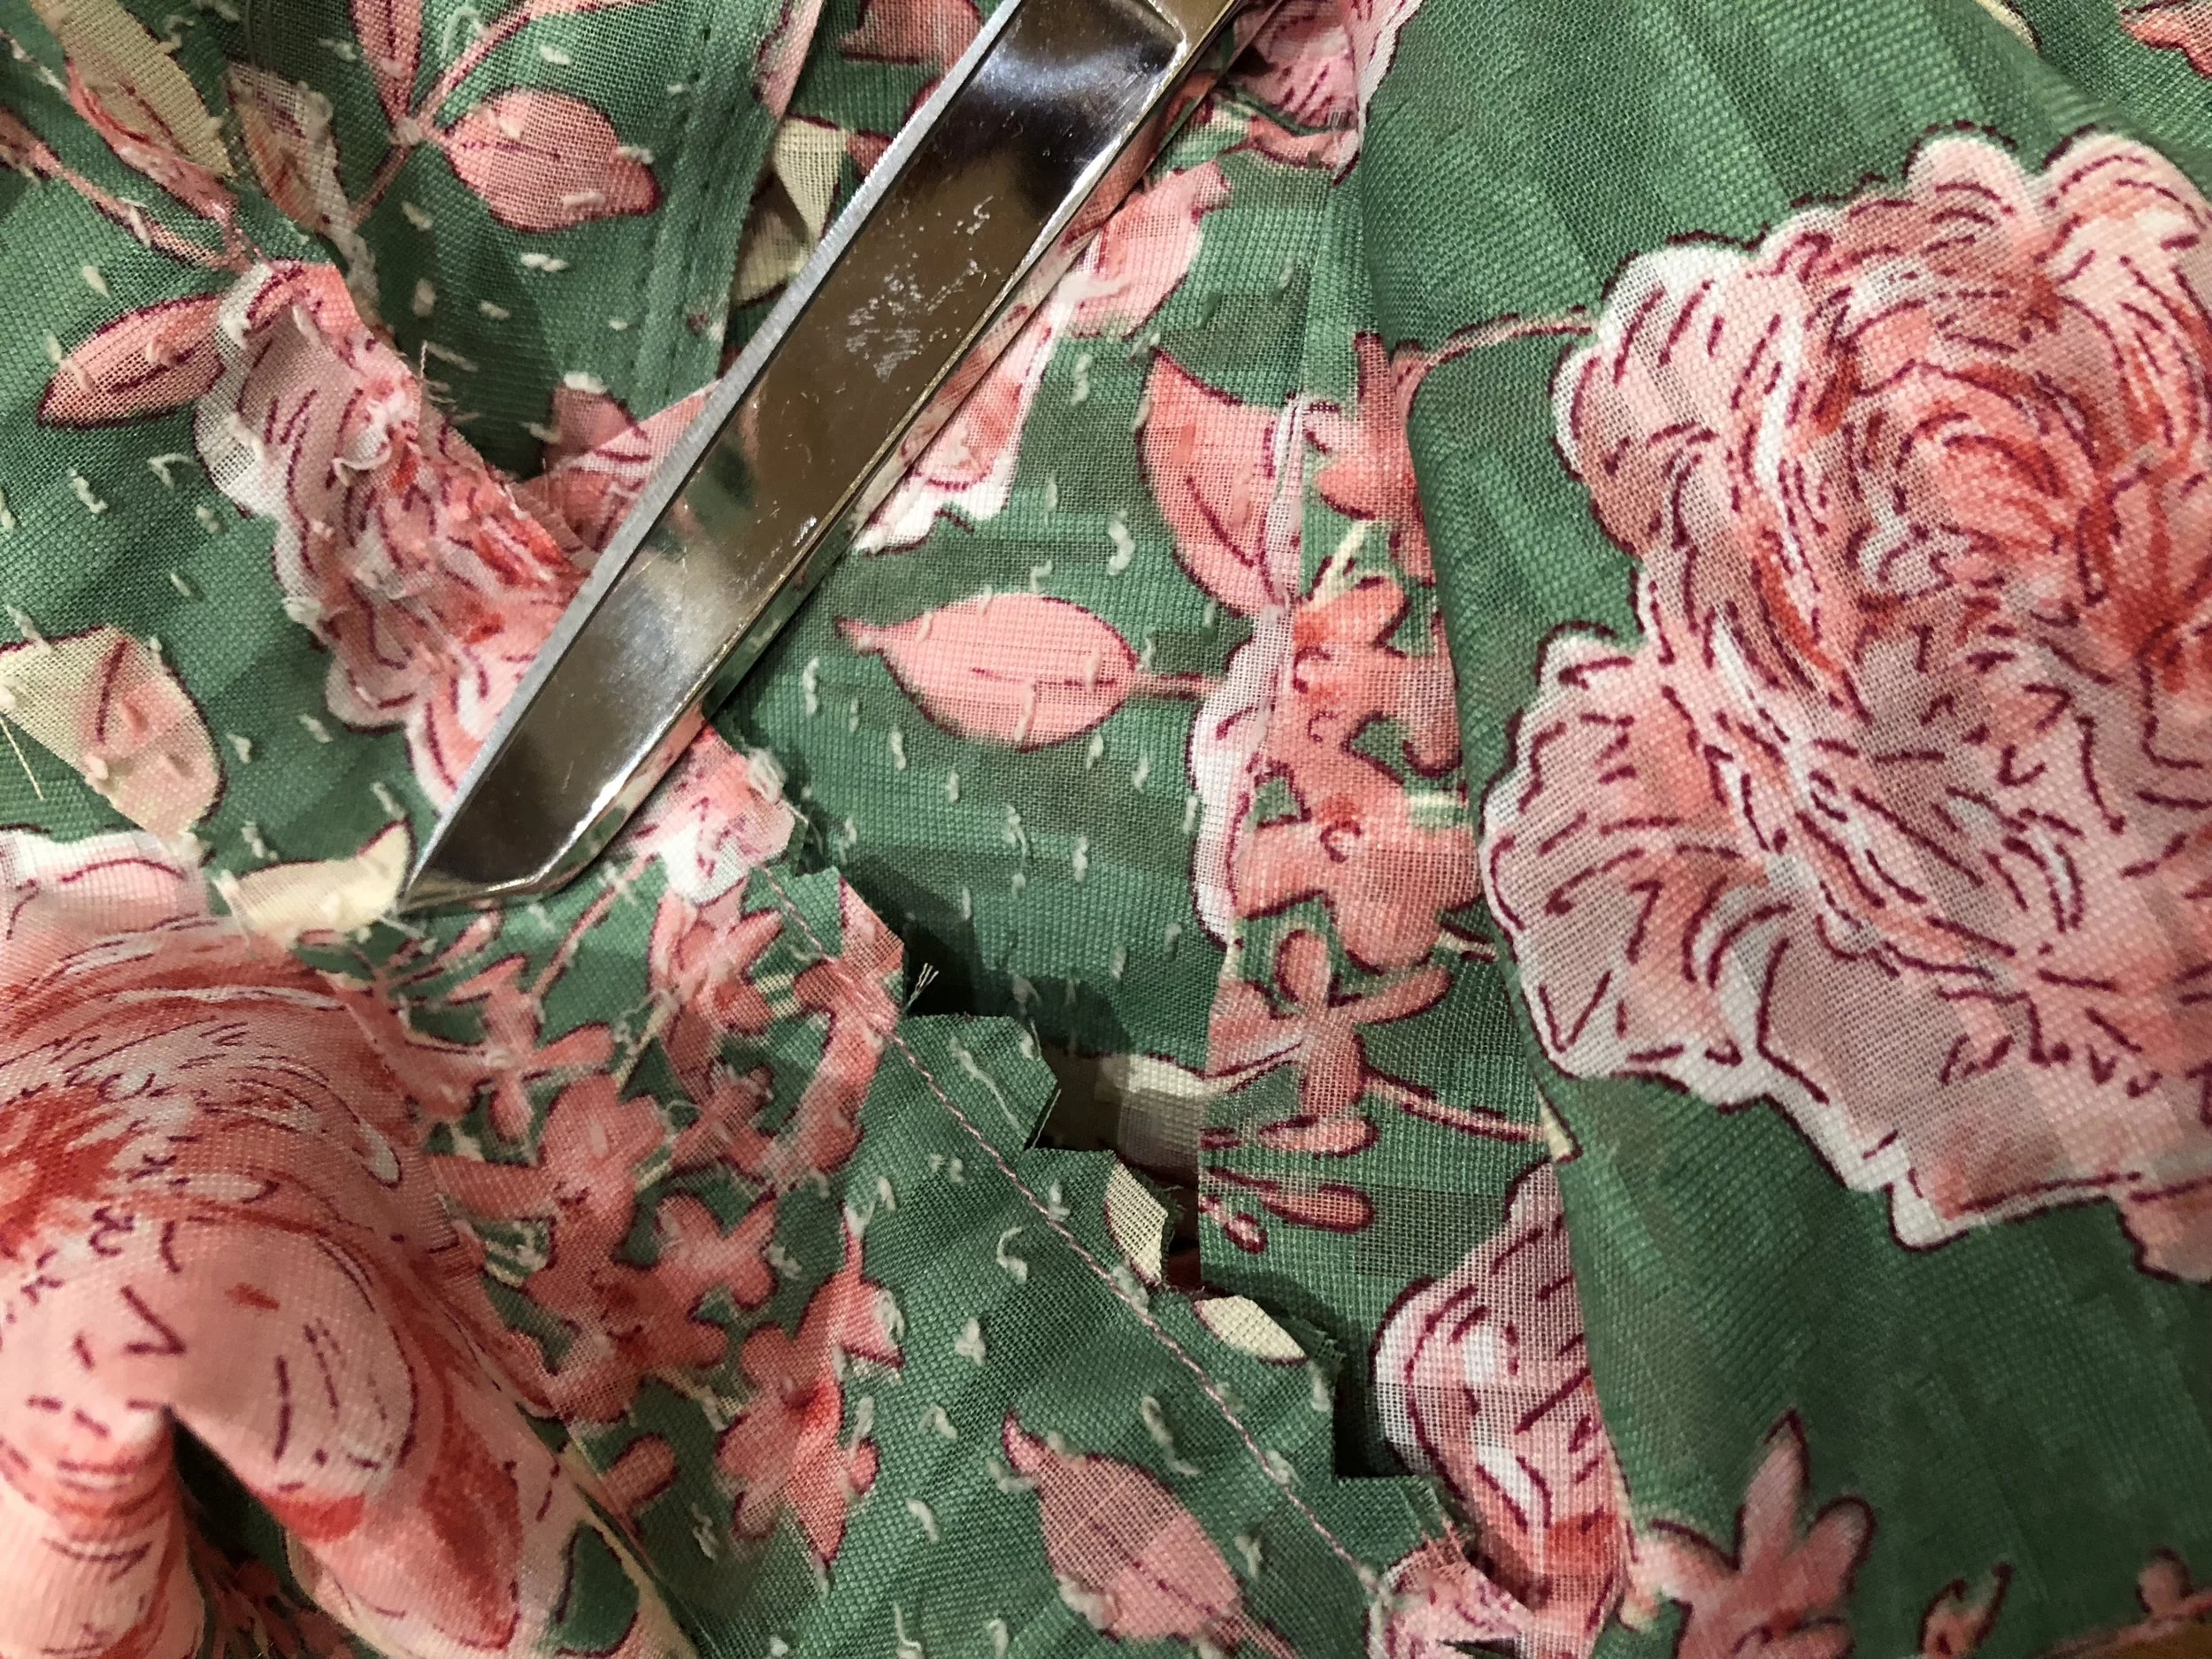
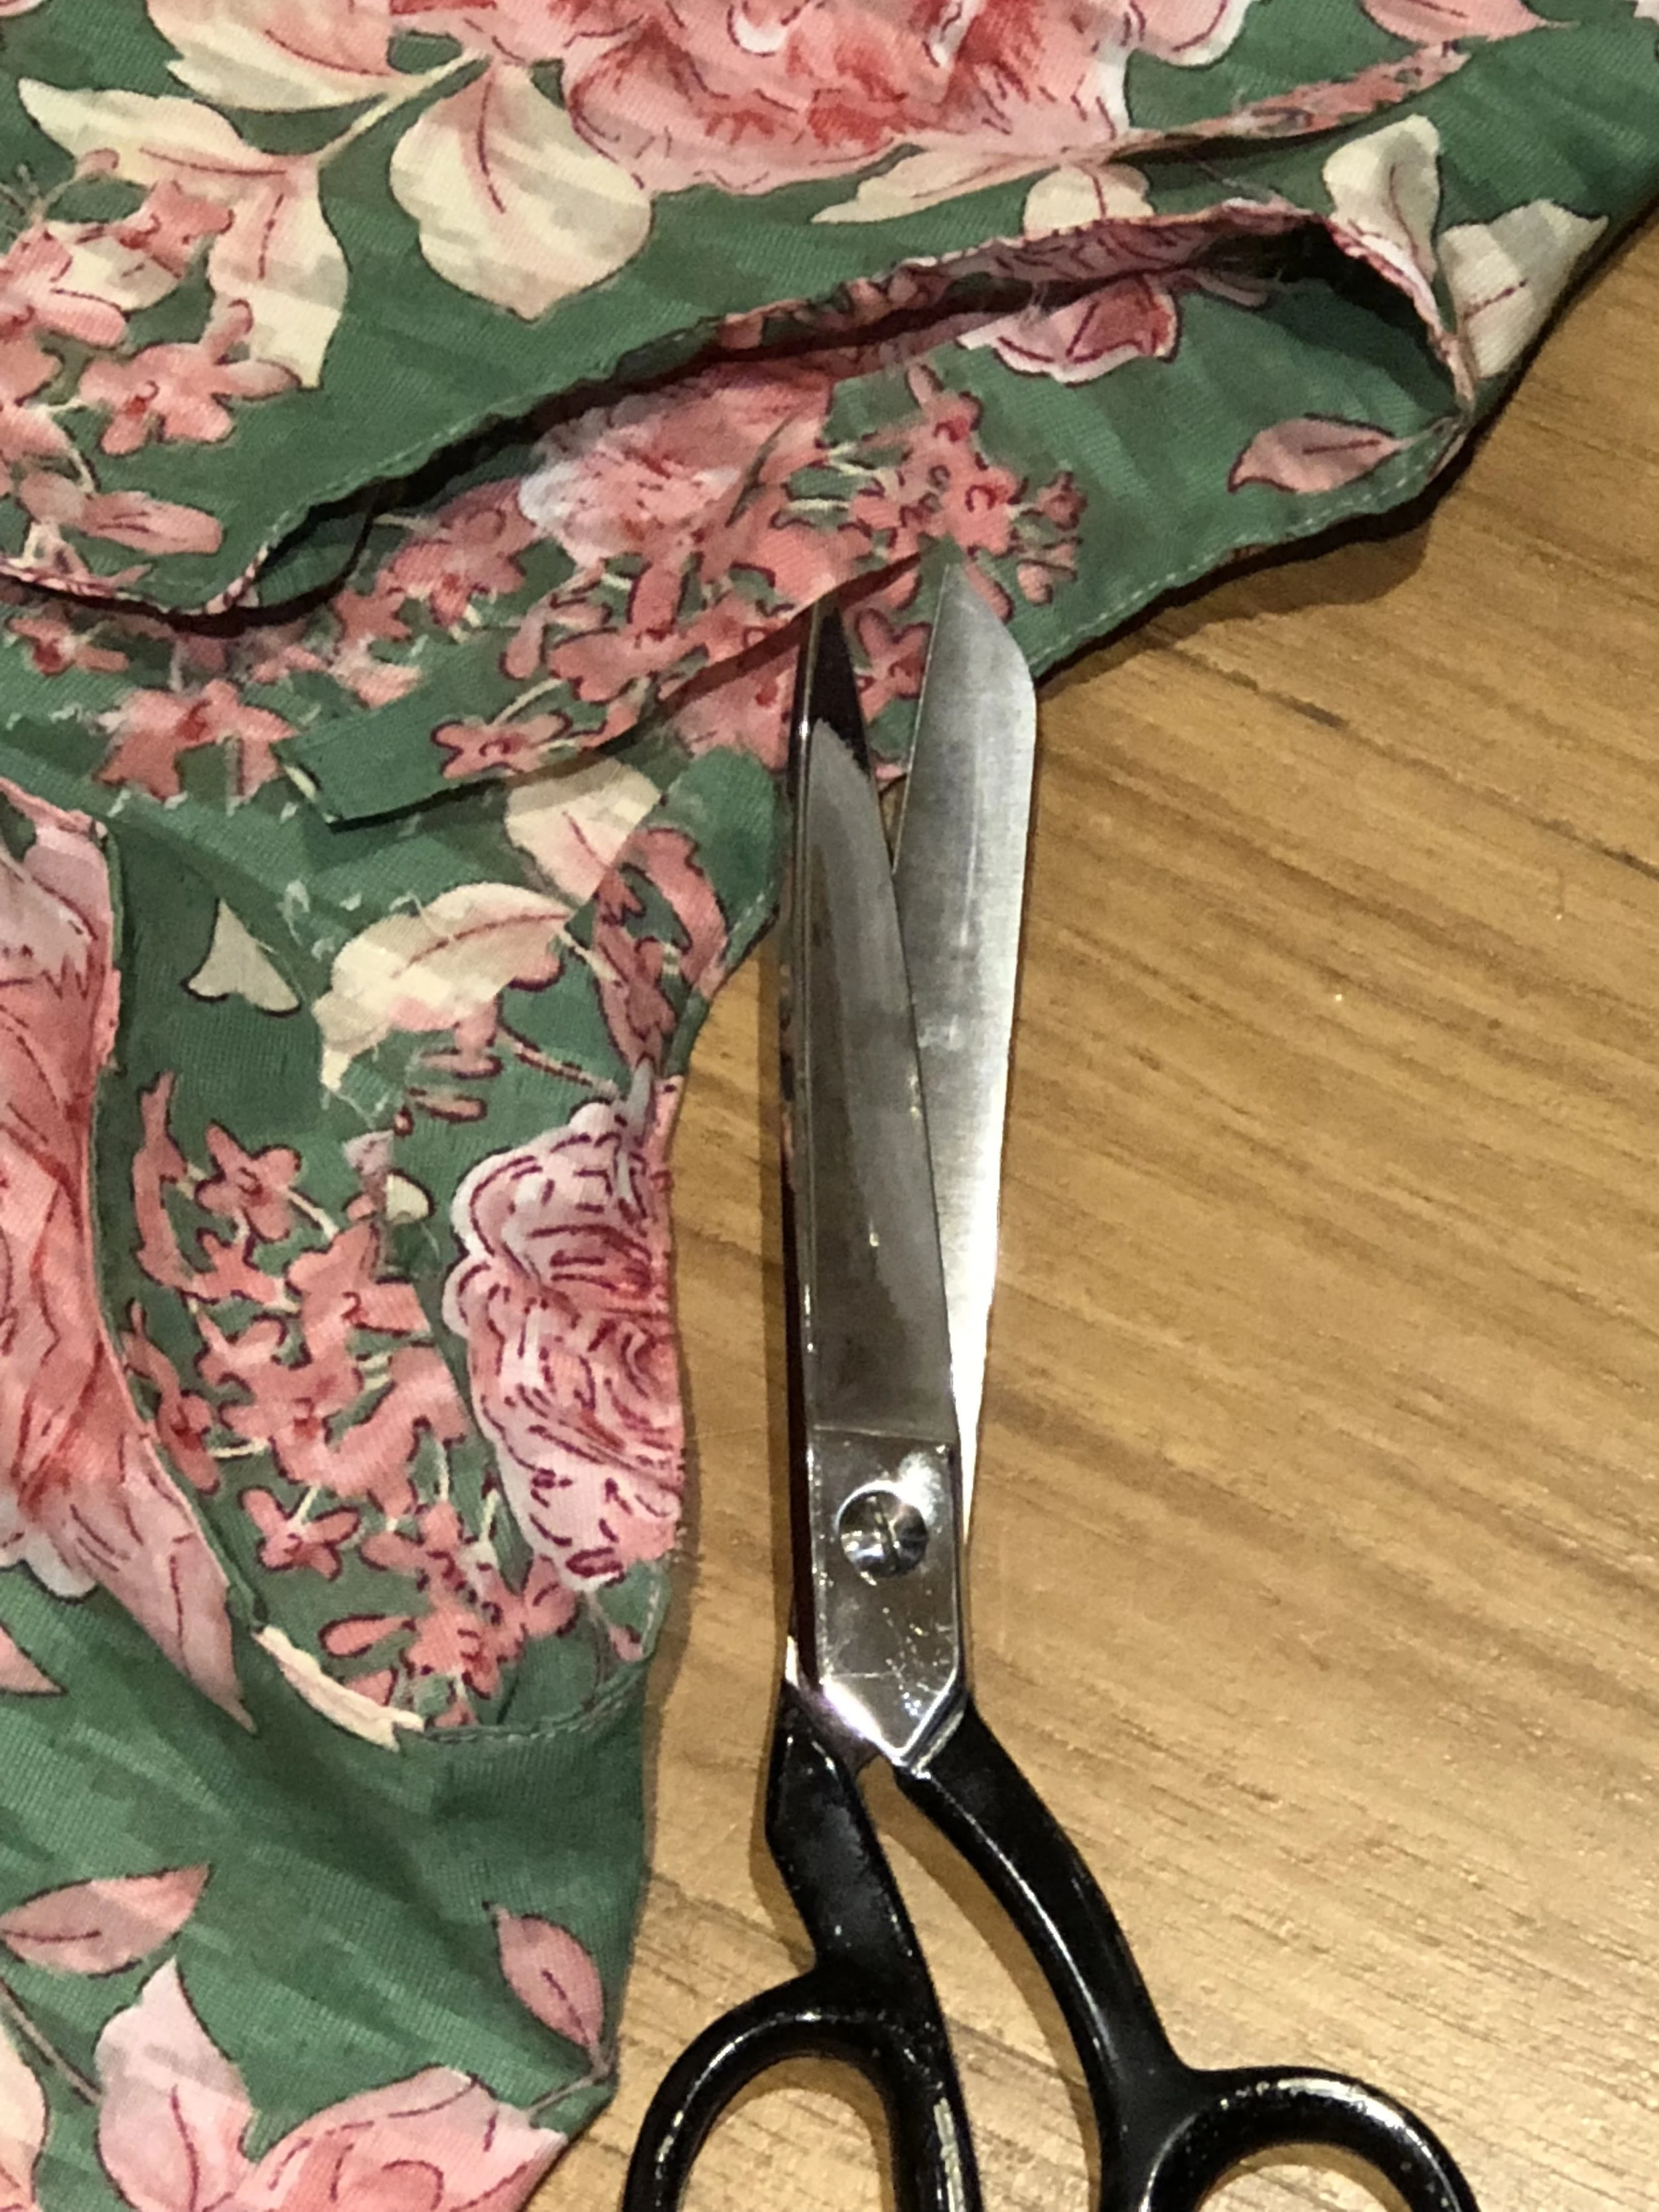
Now for the slit at the centre front of the neck.
Measure the largest position around your head for your top to comfortably enter through the neck opening. In this case, it is 28 inches (71 cm) for my daughter.
So head MINUS neck DIVIDED by 2.
28 inches - 15 inches = 13 inches
13 inches divided 2 for each side of the slit= 6.5 inches (17 cm)
Now measure downwards 6.5 inches from the centre of the front neck as shown. Mark with a straight line to the position.
Use a pair of sharp scissors and cut slowly following the line.
Try for fitting and adjust accordingly.

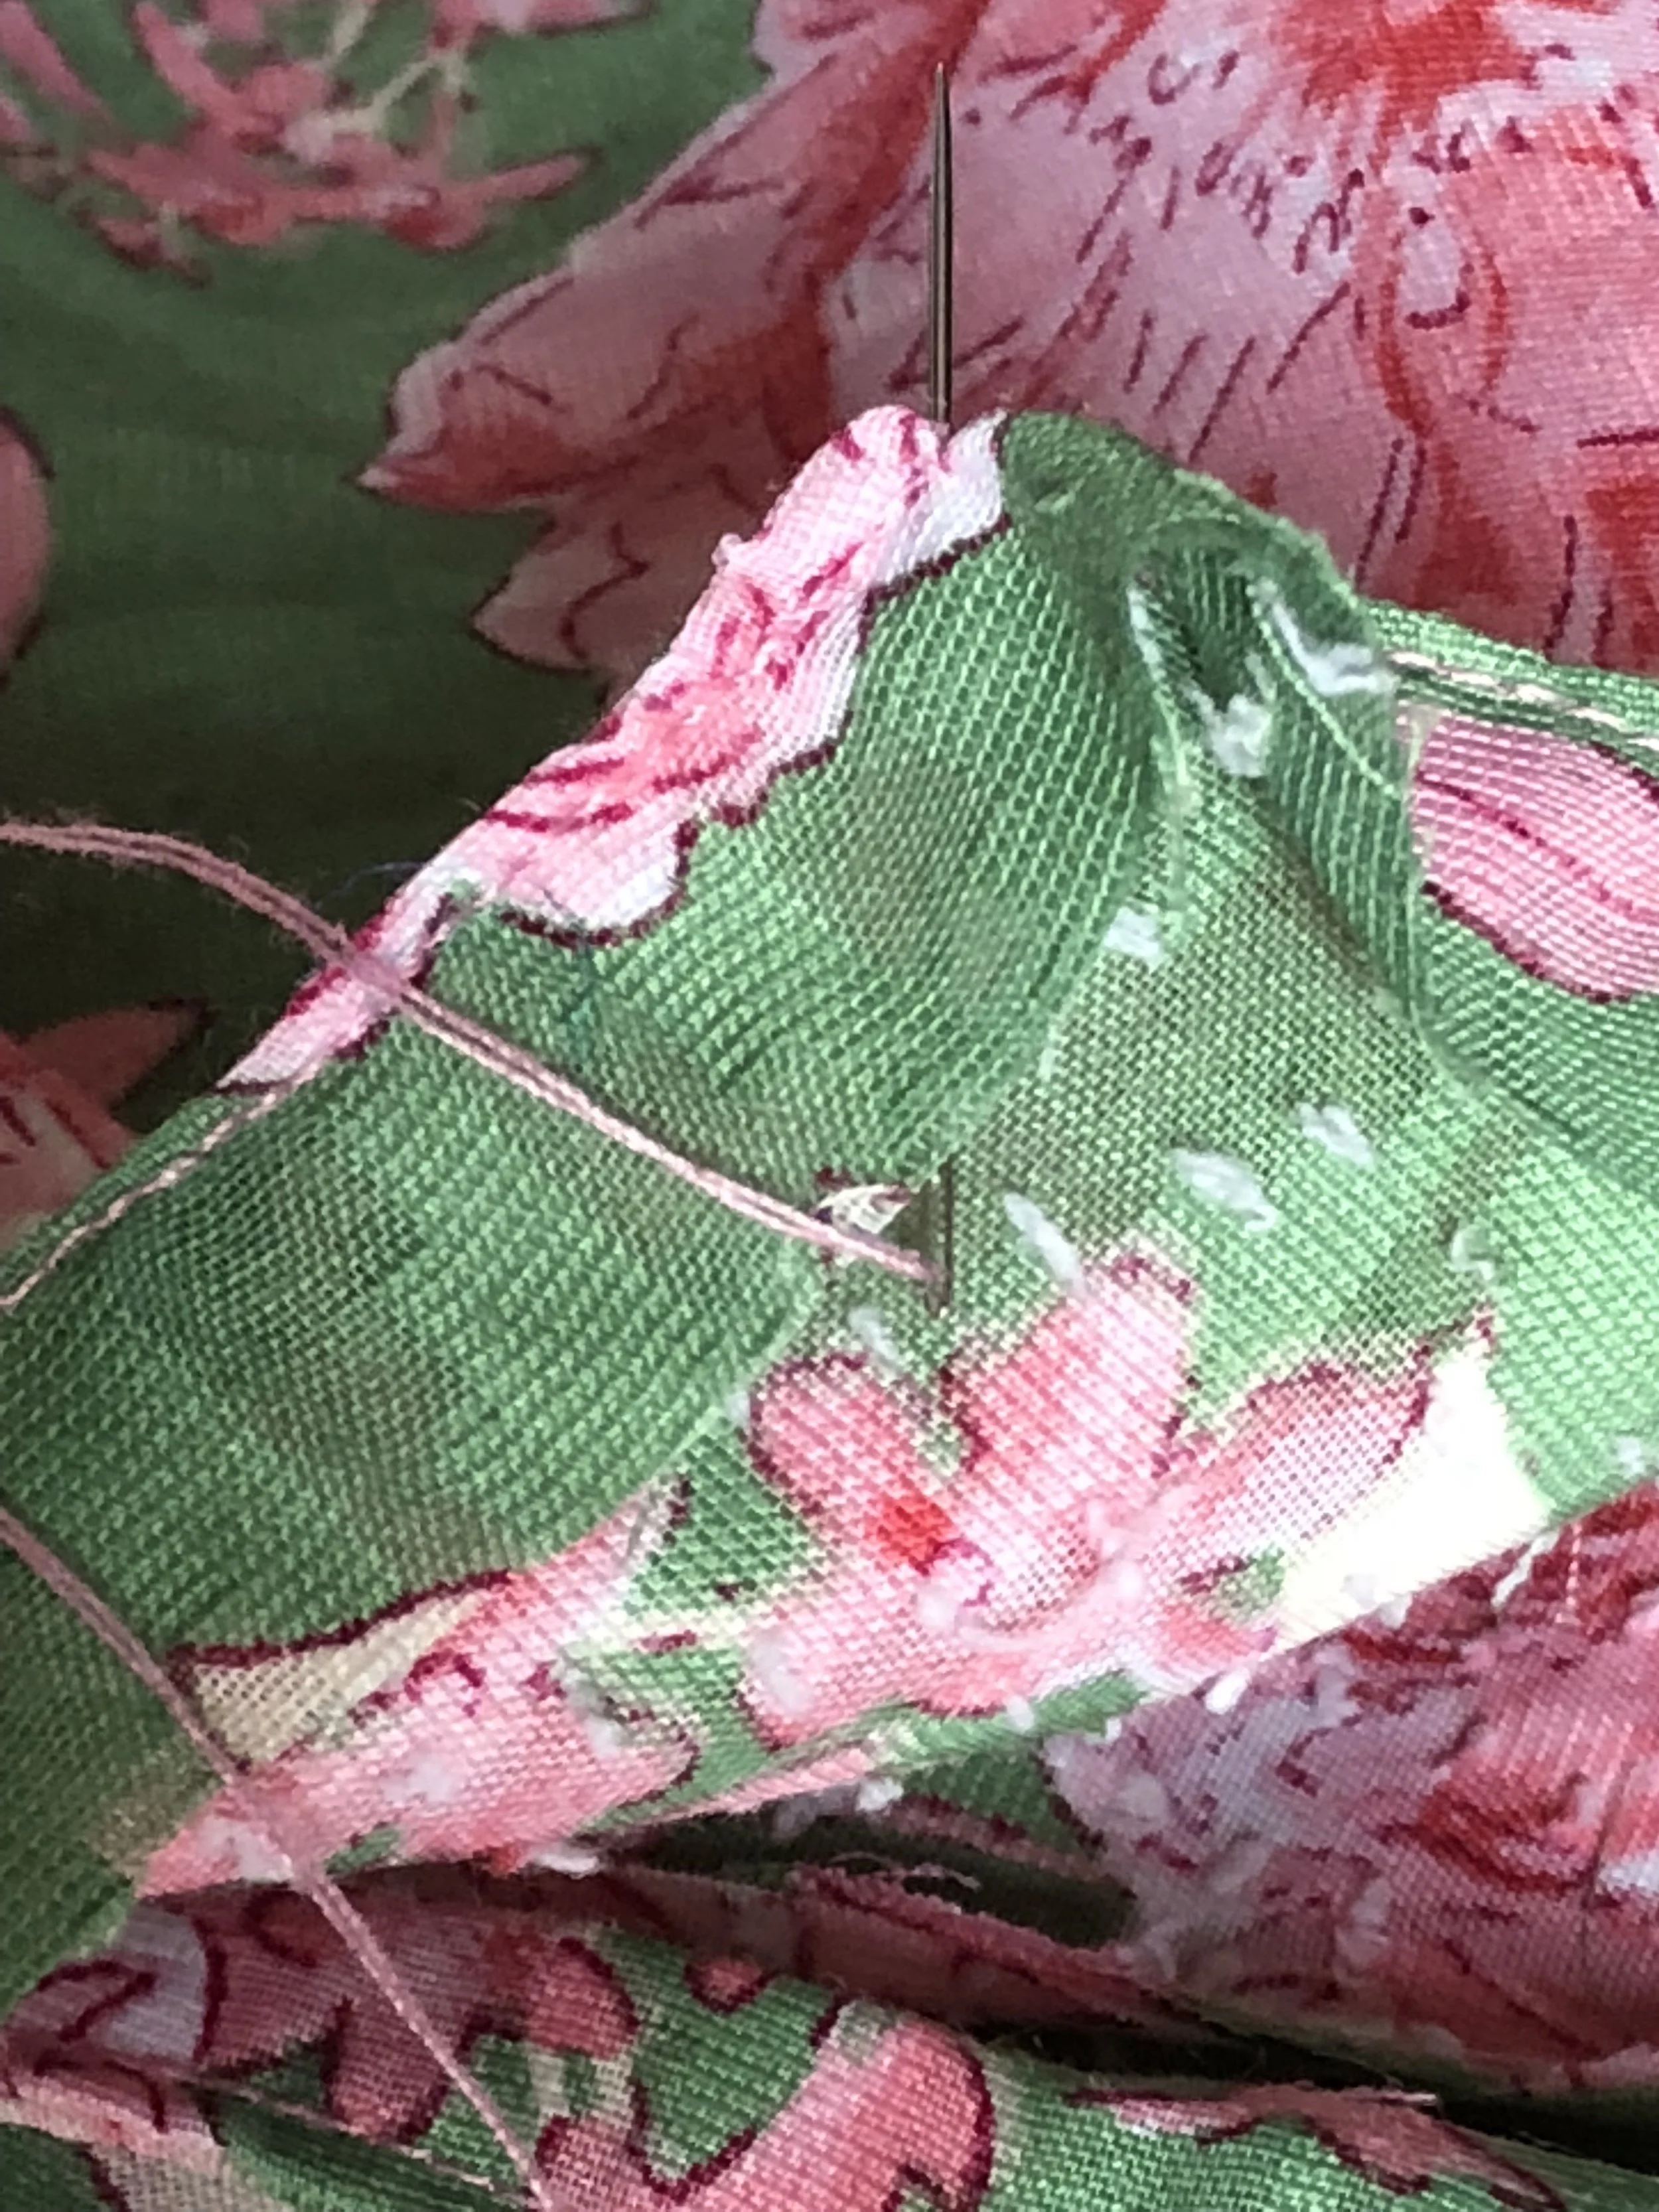
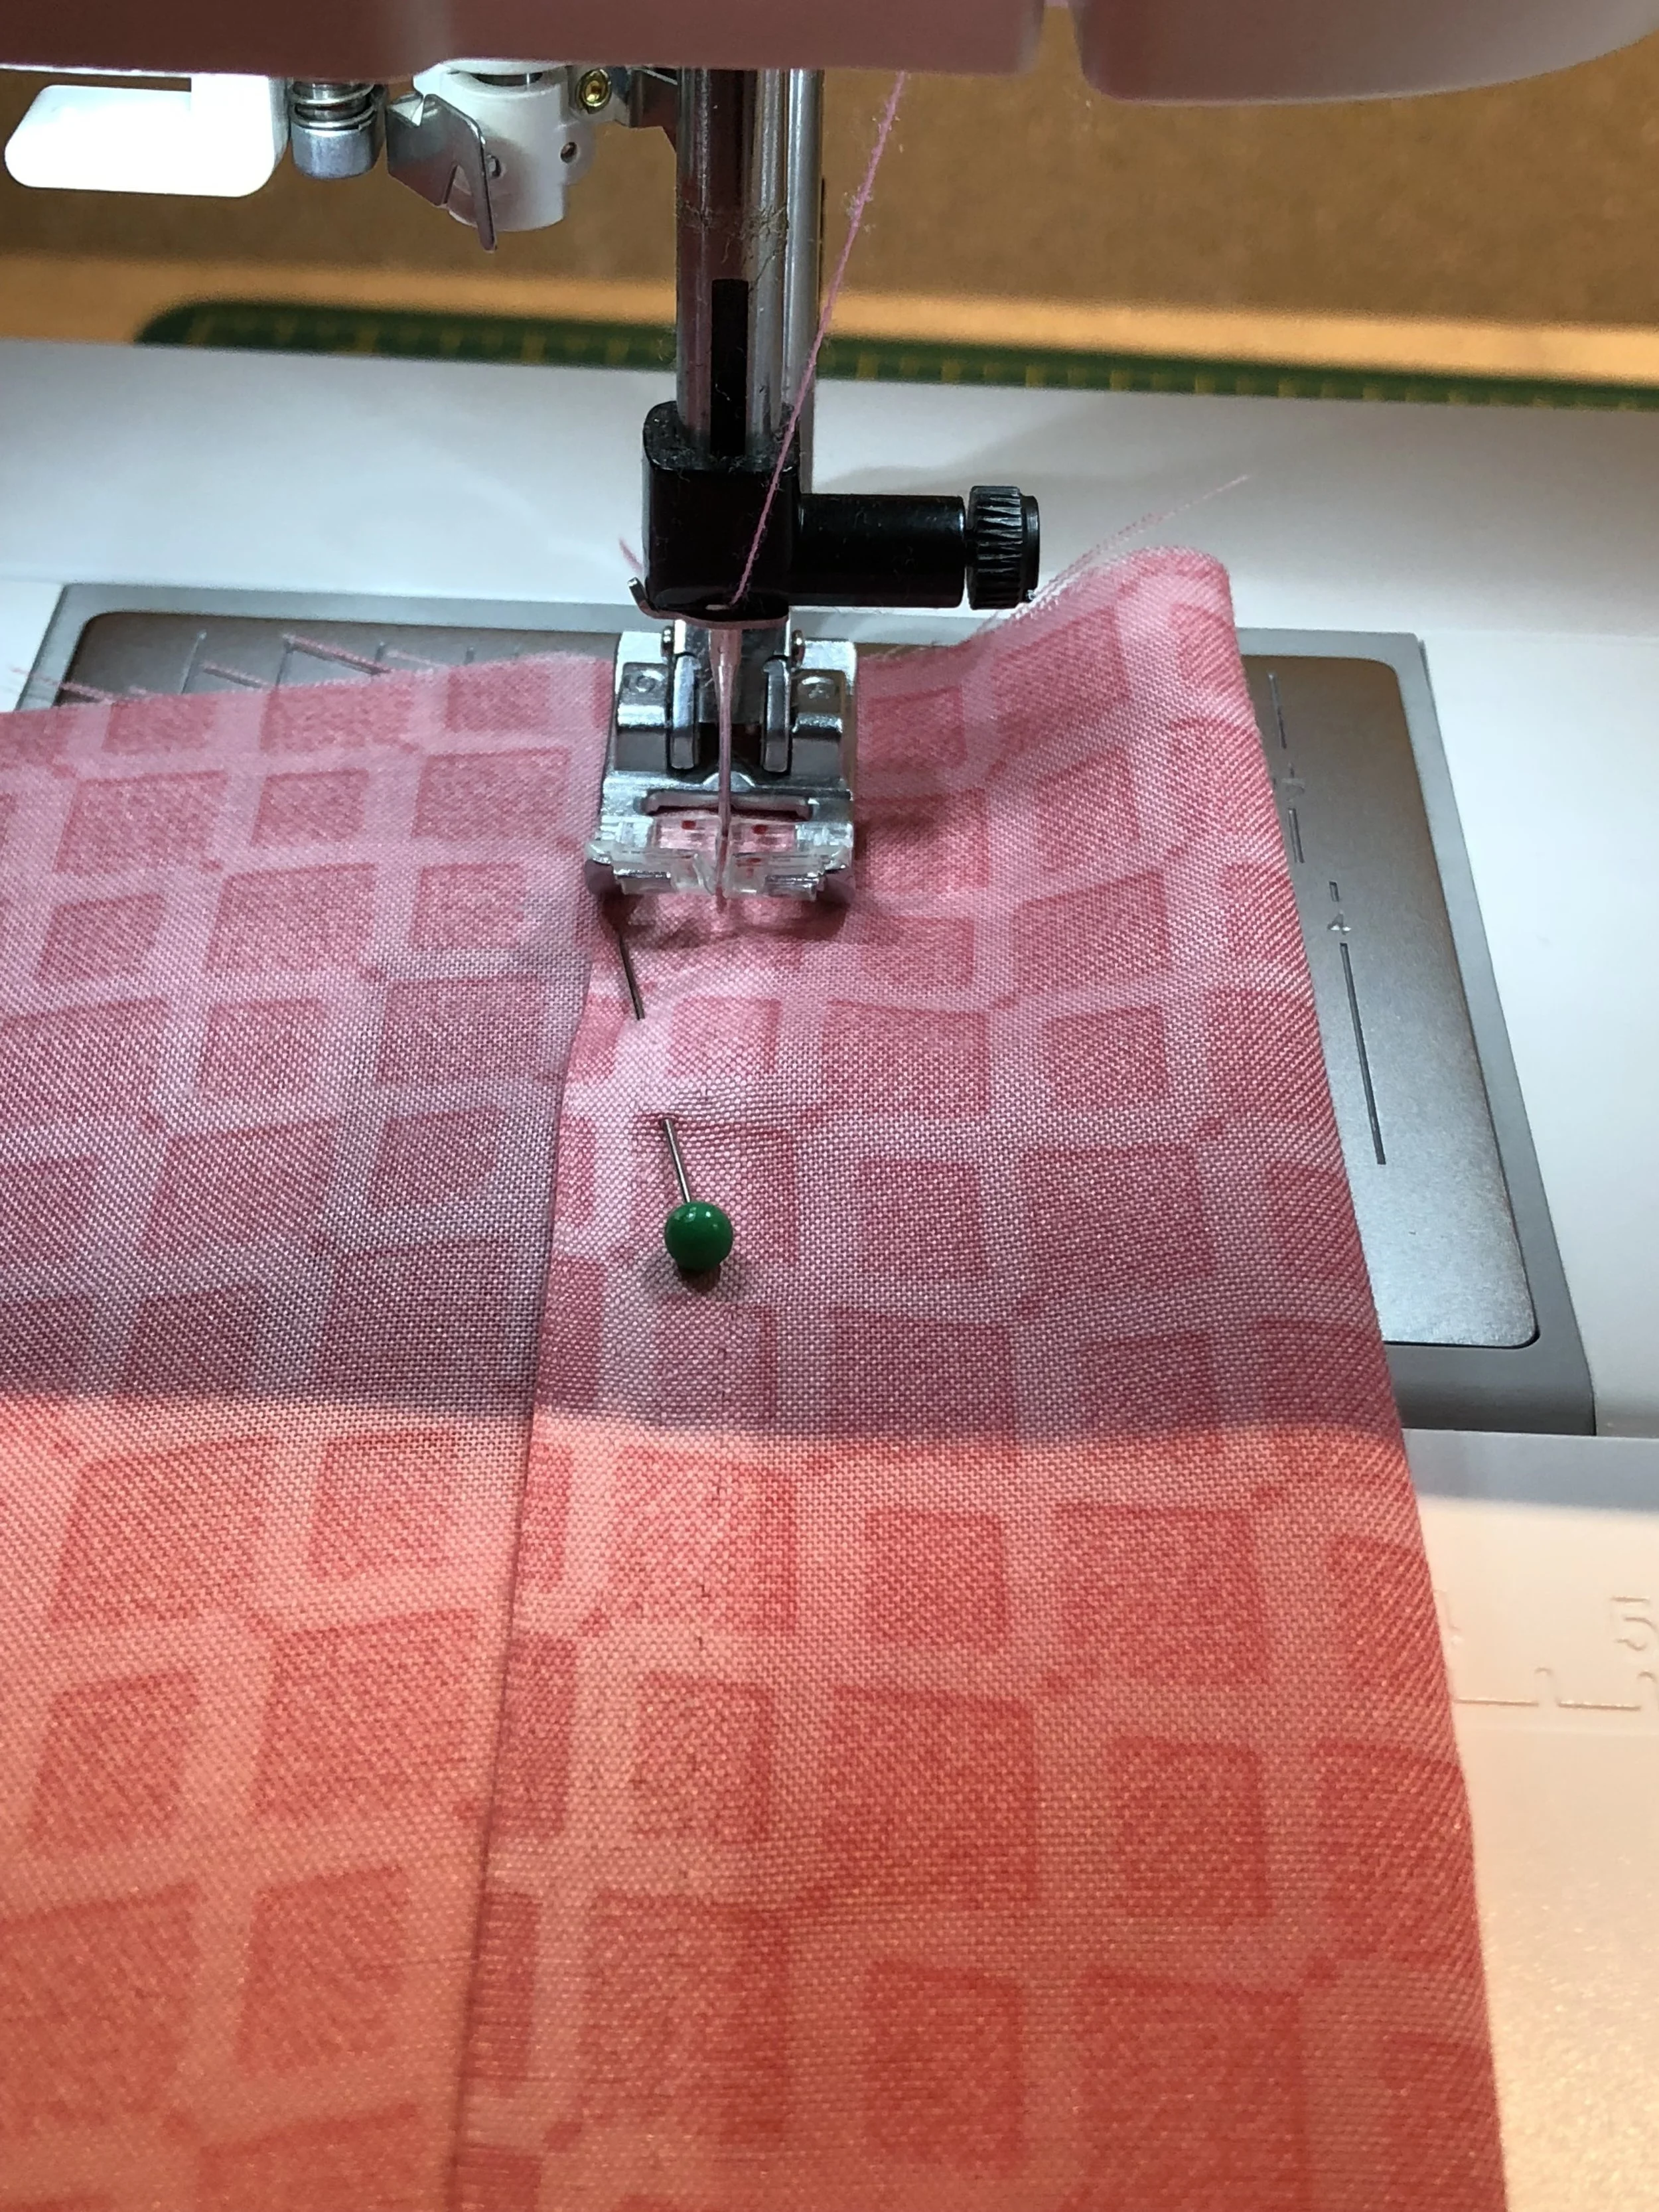
Cut the same fabric for bias binding measuring 29 inches x 1 inch (16.5 cm x 2.5 cm) for the neckline. I added 1 inch (from 28 inches ) extra seam for the neckline. You can always adjust later. Position the bias binding right sides together around the neckline as shown. Pin to secure.


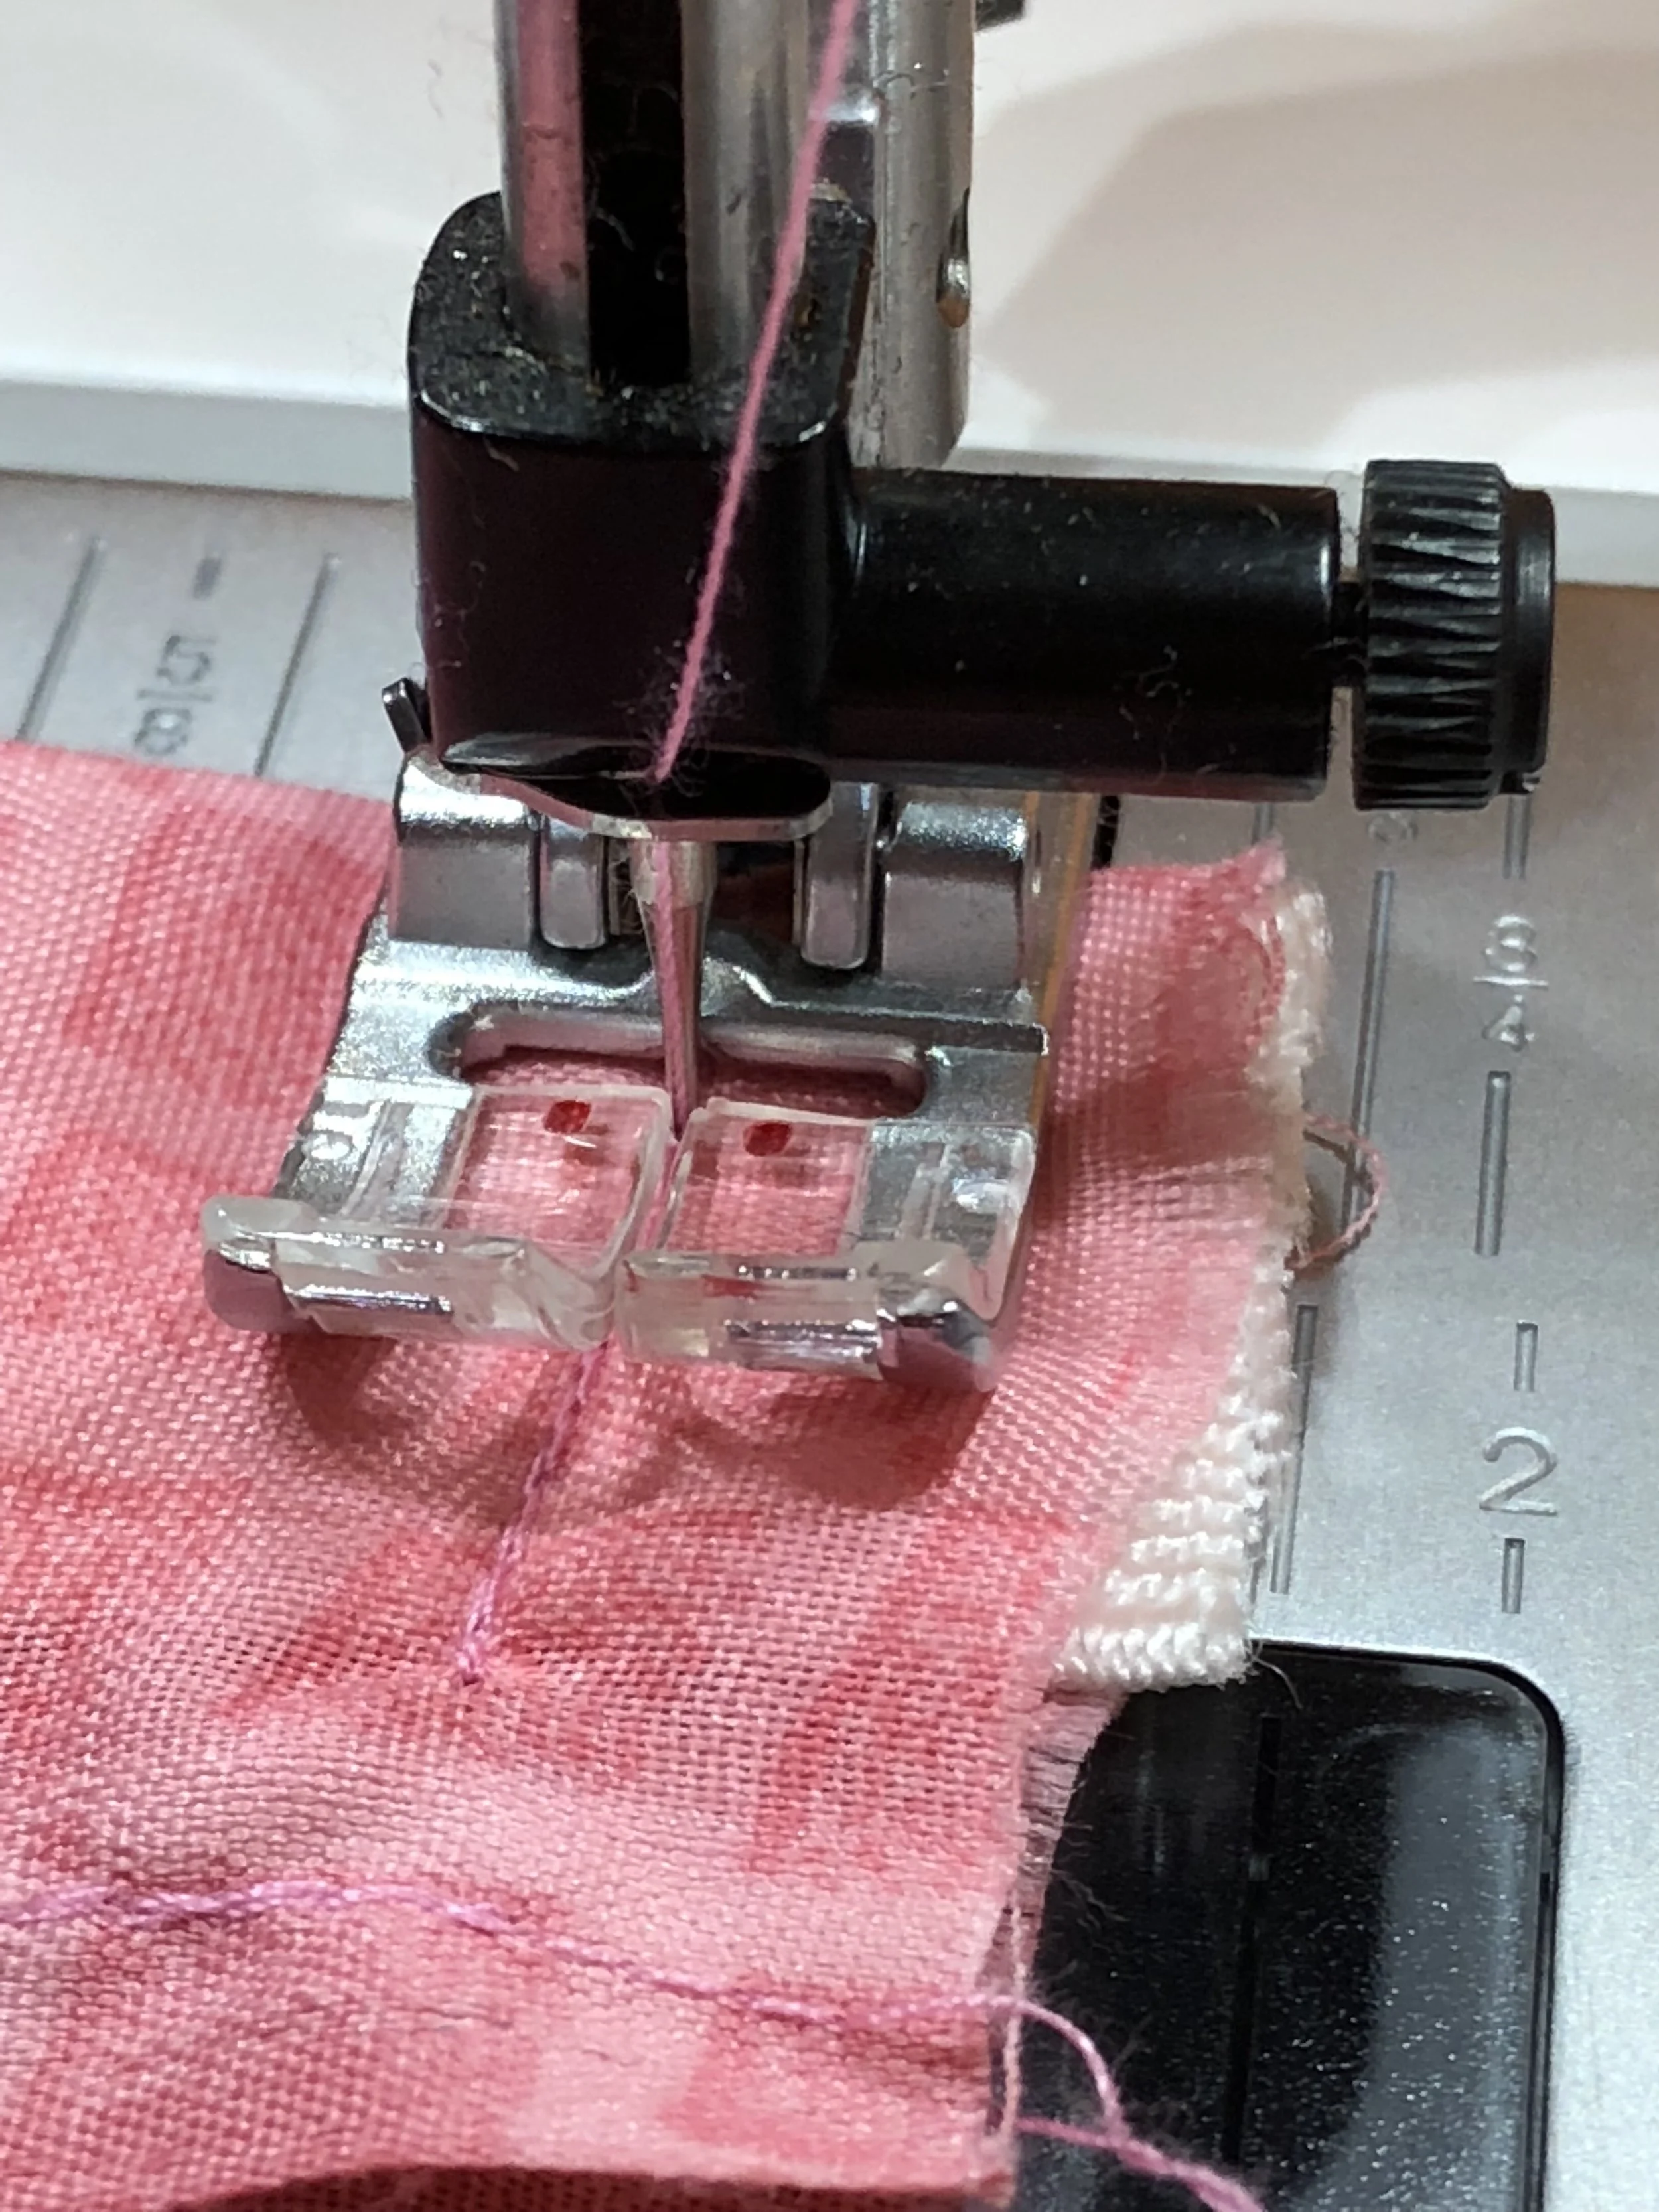
Machine sew in place. Snip small “V”s all around the inside edges of the neckline ensuring that you do not cut beyond the stitches as shown. This is for an easier and neater finish later.
Now turn the bias binding to the inside of the neckline and pin to secure as shown.

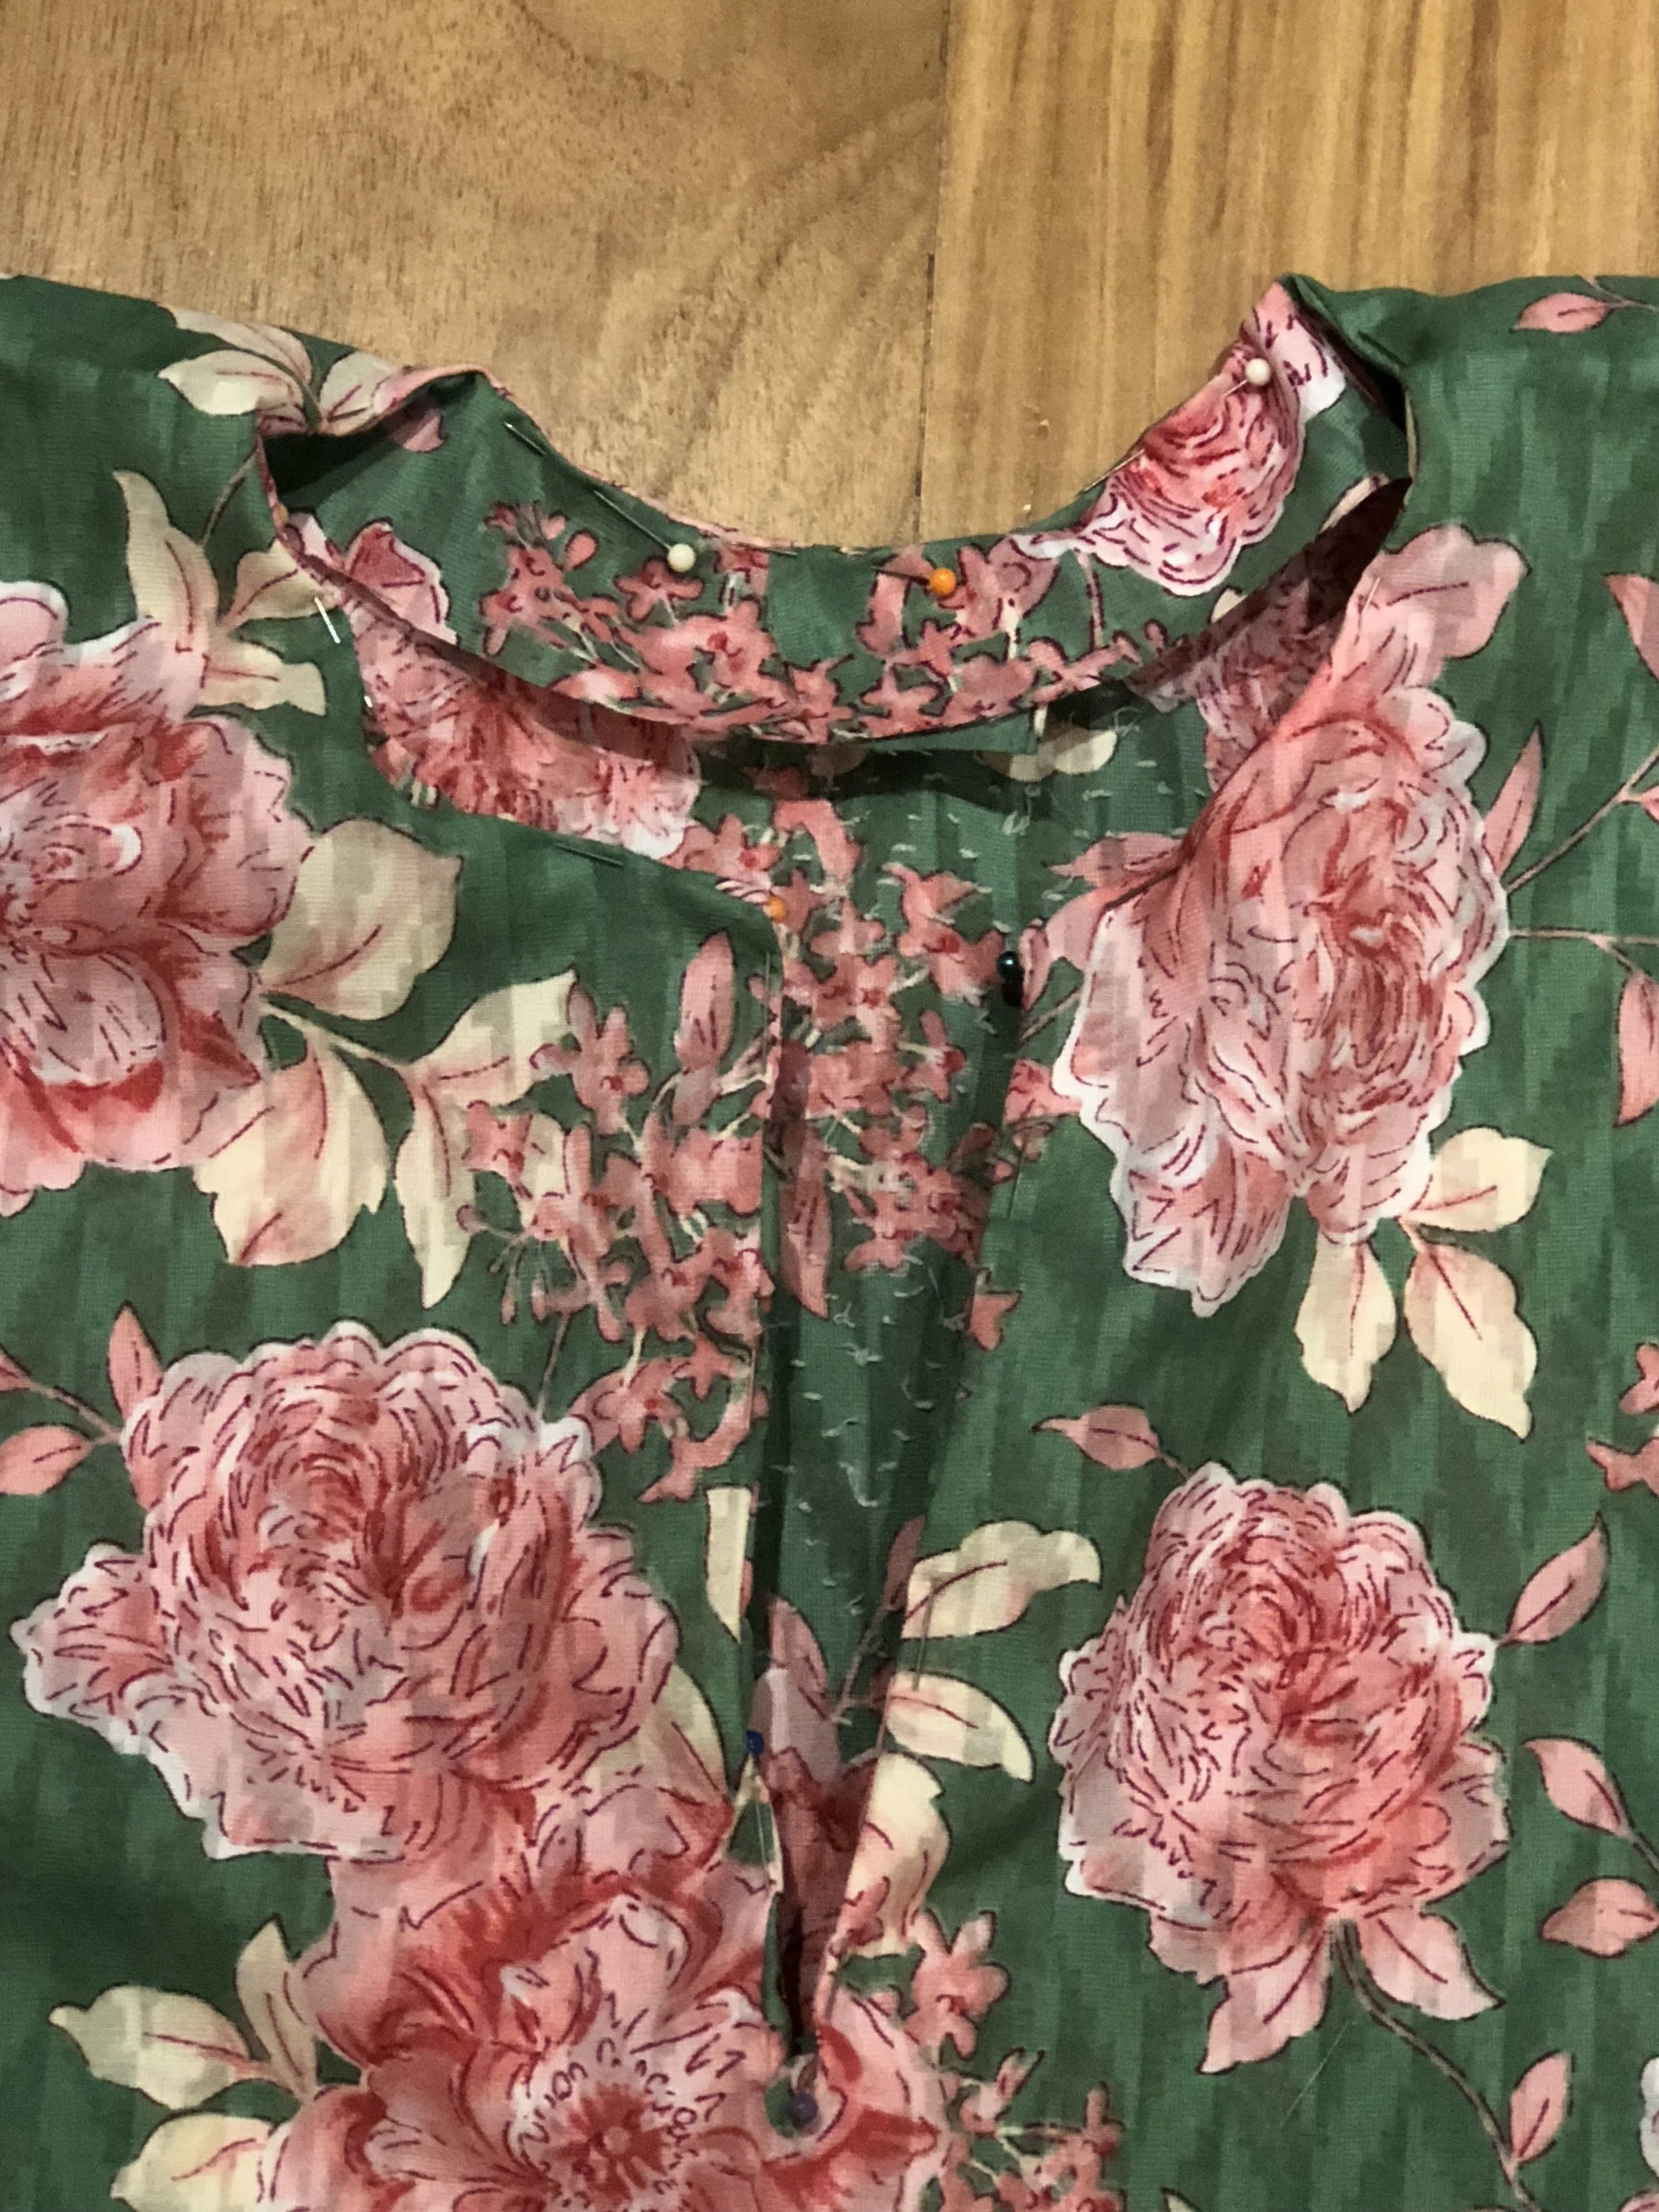
Machine sew as close as possible to the edge of the neckline.


Now try it on again to check its fitting. It needs to sit as close to the neck as shown. The opening/slit down the chest shouldn’t be too low either. If necessary adjust to your most comfortable fitting.

The Kekek, Pesak and Sleeves
For each side of the baju there will be 2 sets pesak, 1 kekek and 1 sleeve. Both sides are exactly the same.
There are different methods to attach the kekek, pesak and sleeves to the main body.
This is how I believe is the simplest way.
Firstly align the kekek to the corner edge of the longest (diagonal side) length and shortest width of the pesak, right sides together.
Pin and machine sew the pieces together.

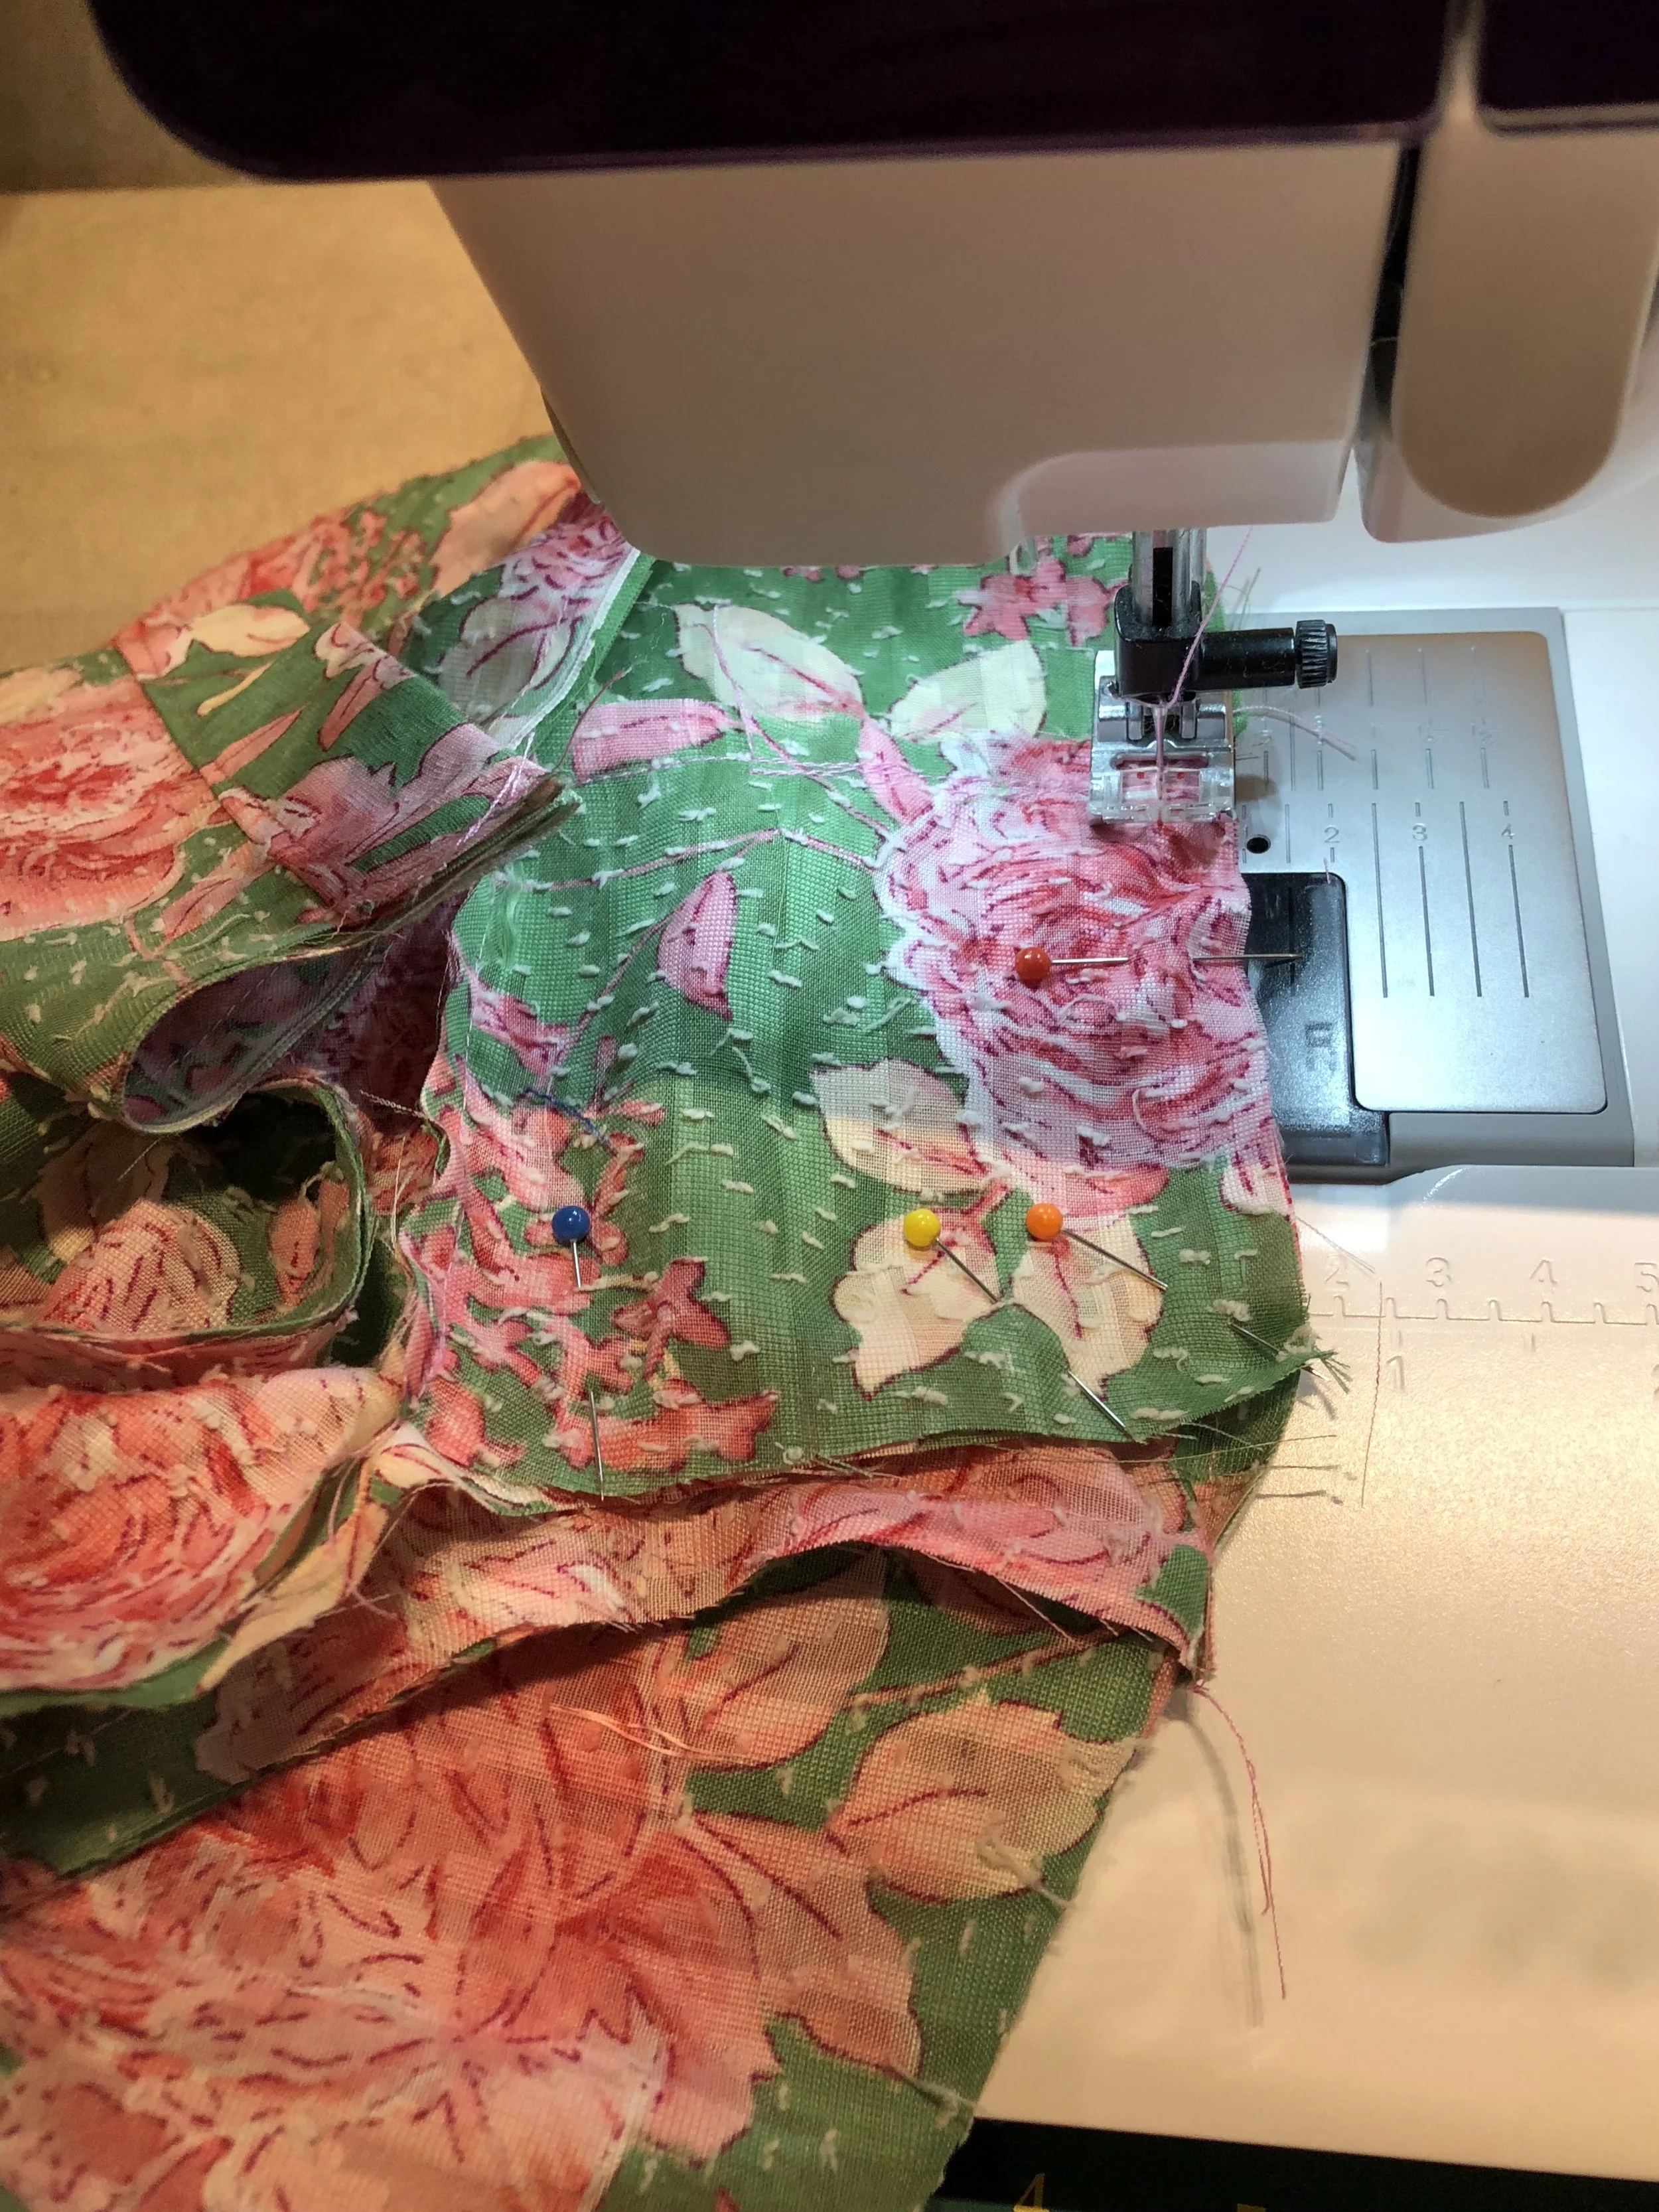
Once done sew these combined pieces to the corner edge of the length of the sleeves. You have now completed one side for the kekek, sleeve and pesak. Now for the other pesak, position to the opposite side of the sleeve as shown. Pin and machine sew. Once done align the length of the combined pieces to the body as shown. The attached pieces should look as the photo below.
Combining Attached Pieces to the Body
Mark the centre positions of the length of the body and the new combined sleeve, kekek and the pesak set pieces.
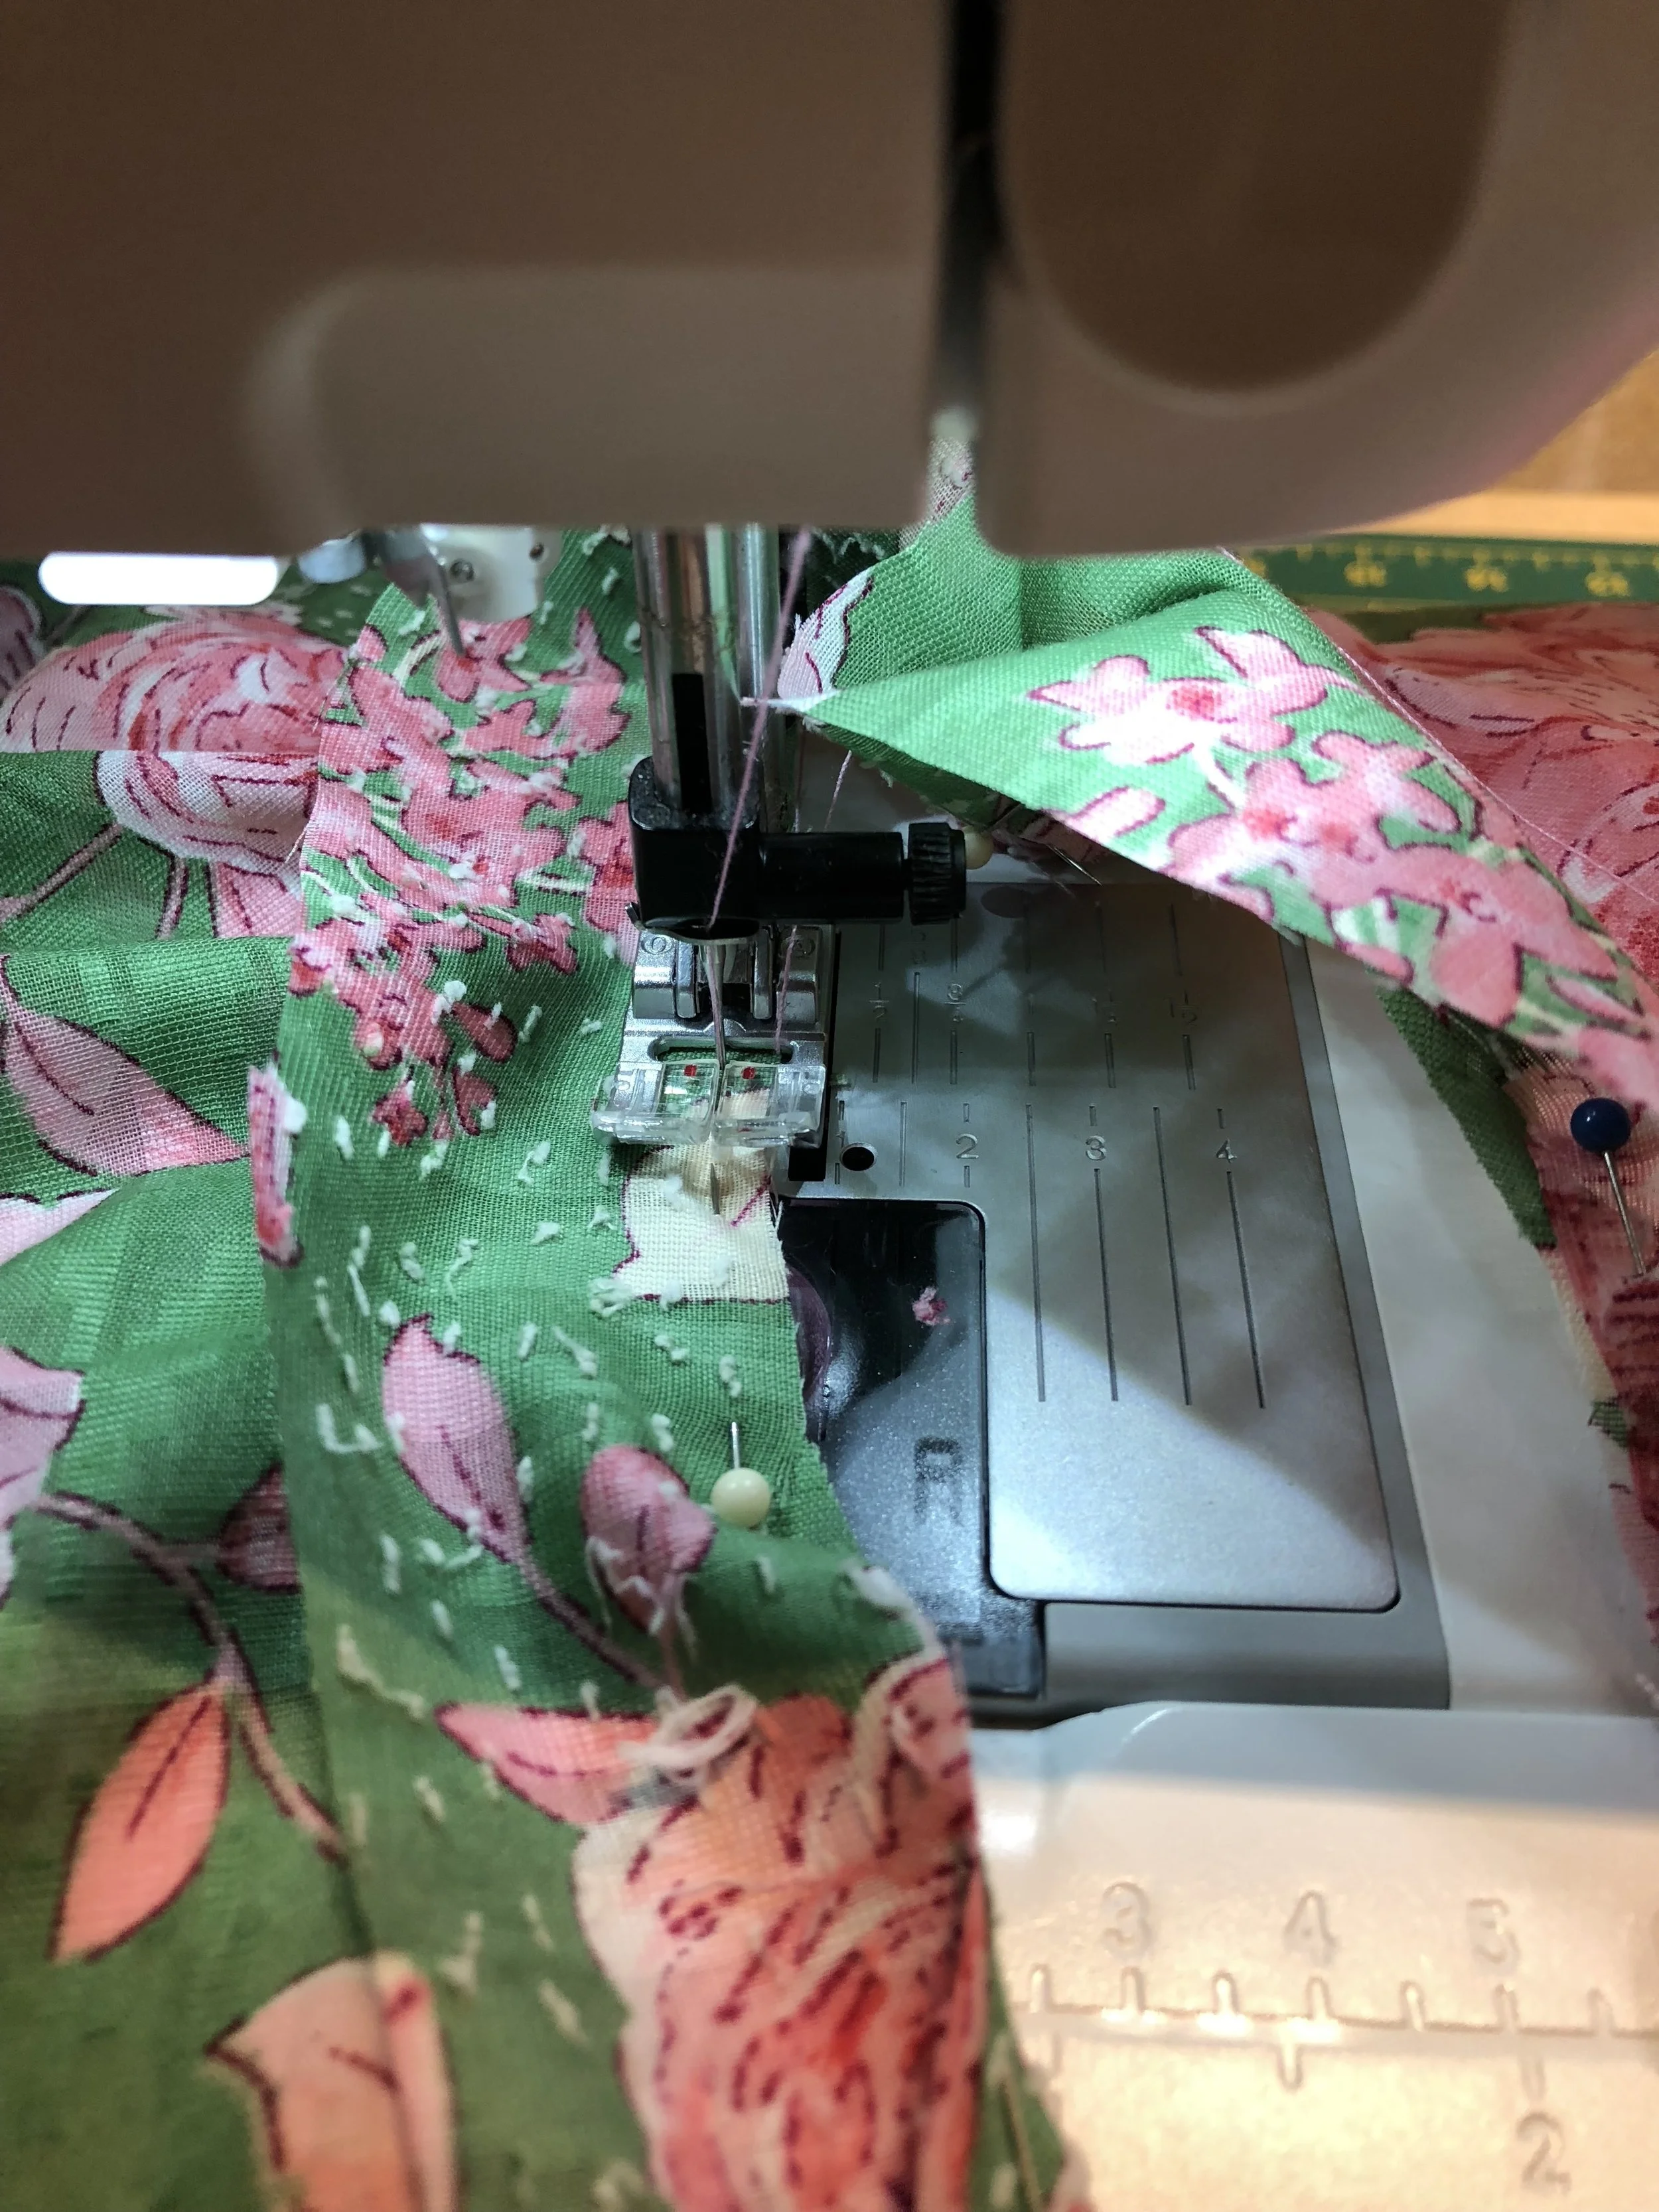
Position both pieces right sides together at the marked positions. Pin and machine sew the length of both pieces together.

Repeat the same steps for the other set of pesak, kekek and sleeve for the other side of the body of the baju.

Your new combined pieces, or Baju should now look as shown below. Please don’t worry if the pieces don’t align at the bottom of the baju. This will be fixed at the end.
The next step is to combine the sides together.

Firstly, Iron the baju.
Next, pin the baju right sides together.
Please take note that when the sides are combined you will need to fold the kekek diagonally and will now appear like a triangle from the front and back of the baju.
The unattached sides of the kekek will now need to join the top edge of the pesak and sleeve of the other side of the baju.
It is advisable to now baste with a running stitch. Remove the pins.
Once done try the baju for any improvements or changes if required. This is an important step to ensure a good fit.


Once you are satisfied with the fitting, machine sew together. Please take extra careful when sewing the kekek as it can be tricky.
Next iron the baju again focussing on the combined sides.


Finishing the Neckline with the rest of the Baju
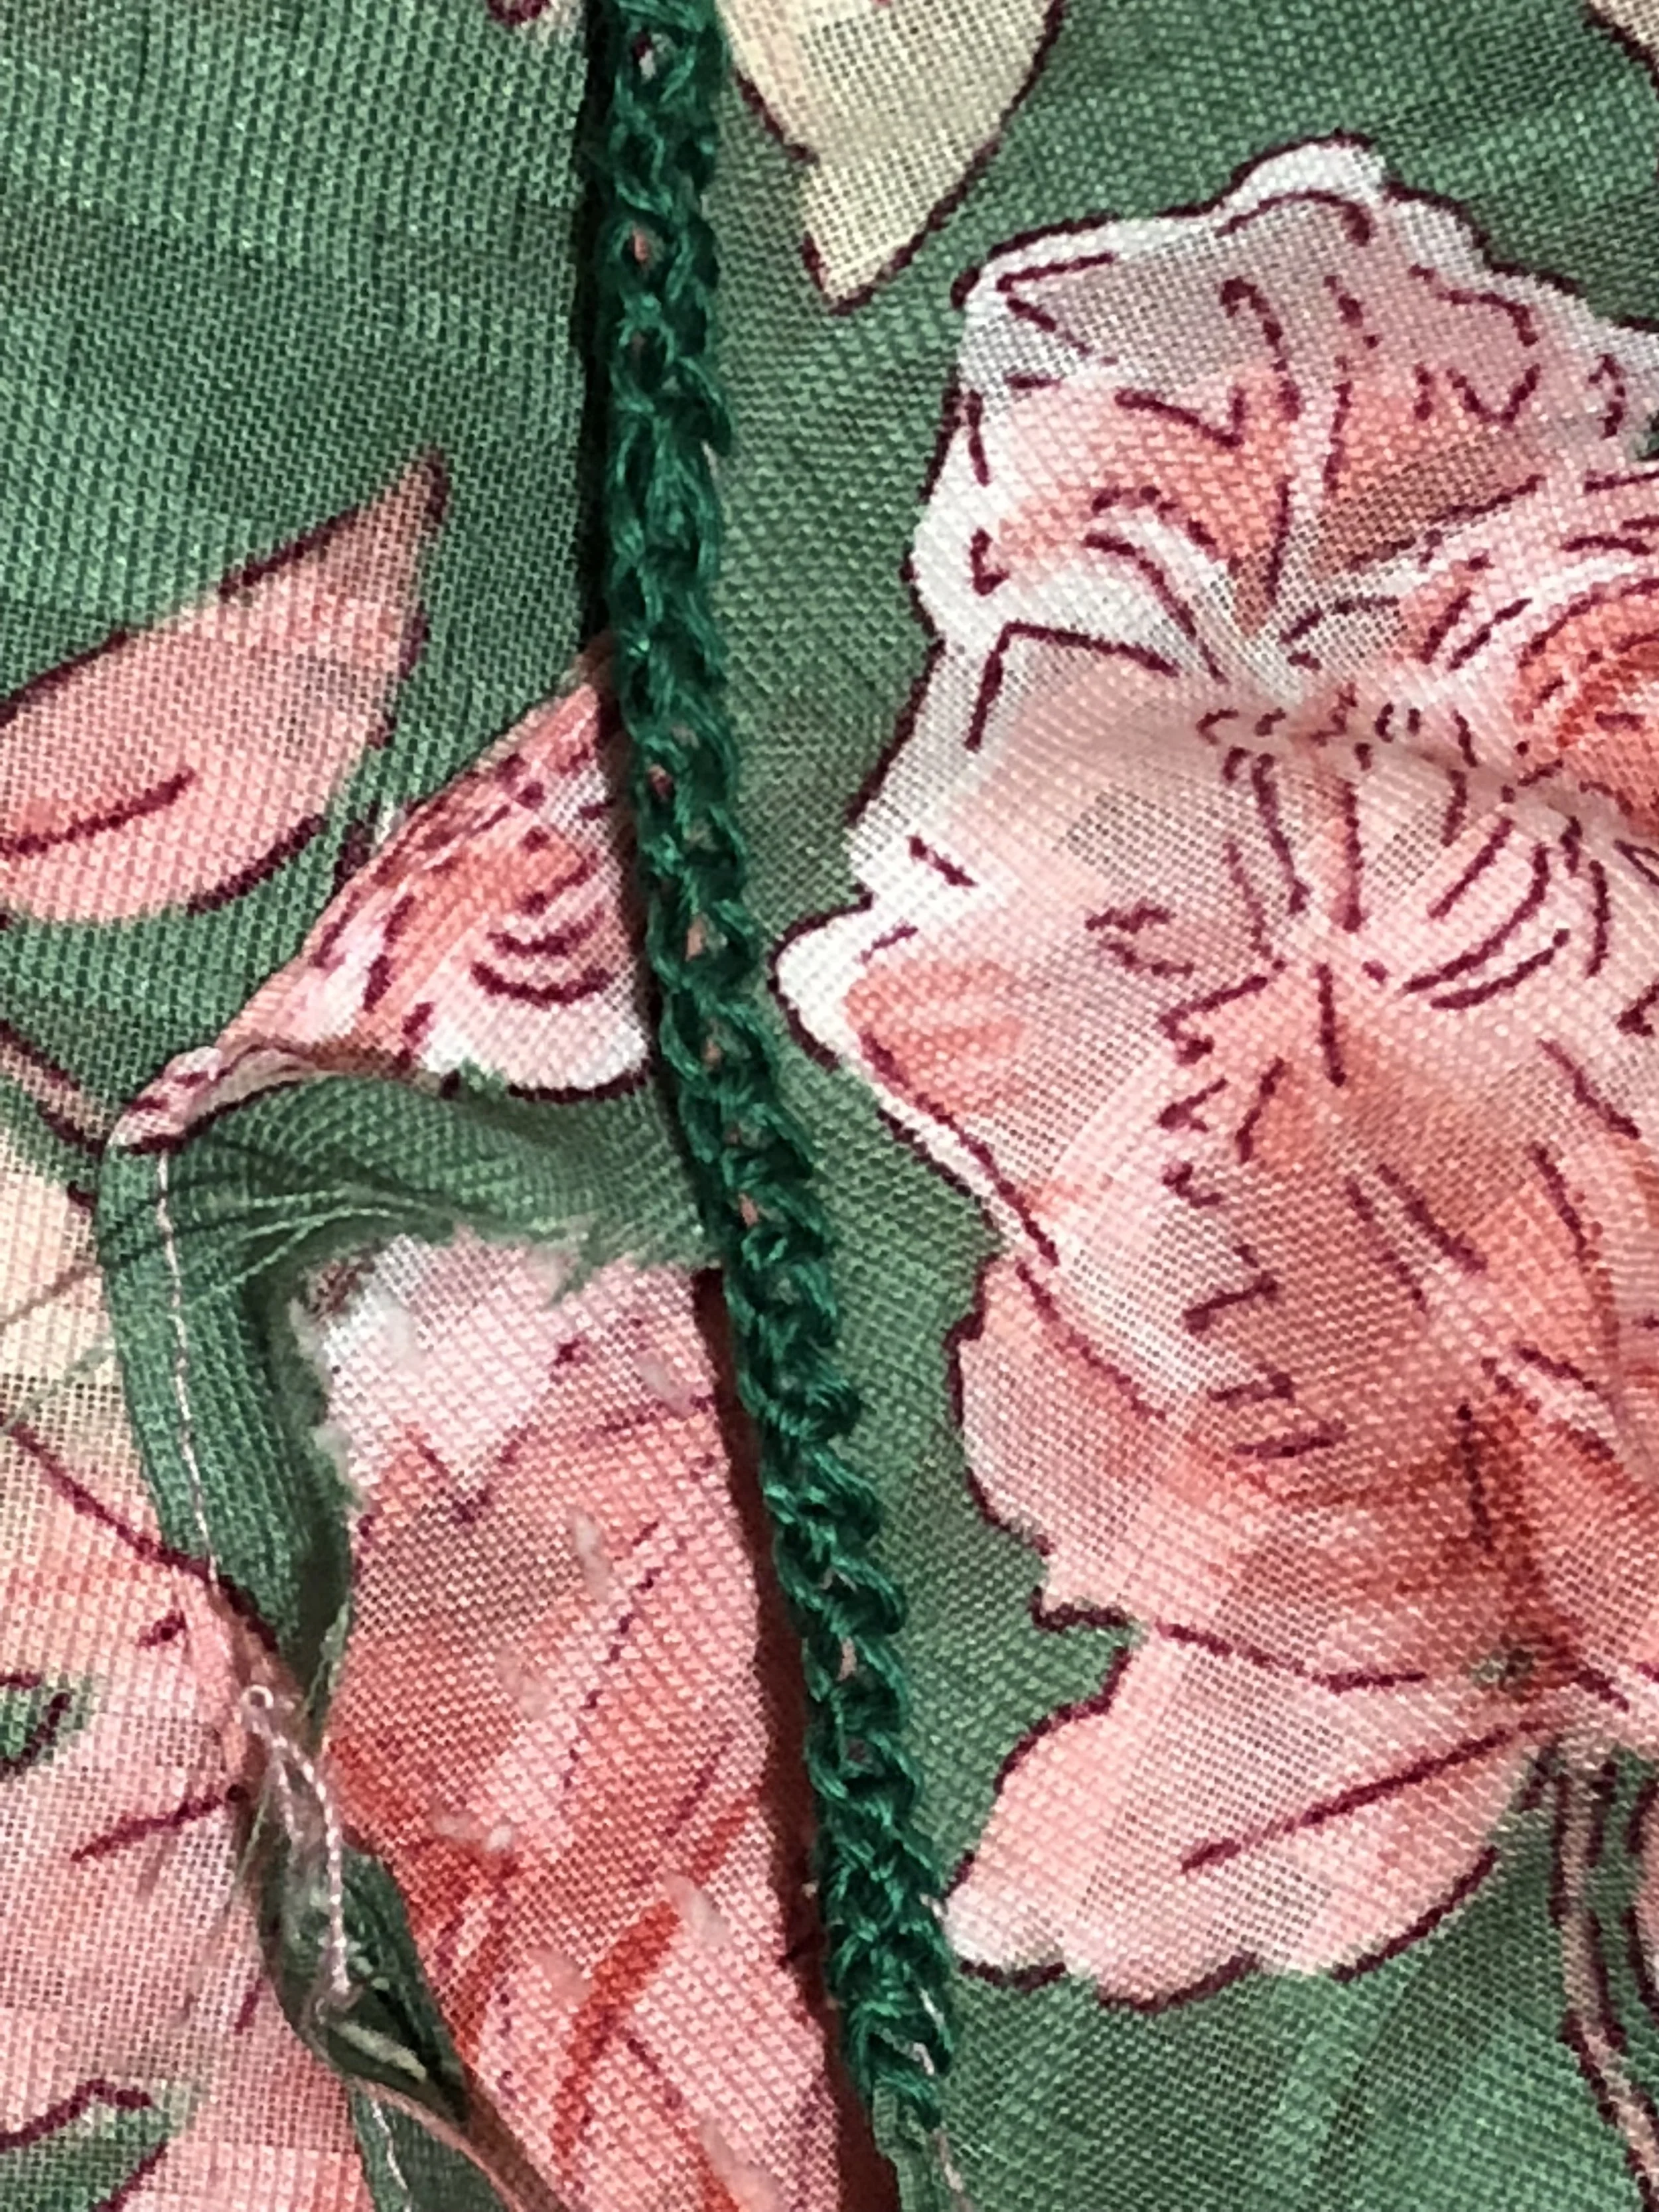
Trim the bias binding at the inside of baju to 1 cm from the neckline as shown. Fold in twice and slip stitch all around.
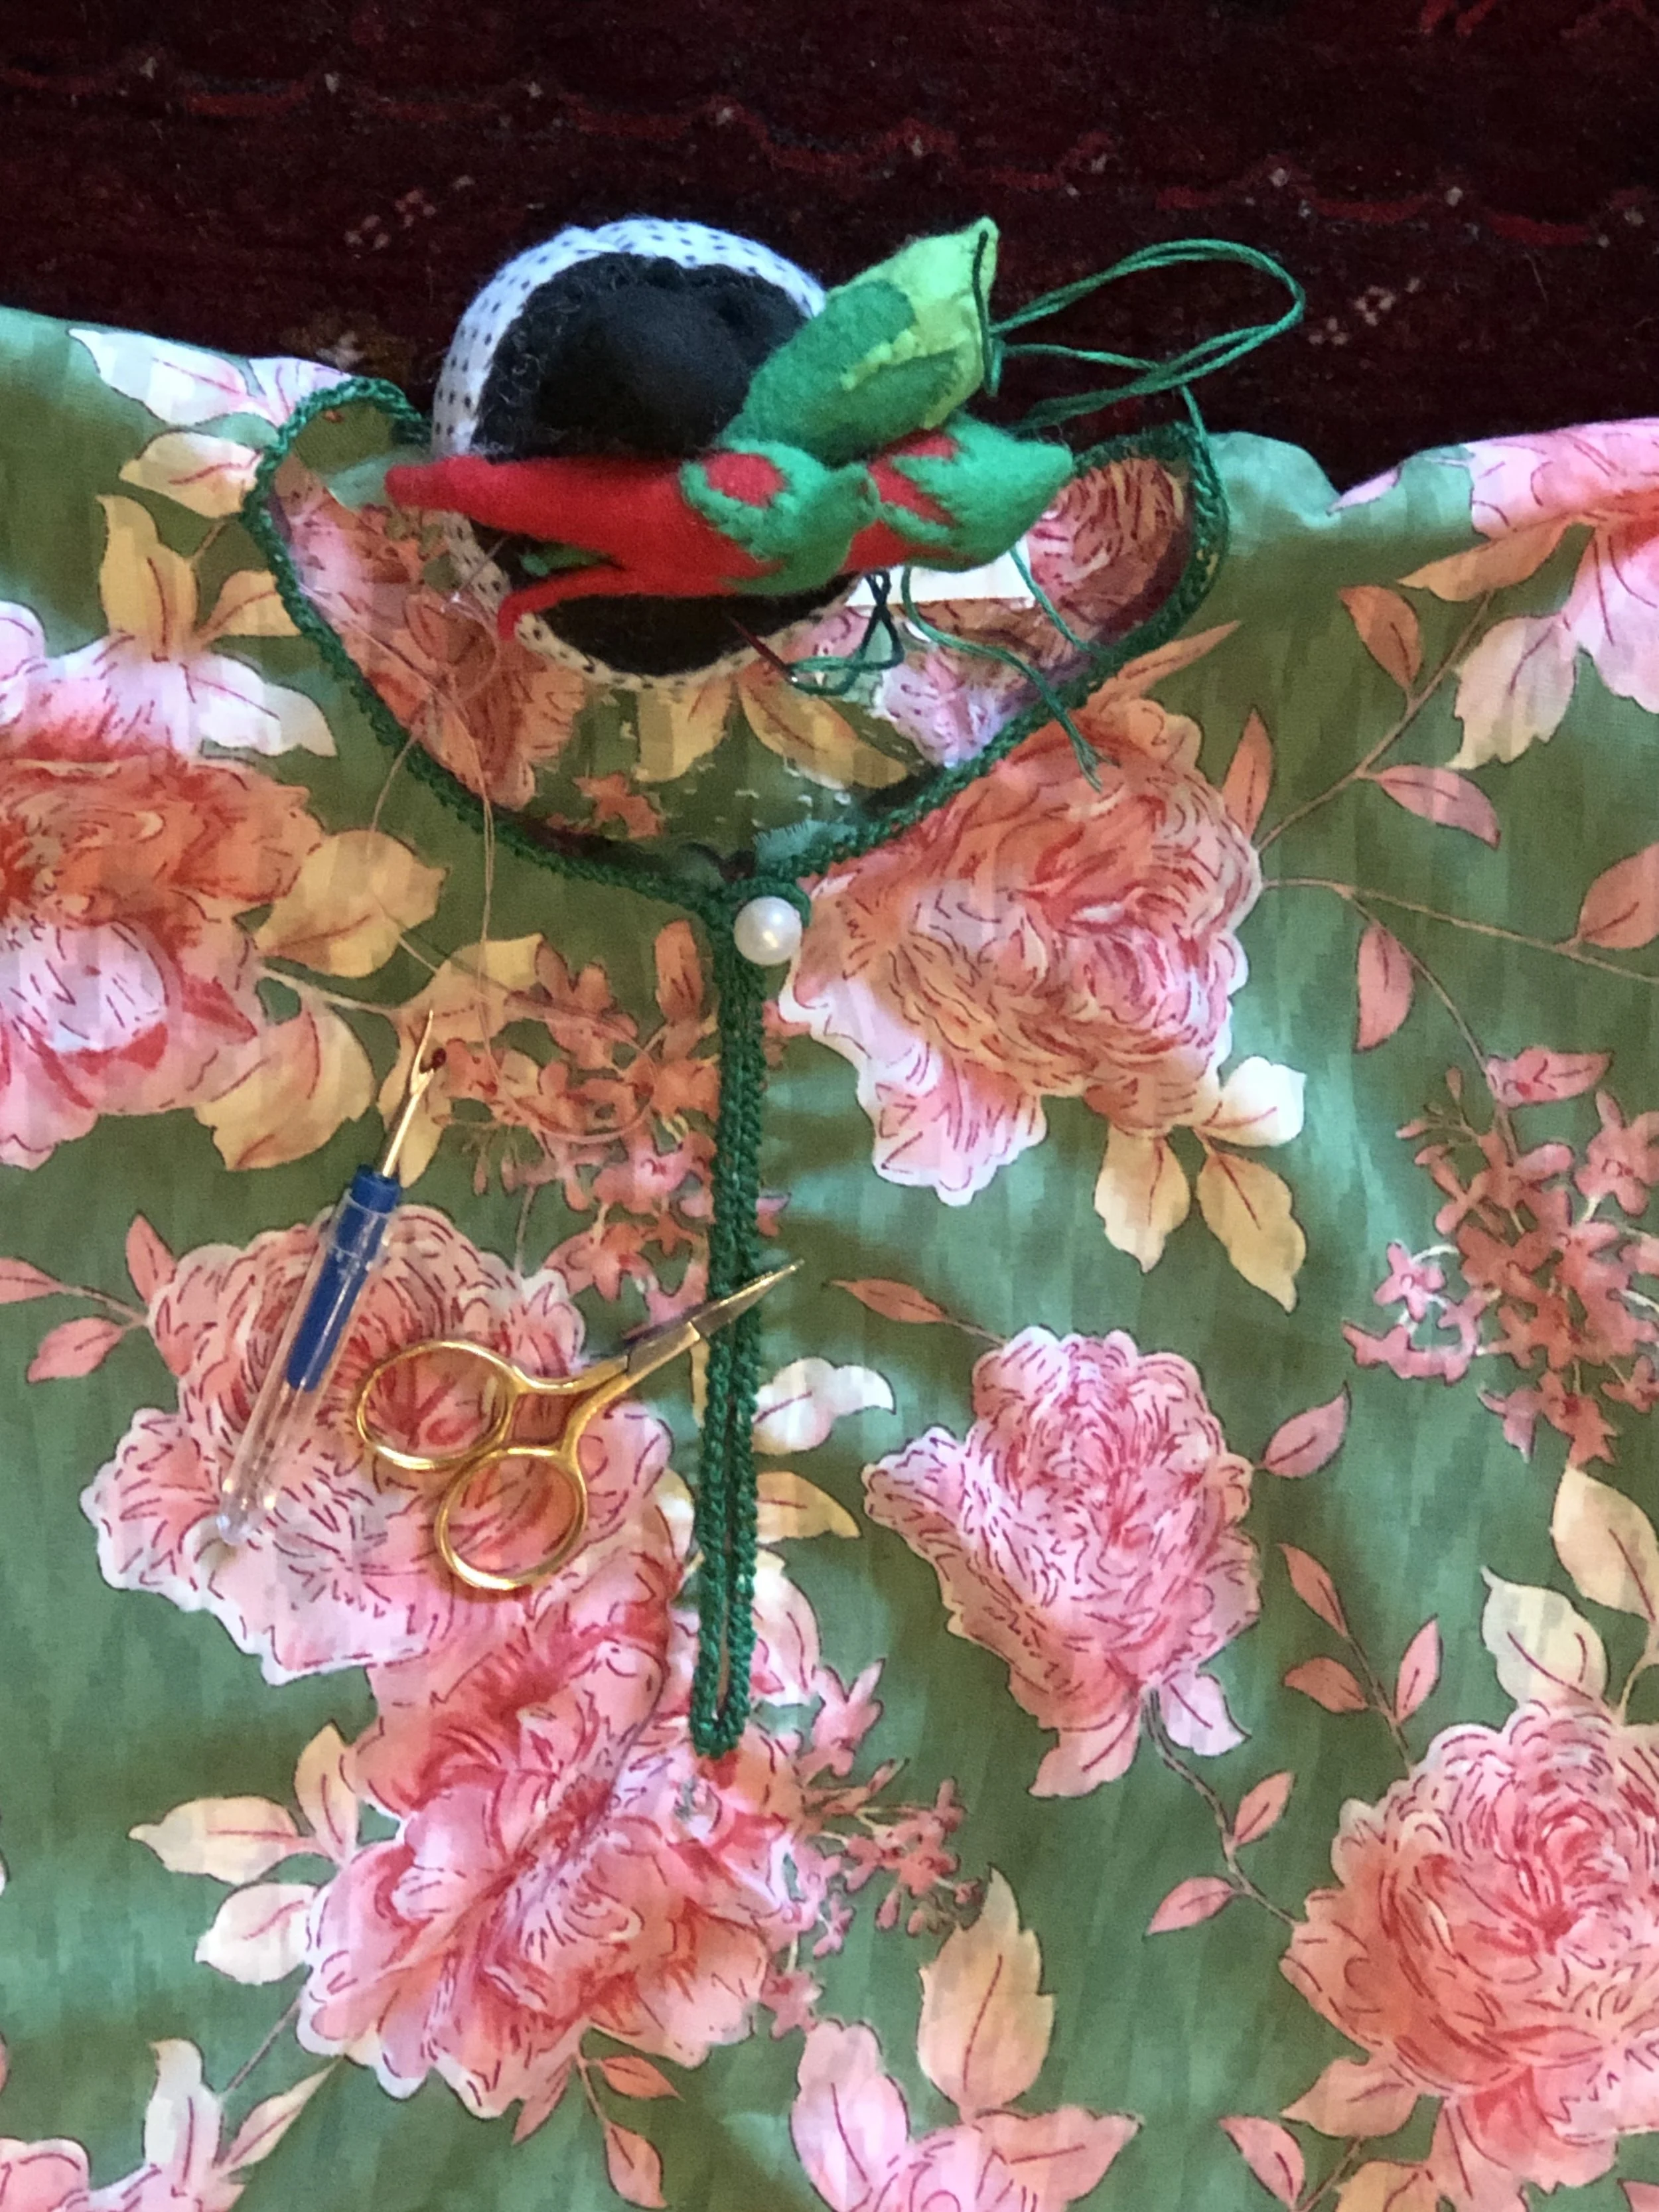
Once done embroider the tulang belut around the top edge of the neckline.
Please refer to the How to Embroider the Tulang Belut for greater detail.
Next sew a small button on the left top side. Sew a button loop with the same thread as the tulang belut on the opposite side as shown.

Finish the other unfinished edges of the baju with a machine overcast or a zigzag.
Trim and tidy the bottom of the baju. Fold 1 inch (2.5 cm ) twice at the baju and sleeves edges. Pin and machine sew in place.
Your baju is complete!


The Sarong/Skirt
My Mum informed that during her time they would often use the Batik sarong and create their own pleats at the side of the sarong. They used a belt (often a traditional metal belt) to secure the sarong in place. I remember using it as a child and not finding it very secure. Our active lifestyle today may not make this a practical option.
Since this baju kurung is for my then 12 year old daughter, I have decided to make a more practical “moderinised” simple sarong with permanent pleats and elastic band.
Measurements (including seam)
Sarong 39 x 42 inches (99 x 107 cm)
Pleat 24 x 20 inches (61 x 51 cm)
Elastic 33 inches (84 cm)
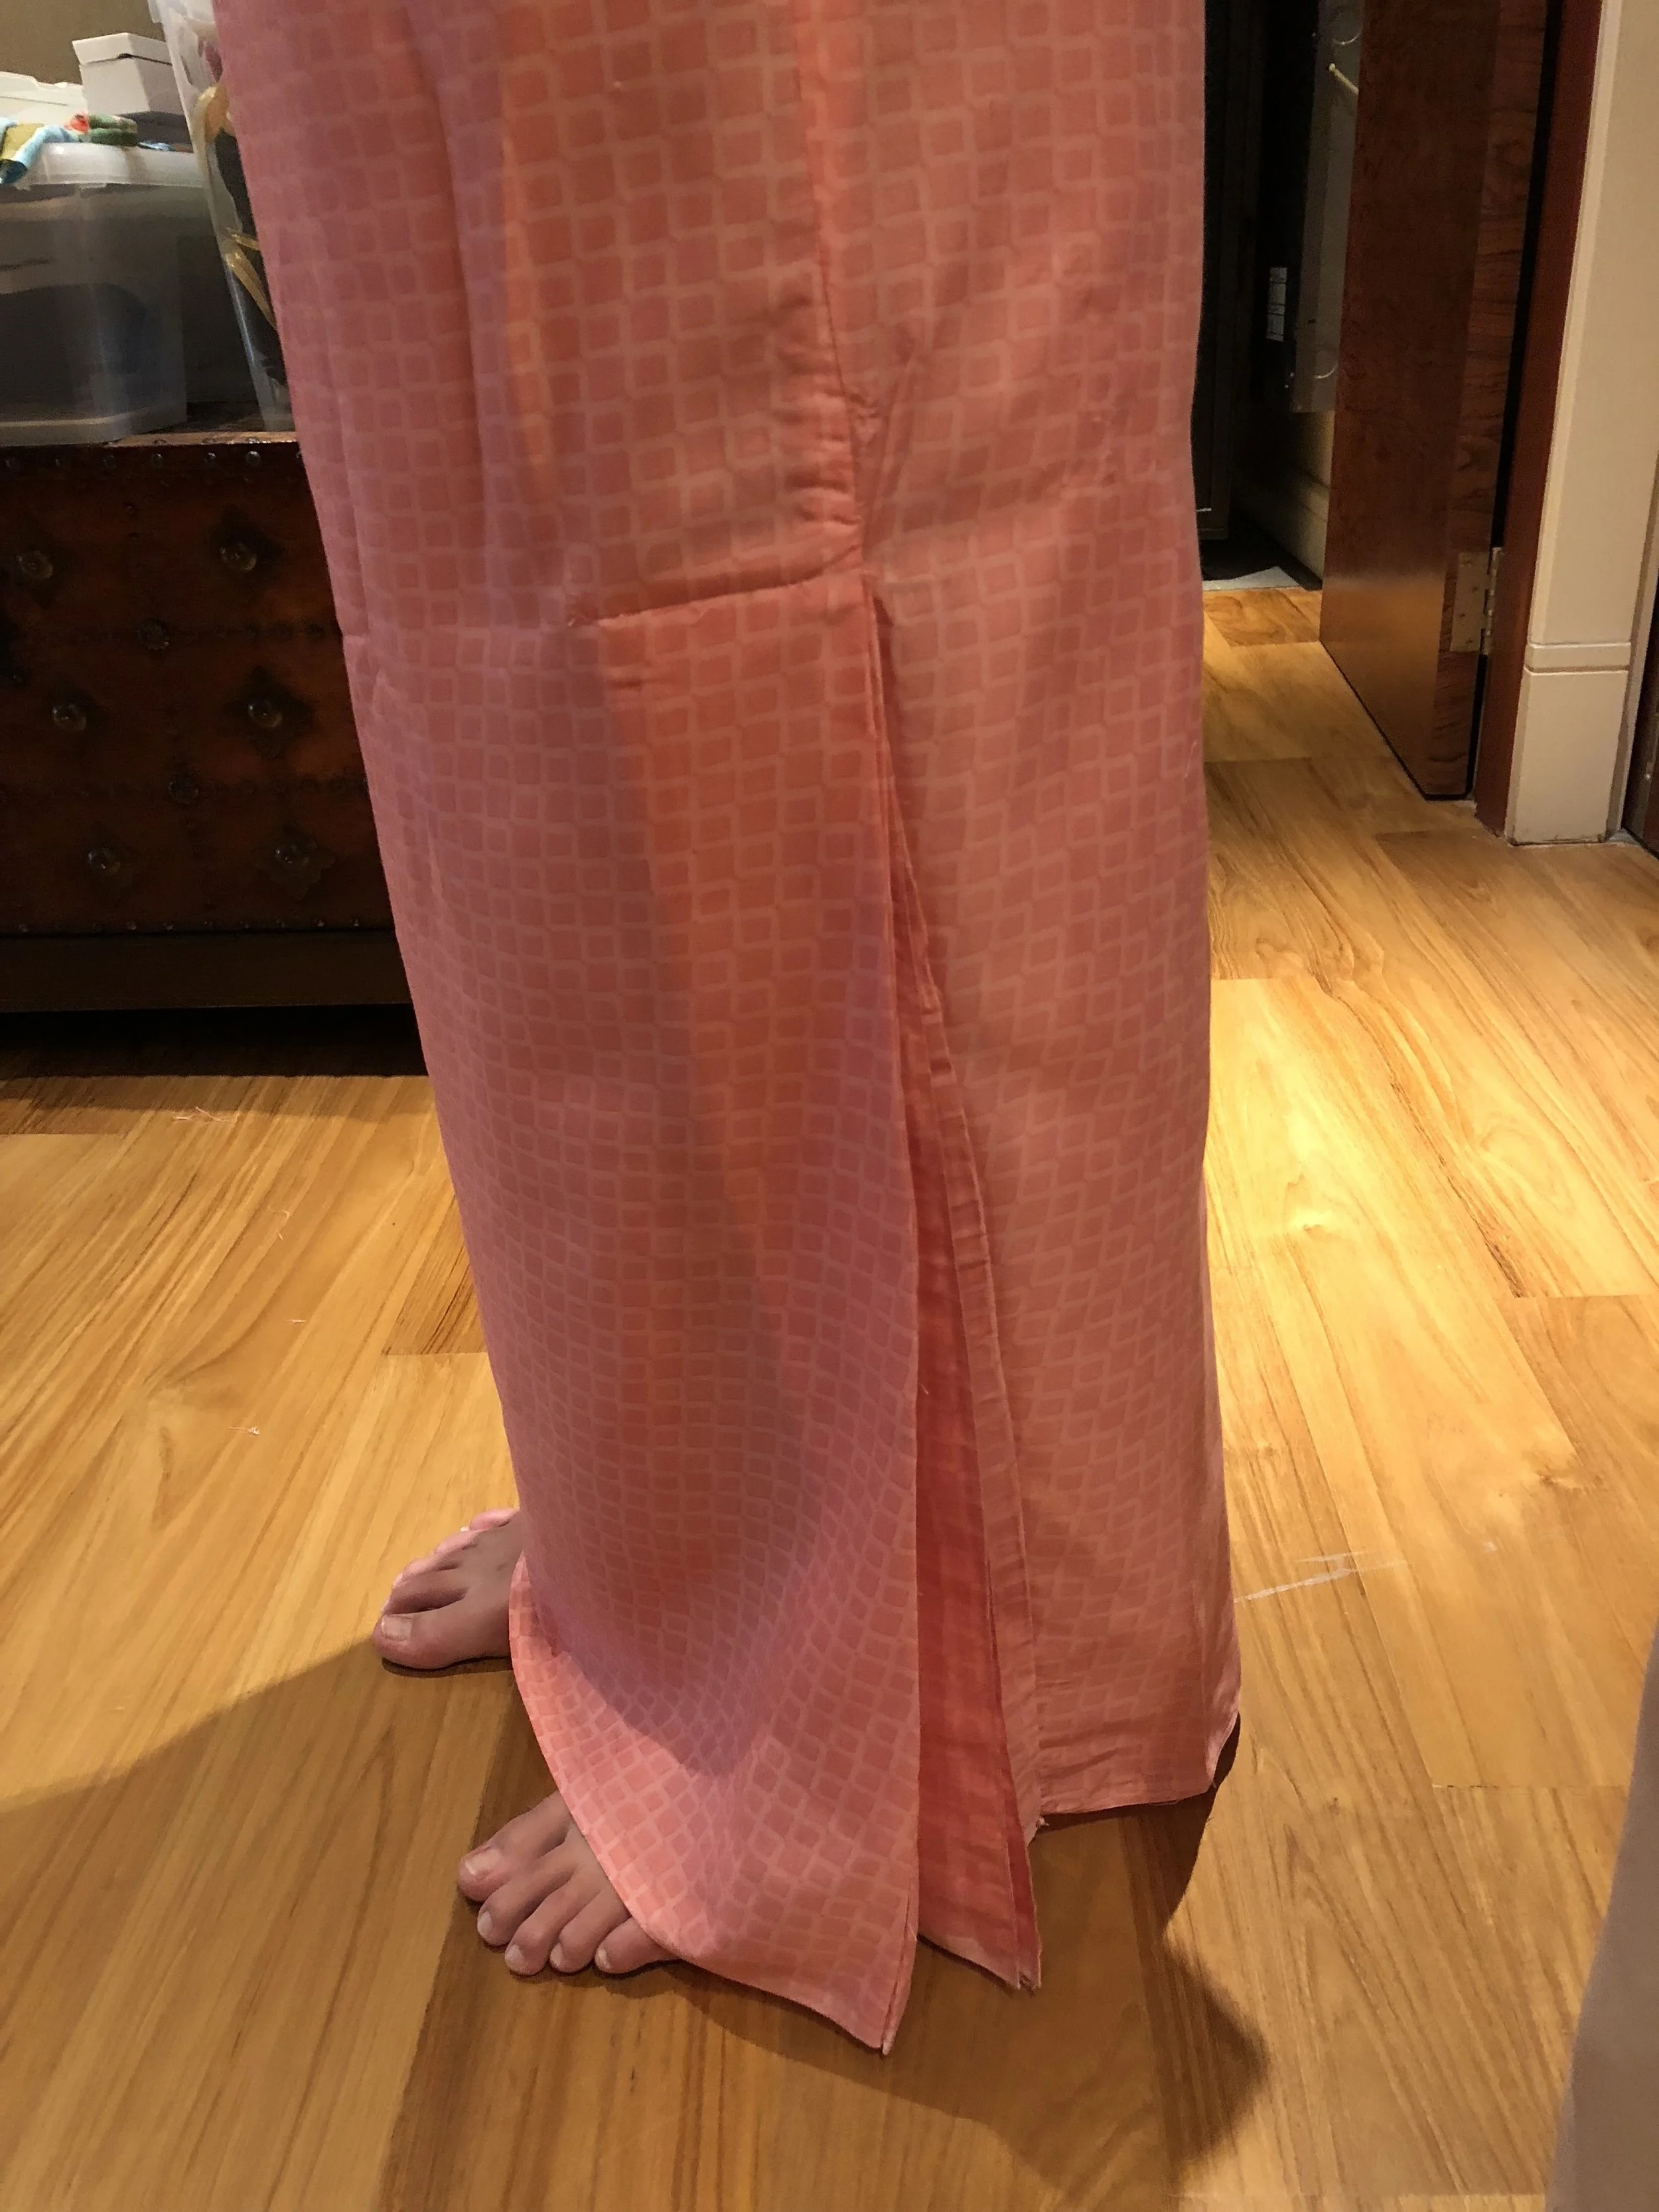
The Pleat
The pleat is very important for the baju kurung sarong for the extra space to move comfortably especially when wearing to traditional Malay house events where you will likely need to sit on the floor. The pleat offers this hidden extra space while maintaining the narrow appearance of the sarong.
I have used the fabric selvage for the bottom of the pleat so the edge does not need additional finishing work.
I am also only making 3 pleats therefore with 6 sides. The pleats will be on the length of the cut fabric.
So pleat length is 24 inches (61 cm) - 1 inch seam (2.5 cm) seam allowance for both sides. = 23 inches (58 cm)
So 23 inches (58cm) divided by 6 = 3.8 inches (9.6 cm) is the width for each pleat.
Please note that the width of first and last pleat will be 1/2 inch longer for the seam.
Now mark these measurements on the width of the fabric and fold on the marked lines. Please note that the first and last slightly longer pleats will both face the same direction once folded. Wrong side of the fabric should be facing out. Pin on every fold to secure.
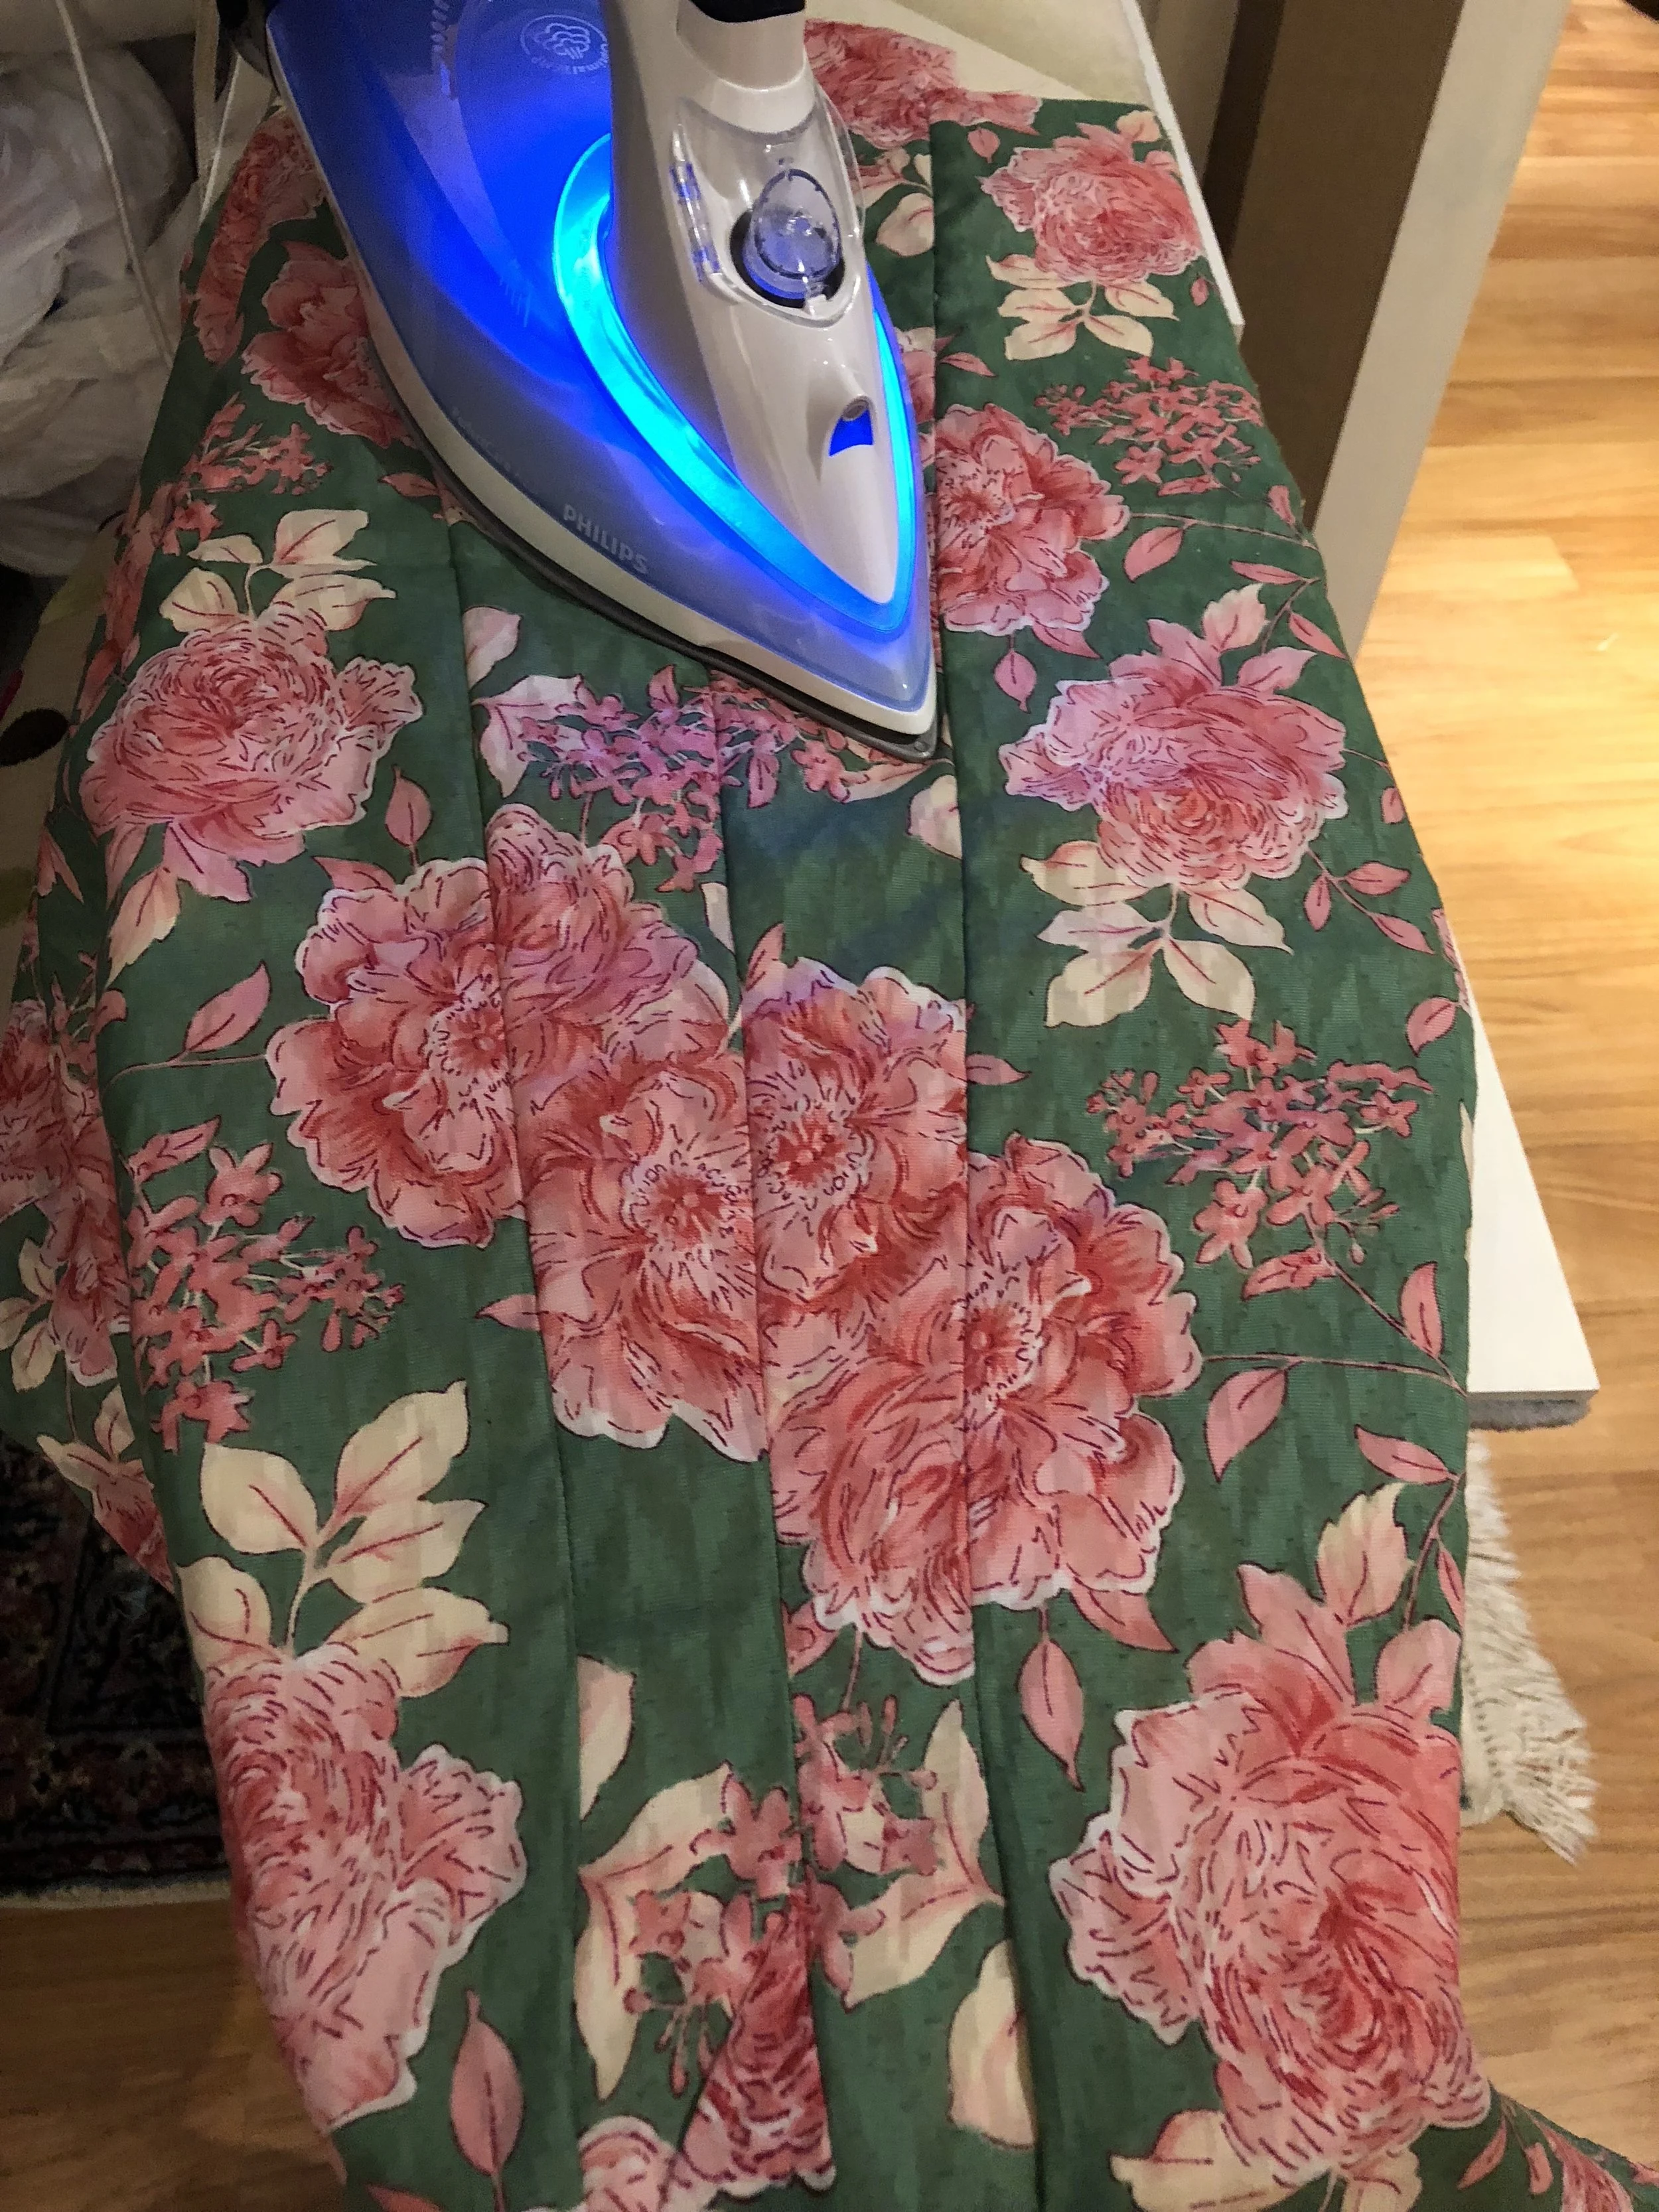
Remove pins slowly and iron each pleat until completely flat.
Machine sew each pleat as close to the edge as possible giving them more structure and shape. Remember to always follow the marked lines.


The Elastic
A selvage is a “self finished”edge of the fabric. Since the width of the fabric is the perfect length that I need for the Sarong, the selvage will not require me to add any additional finishing work.
Fold in 2 inches (5 cm ) wrong sides together at the top of the fabric (the selected top of the sarong) . Pin and machine sew close to the edge. Leave the ends unstitched for inserting elastic.

Insert the elastic with a safety pin and pull through the other end.
Pin both sides of the elastic to secure. Machine sew both ends of the elastic to the sarong for the waist. Your sarong should look as the photo below.


Attaching Pleat to Sarong
Fold the top of pleat 1 cm for a neat finish. Pin and machine sew.
The pleat selvage is the bottom.
Position one side of the pleat to one corner edge of the sarong , wrong sides together. Please ensure the pleat seam (which is slightly longer ) is positioned on the seam of the sarong. Pin and machine sew attaching the pleat to the sarong.
Now repeat for the other side of the pleat.


Pin the whole length of the unsewn sarong, right sides together, holding them in place.
Machine sew until the top or the beginning of the pleat. Remember NOT to sew beyond the top position of the pleat as it is now the opening of the pleat from outside. The sarong is already attached to the pleat from this position on both sides.


Pin the top flap of the pleat to the right side of the sarong as shown. This is now the front of sarong. Machine sew in place.
Finish the sarong with machine overcast or zig zag.
Iron the sarong and pleat from the inside as shown.
Your sarong is done!


My daughter was so excited to wear the baju. It was definitely a precious moment to see the completed simple baju kurung on my daughter that my Mum taught me to make.
I really hope one day my daughter will pass this knowledge to her daughter, to the next generation!
It was fun making this project and I hope you enjoy making it as much as I did!