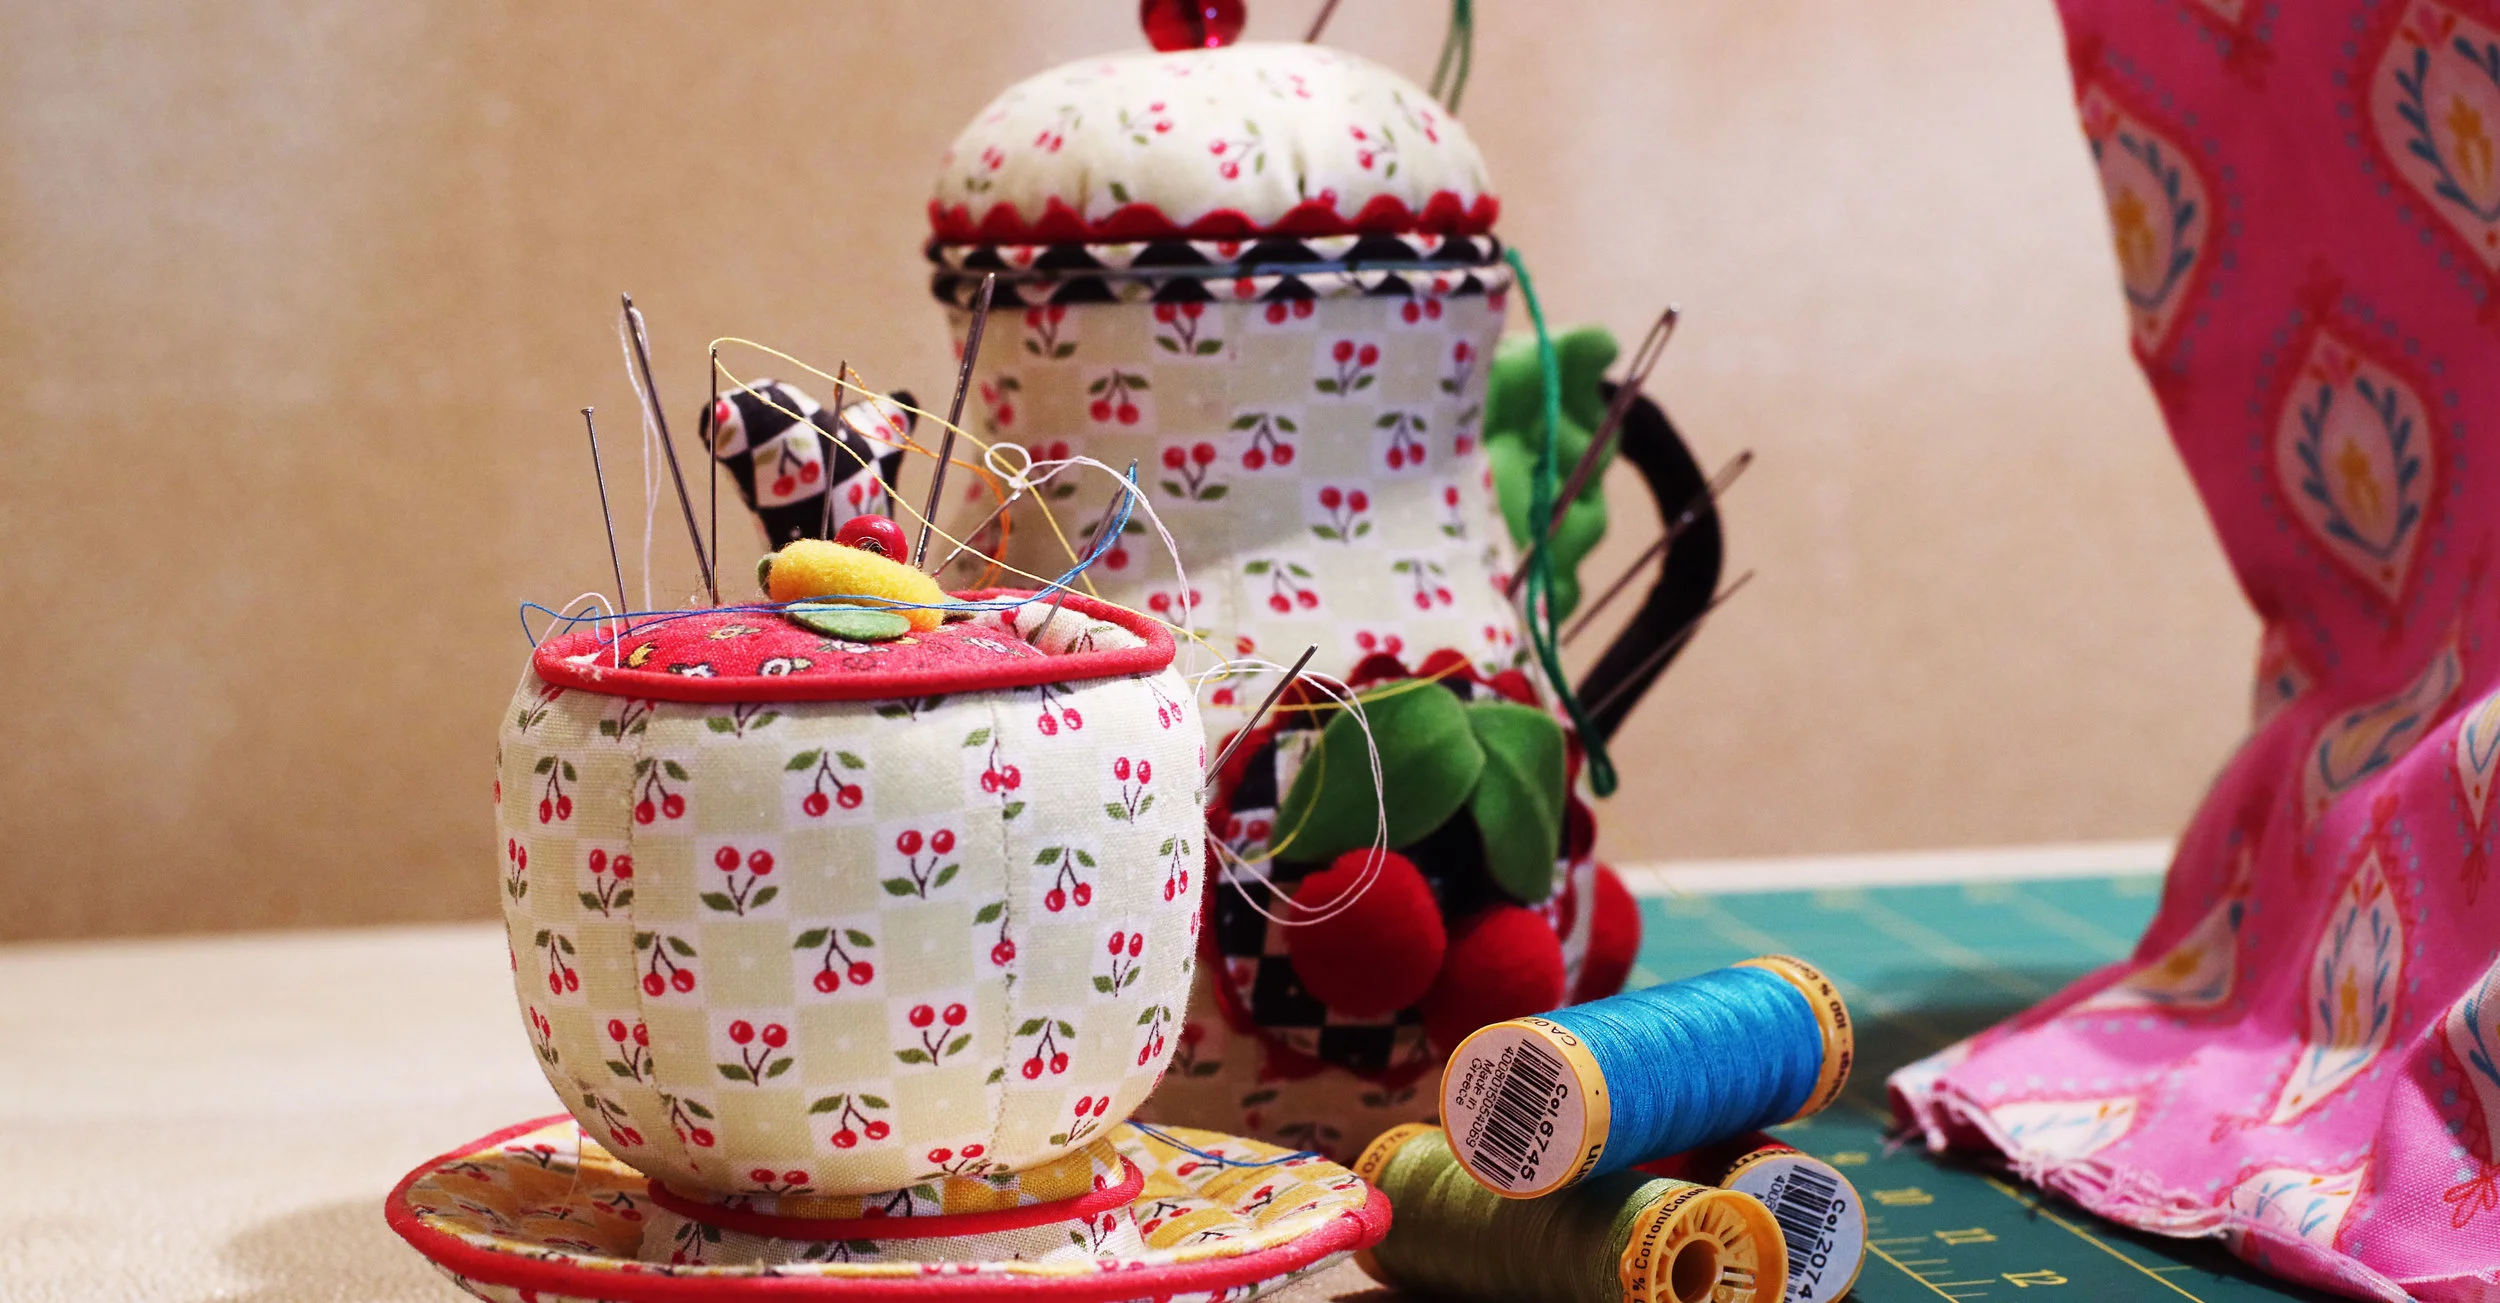
Tea Bag Cosy
It is always nice not to mention useful to have tea cosies at home.
The most common being the practical dome-shaped ones which are always a safe and lovely design. But I really wanted to make one that was different from that we are familiar with.
I thought it would be cute to have a tea cosy shaped like a teabag!
For this project, it is important to choose a teapot that is narrow and tall to compliment the shape of a teabag.
I have also used a strong upholstery fabric as they are stronger and will help make this higher tea cosy stand better.

How to Measure the Teapot
To begin, start by measuring the height of your chosen teapot. In this case, it is 8 1/2 inches (22cm). I have decided to add 5 inches (13cm).to include the tea bag design at the top. The height/ length needed for the fabric will be 8 1/2 + 5 inches = 13 1/2 inches (34cm) .
Now measure the widest part of the teapot. In this case, it is 18 inches (46cm). I’m adding 2 inches (5cm) room for each side of the teapot. So 2 inches x2 sides = 4 inches (10cm). Total width is 18 + 4 inches = 22 inches (56cm). Therefore 11 inches (28cm) width for each of the front and back of the teapot.


Materials
Based on the measurements of the above teapot, the materials needed for this project are as follows;
13 1/2 x 11 inches (34 x 28 cm) x 2 Uphostery fabric (White)
8 1/2 x 11 inches (22 x 28 cm) x 2 Striped cotton Lining cut Vertically
3 x 11 inches (8 x 28 cm) x 2 Striped cotton Lining cut Horizontally
0.3 x 11 inches (1 x 28 cm) White cotton bias binding
1 x 22 inches (2.5 x 56 cm) Black cotton bias binding
10 x 11 inches (25 x 28 cm) x2 Insulated Wadding
Tea Bag Label
Approximately 5 1/2 x 5 1/2 inches (14 x 14 cm) Yellow Cotton
0.3 x 8 inches (1 x 20 cm) white bias binding
Embellish
Approximately 30 Black Buttons of various sizes and designs
Steps
Tea Bag Label
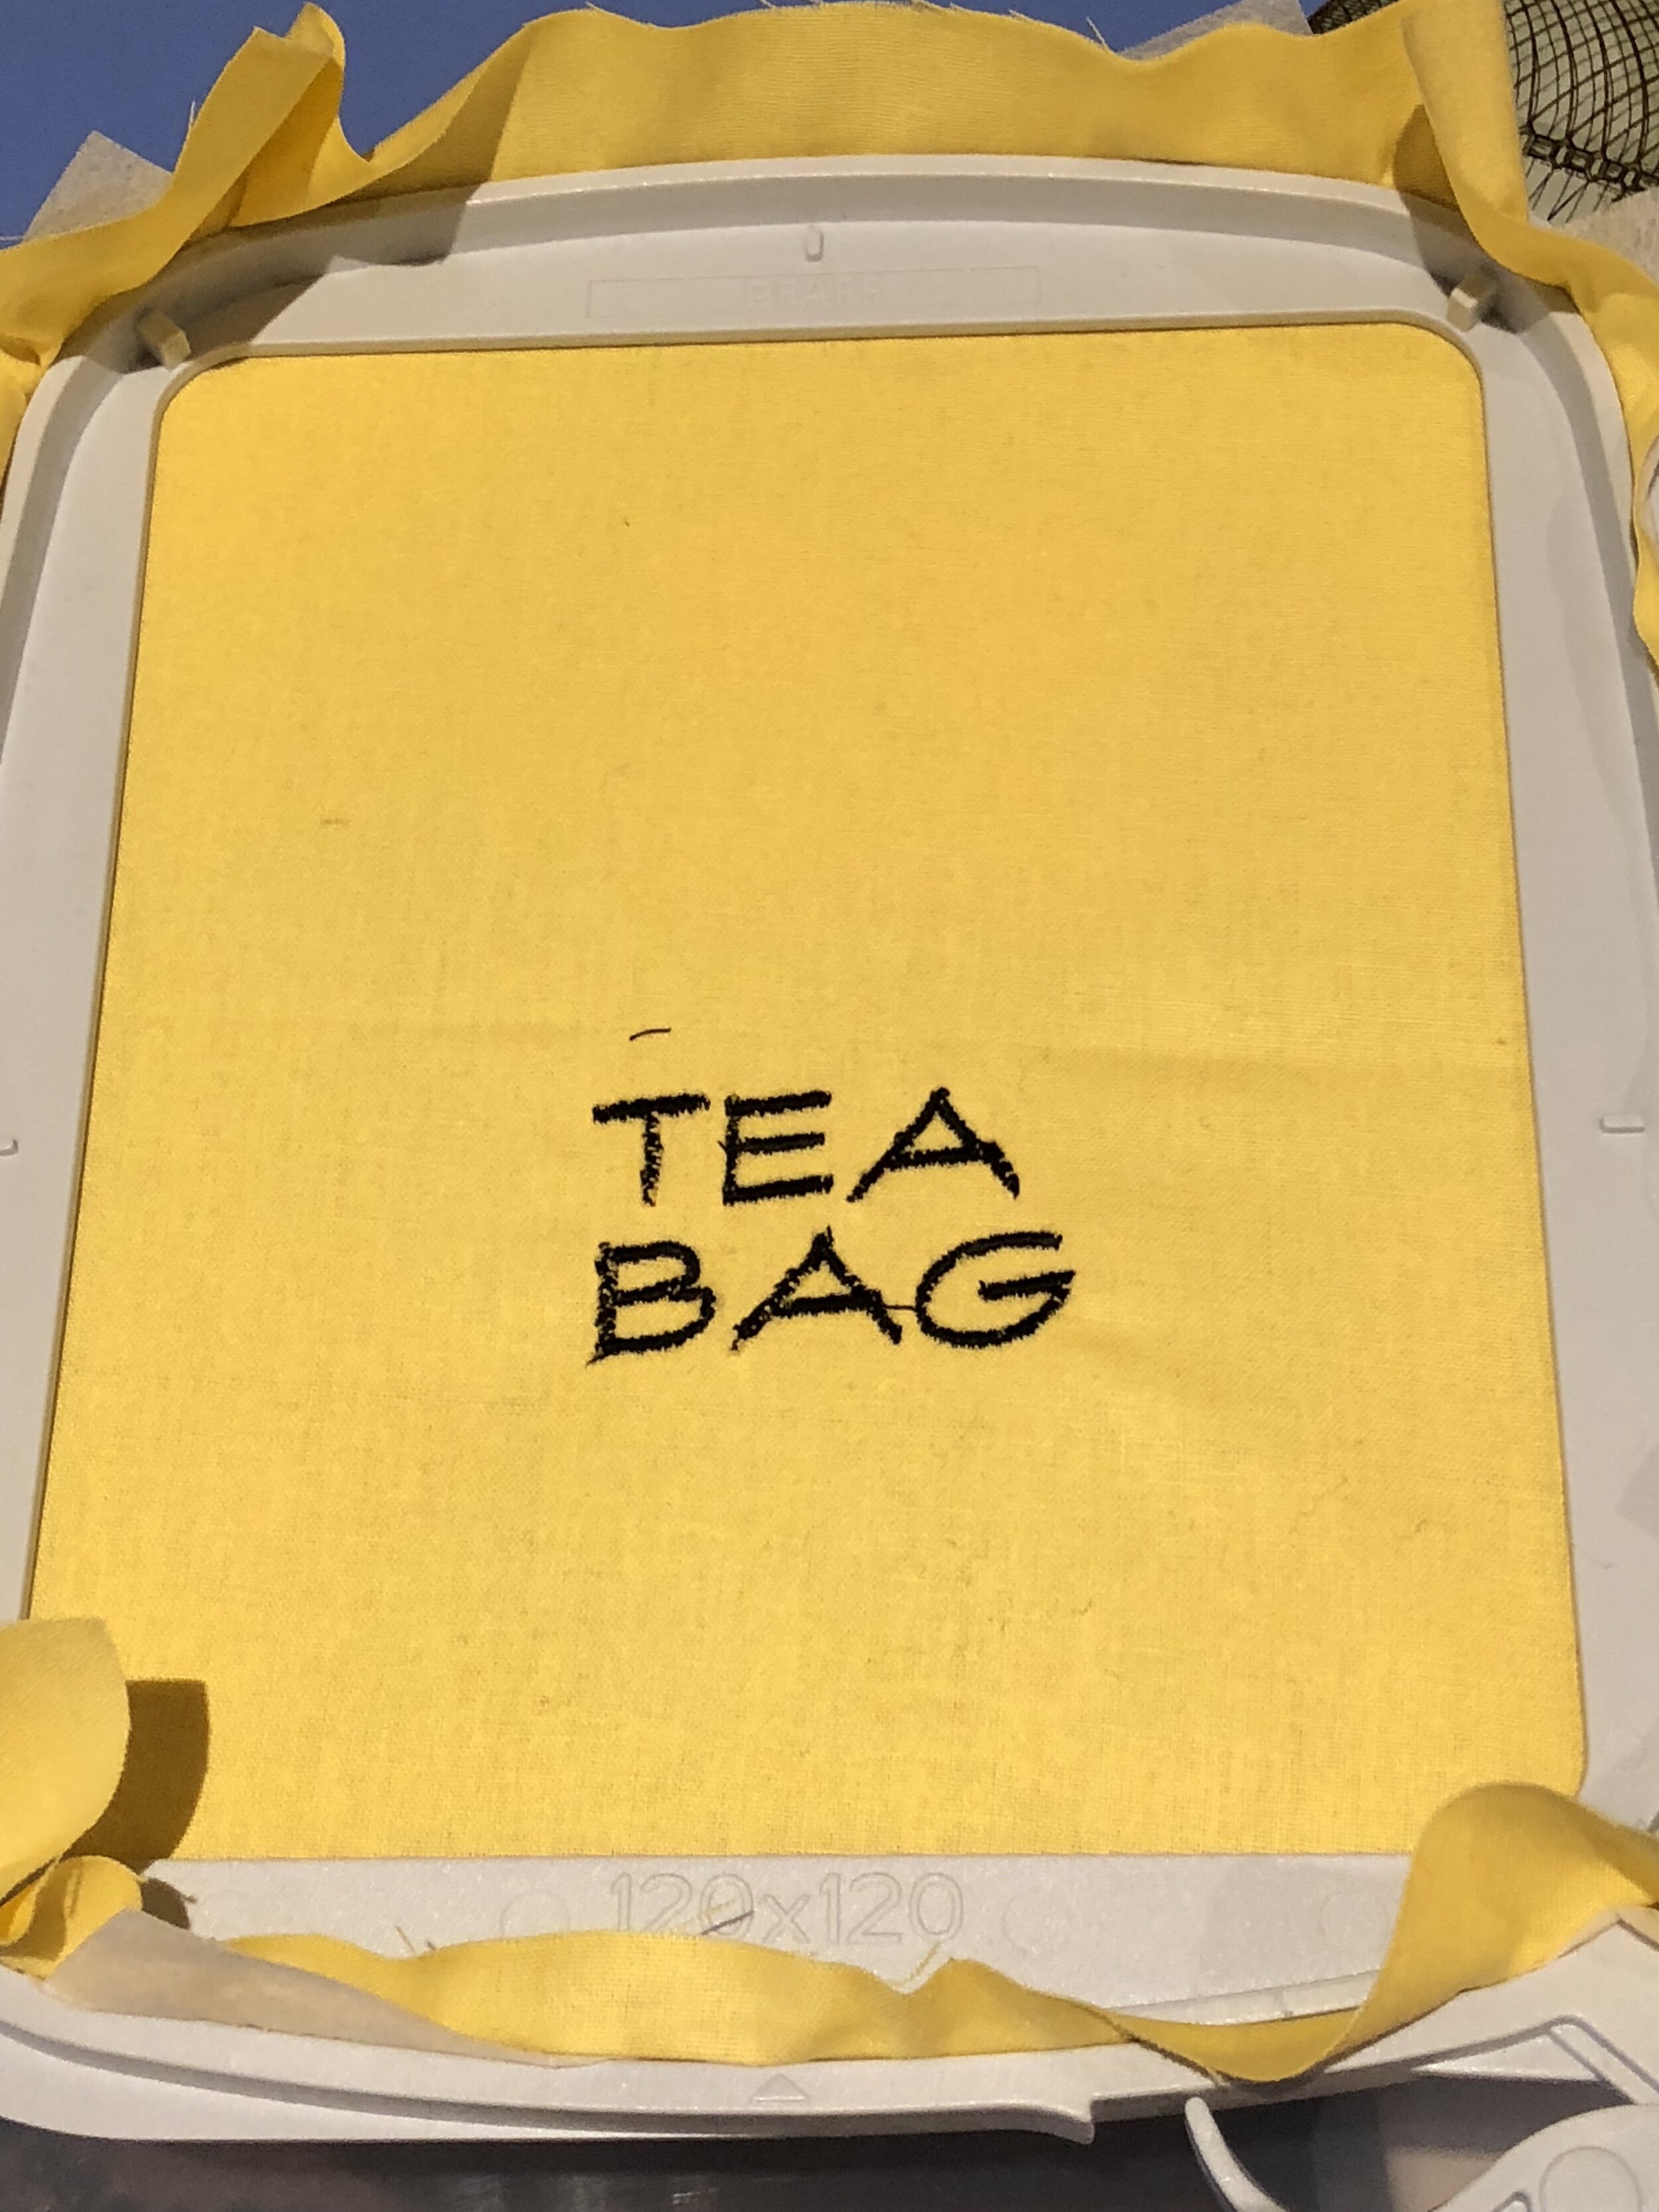
Follow the instructions of your sewing machine and place the yellow fabric (and backing) on the machine embroidery hoop. Embroider the words “TEA BAG “ or any words you prefer. Once done, cut out 2 pieces: One around the embroidered words to look like a label, and the other plain for the back of the label. Both pieces identical in size. The fabric should be enough for both pieces.
Alternatively, if your machine doesn’t have the embroidery function, using a printed fabric without any lettering is great too.

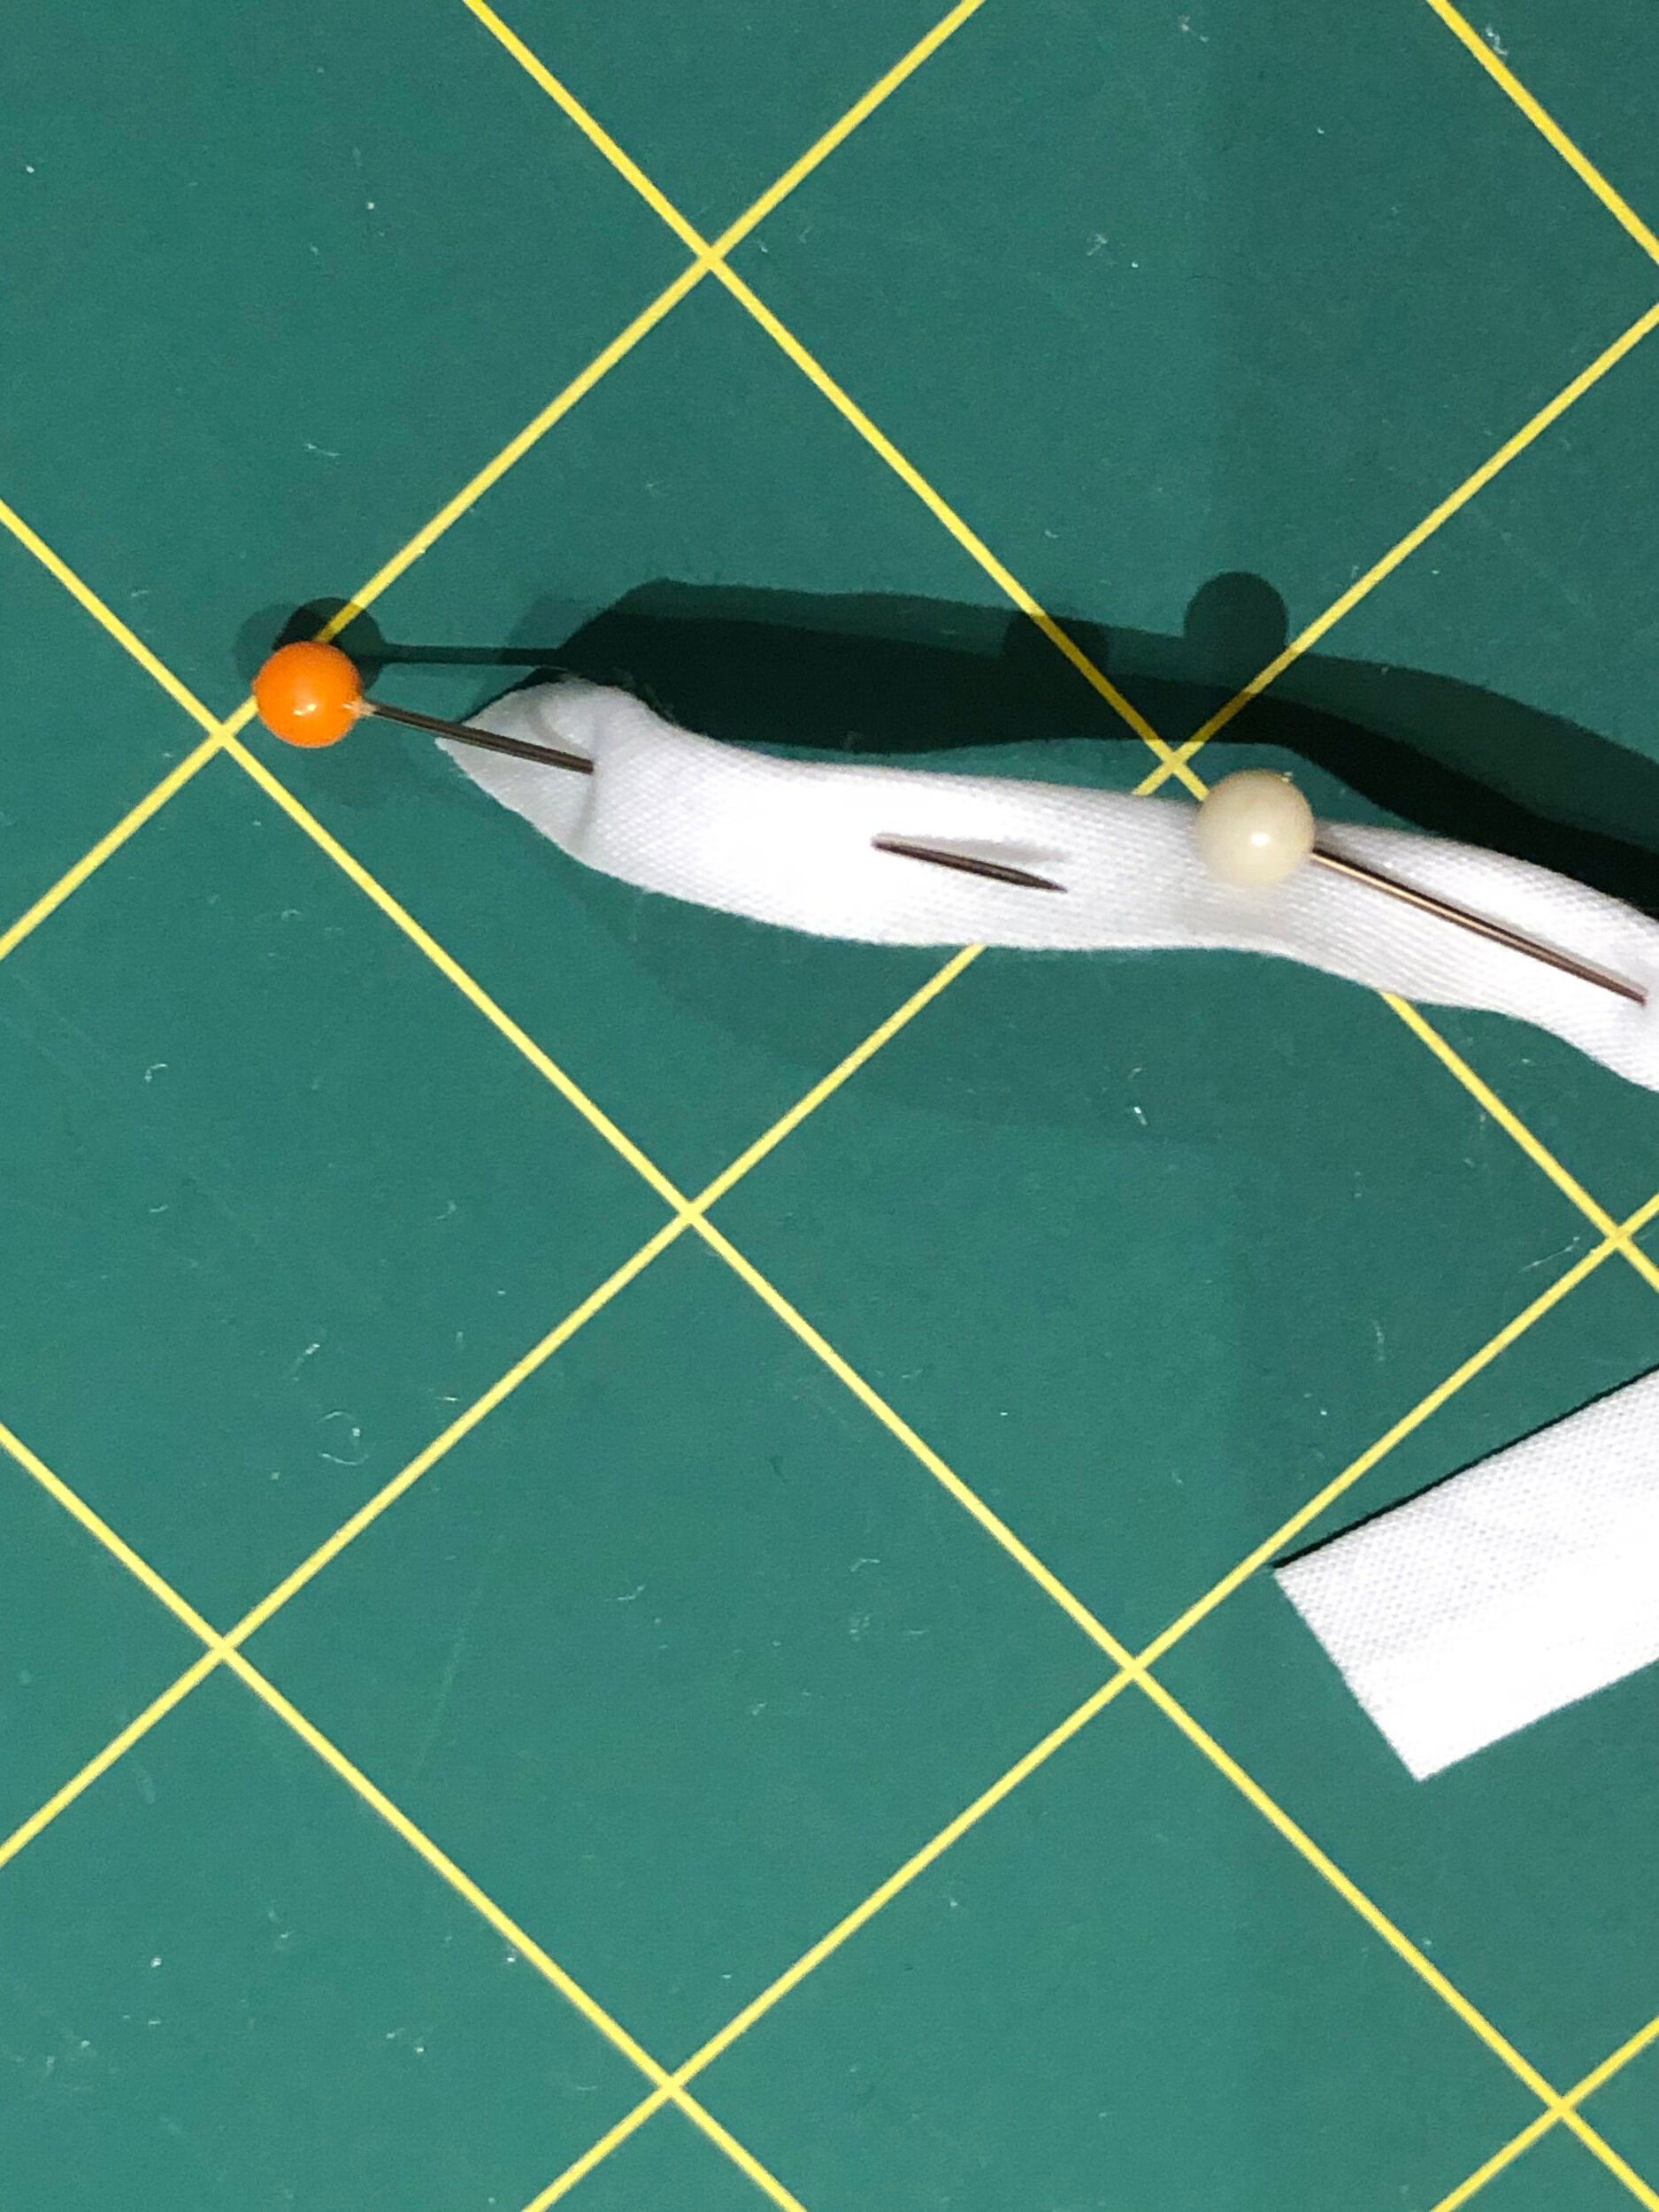
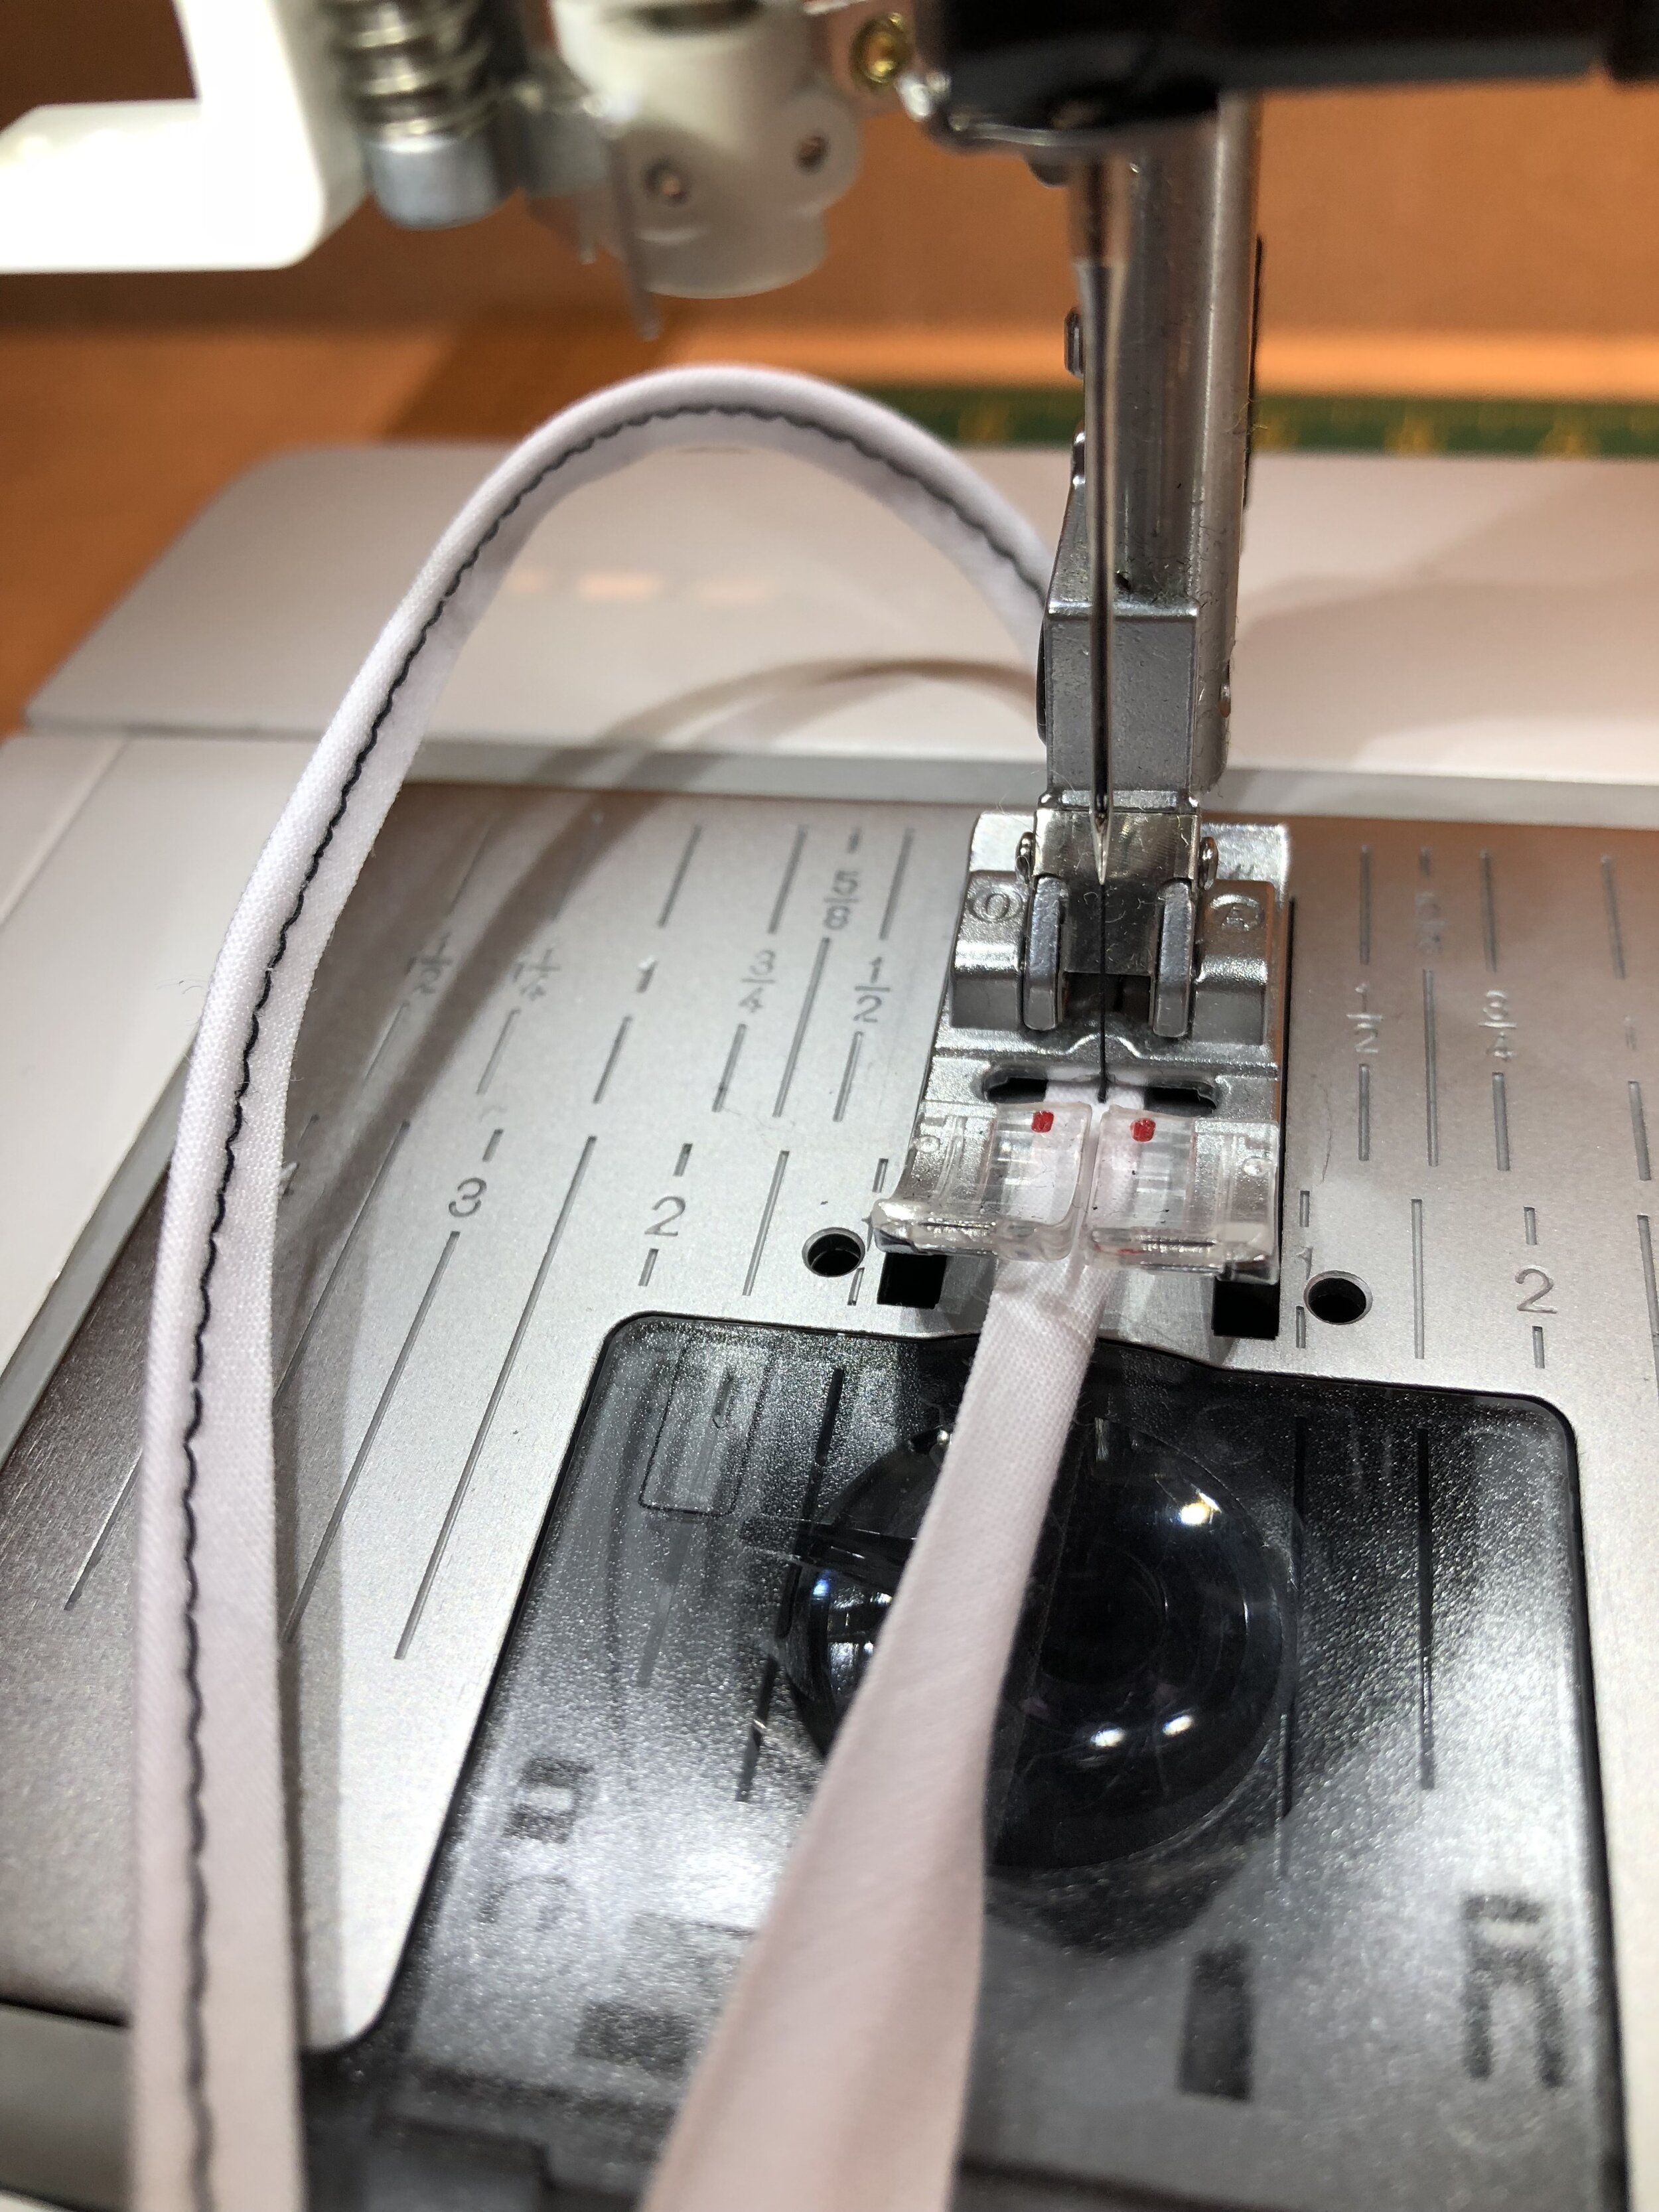
Next, fold the white bias binding lengthwise in half. Pin and machine sew with black thread for contrast as shown.
This is now the “string” for the Tea Bag and the label.

Position the teabag “string” behind and at the top centre of the front of the label.
Place the plain yellow fabric at the back. Fold inwards about 1/2 cm all around as shown below. Pin and baste with a running stitch to secure.
Embroider all around as shown to secure and finish the label.
Alternatively, a simple running stitch or a zig-zag is possible too, whichever you prefer.
Put aside.


Tea Cosy - Main Body
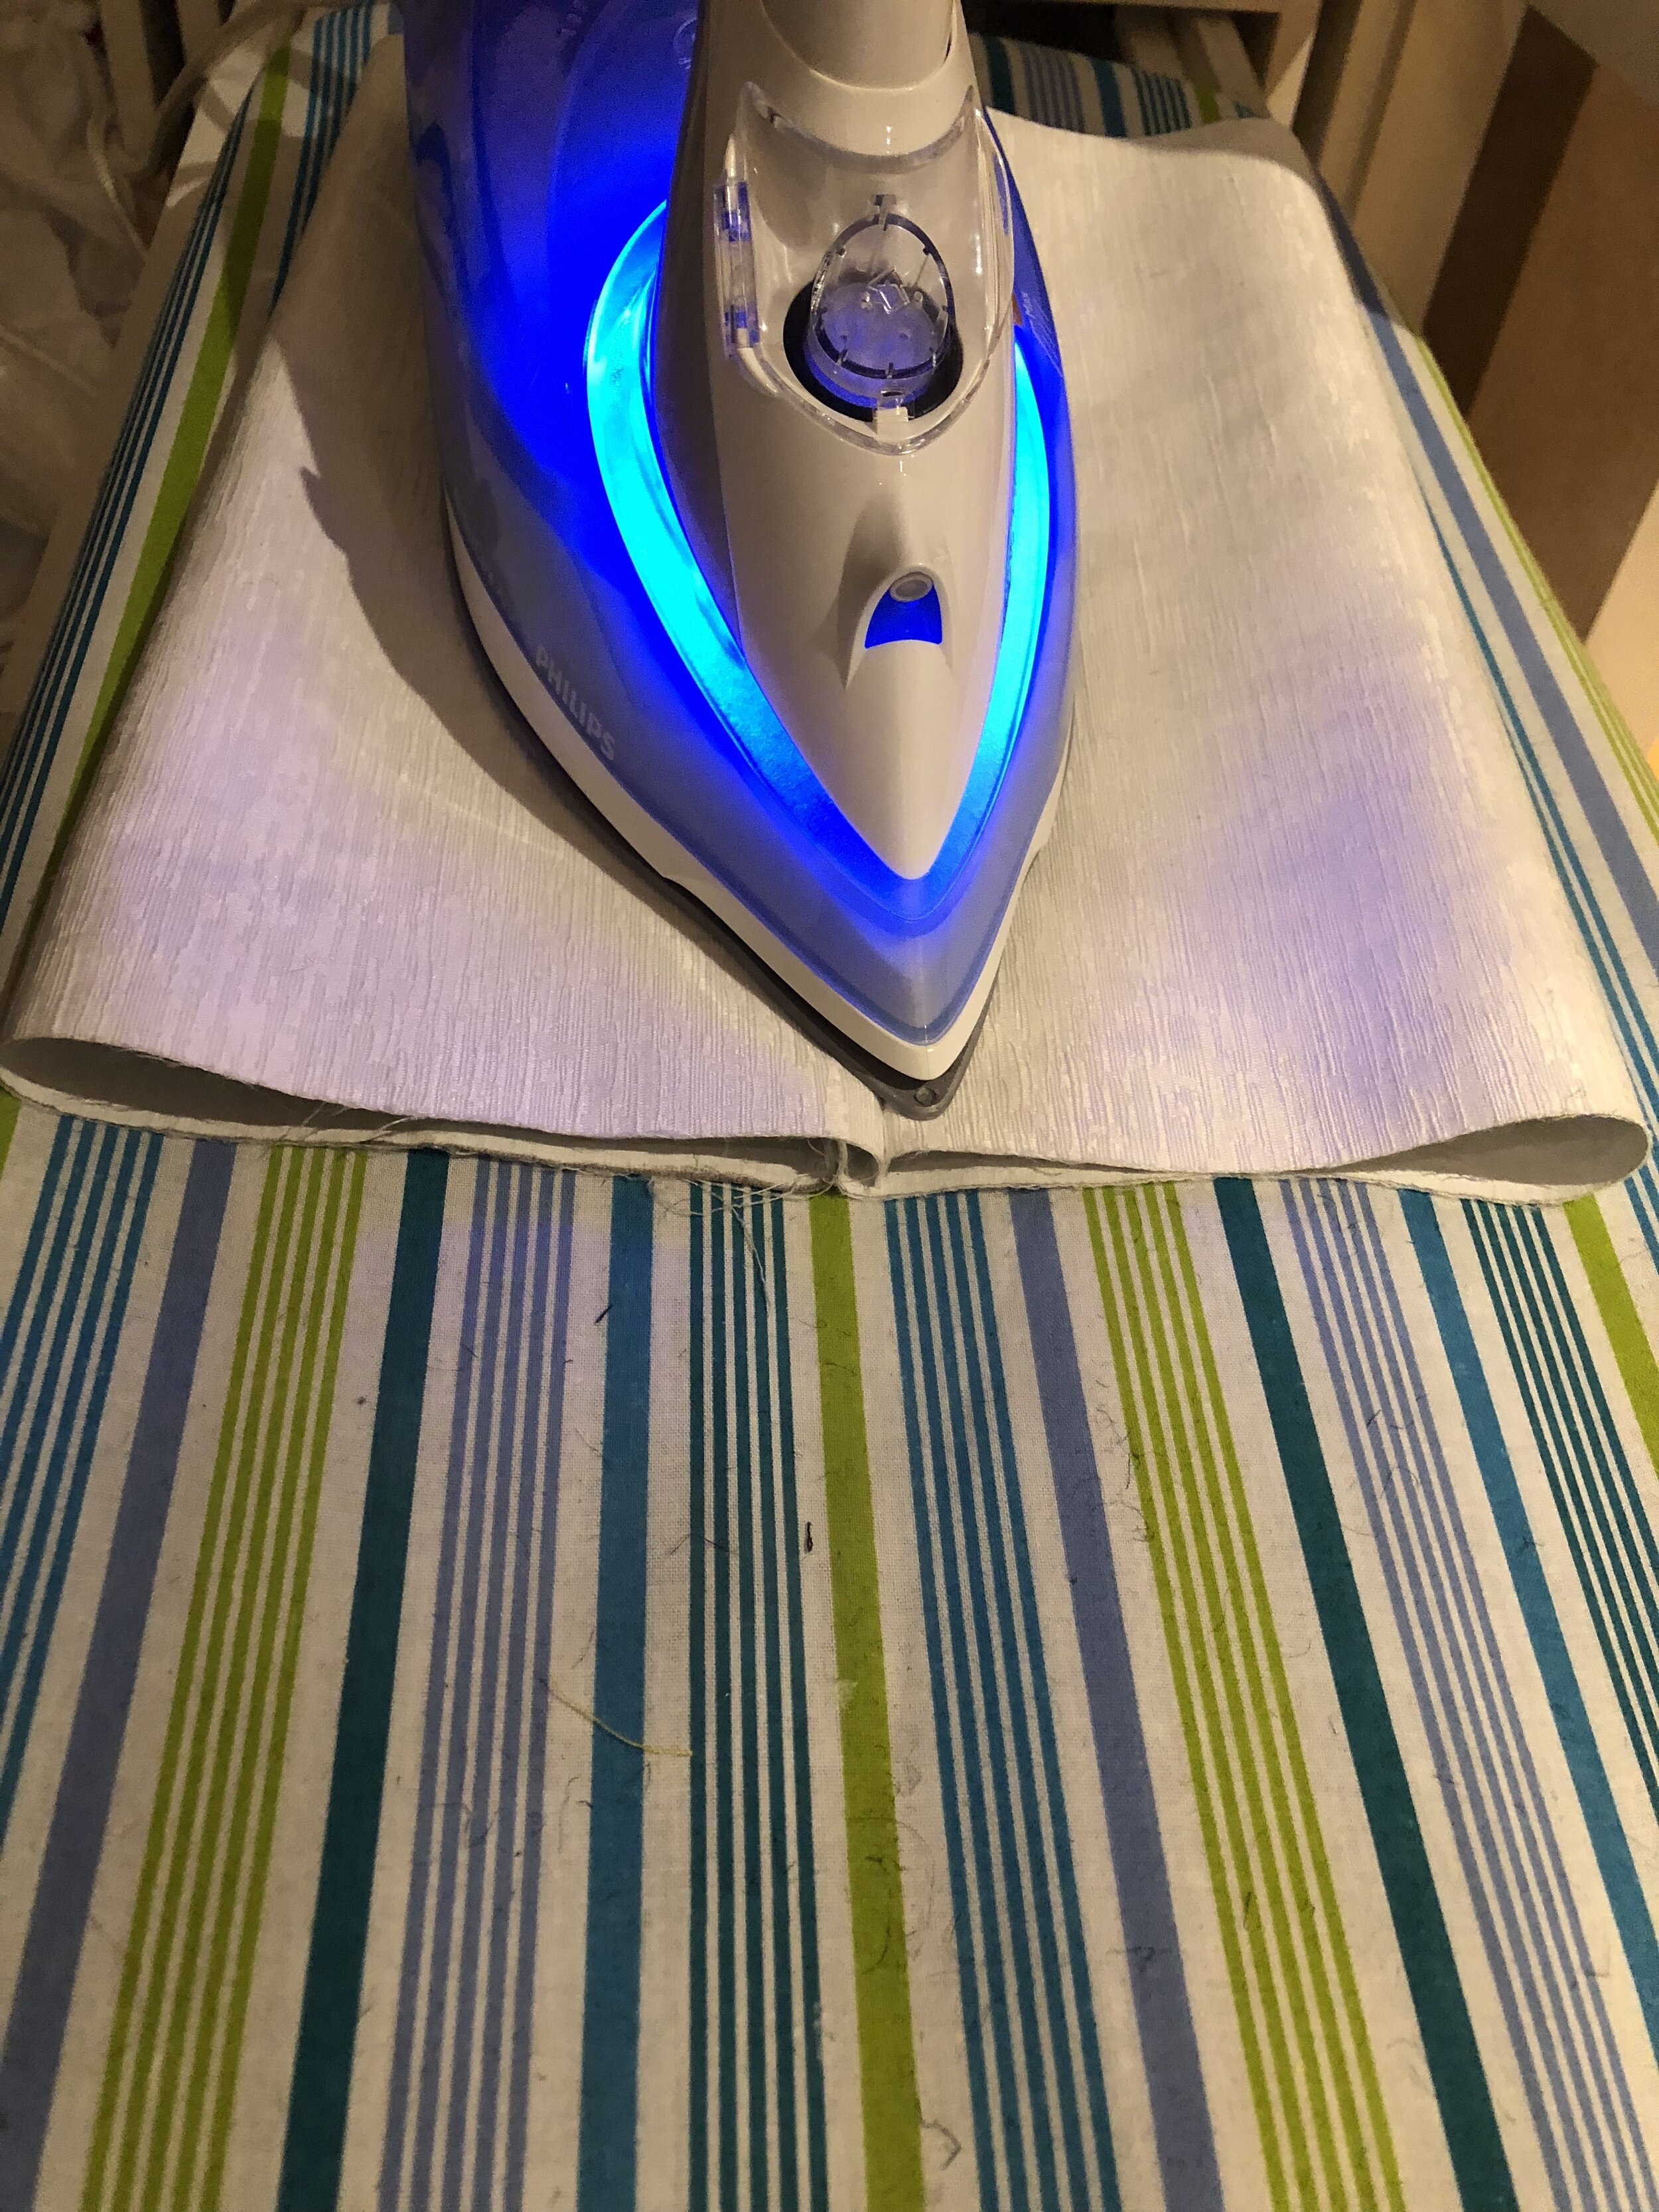
Place both pieces of white fabrics right sides facing each other. Pin and machine sew both the lengths together. Iron as shown.


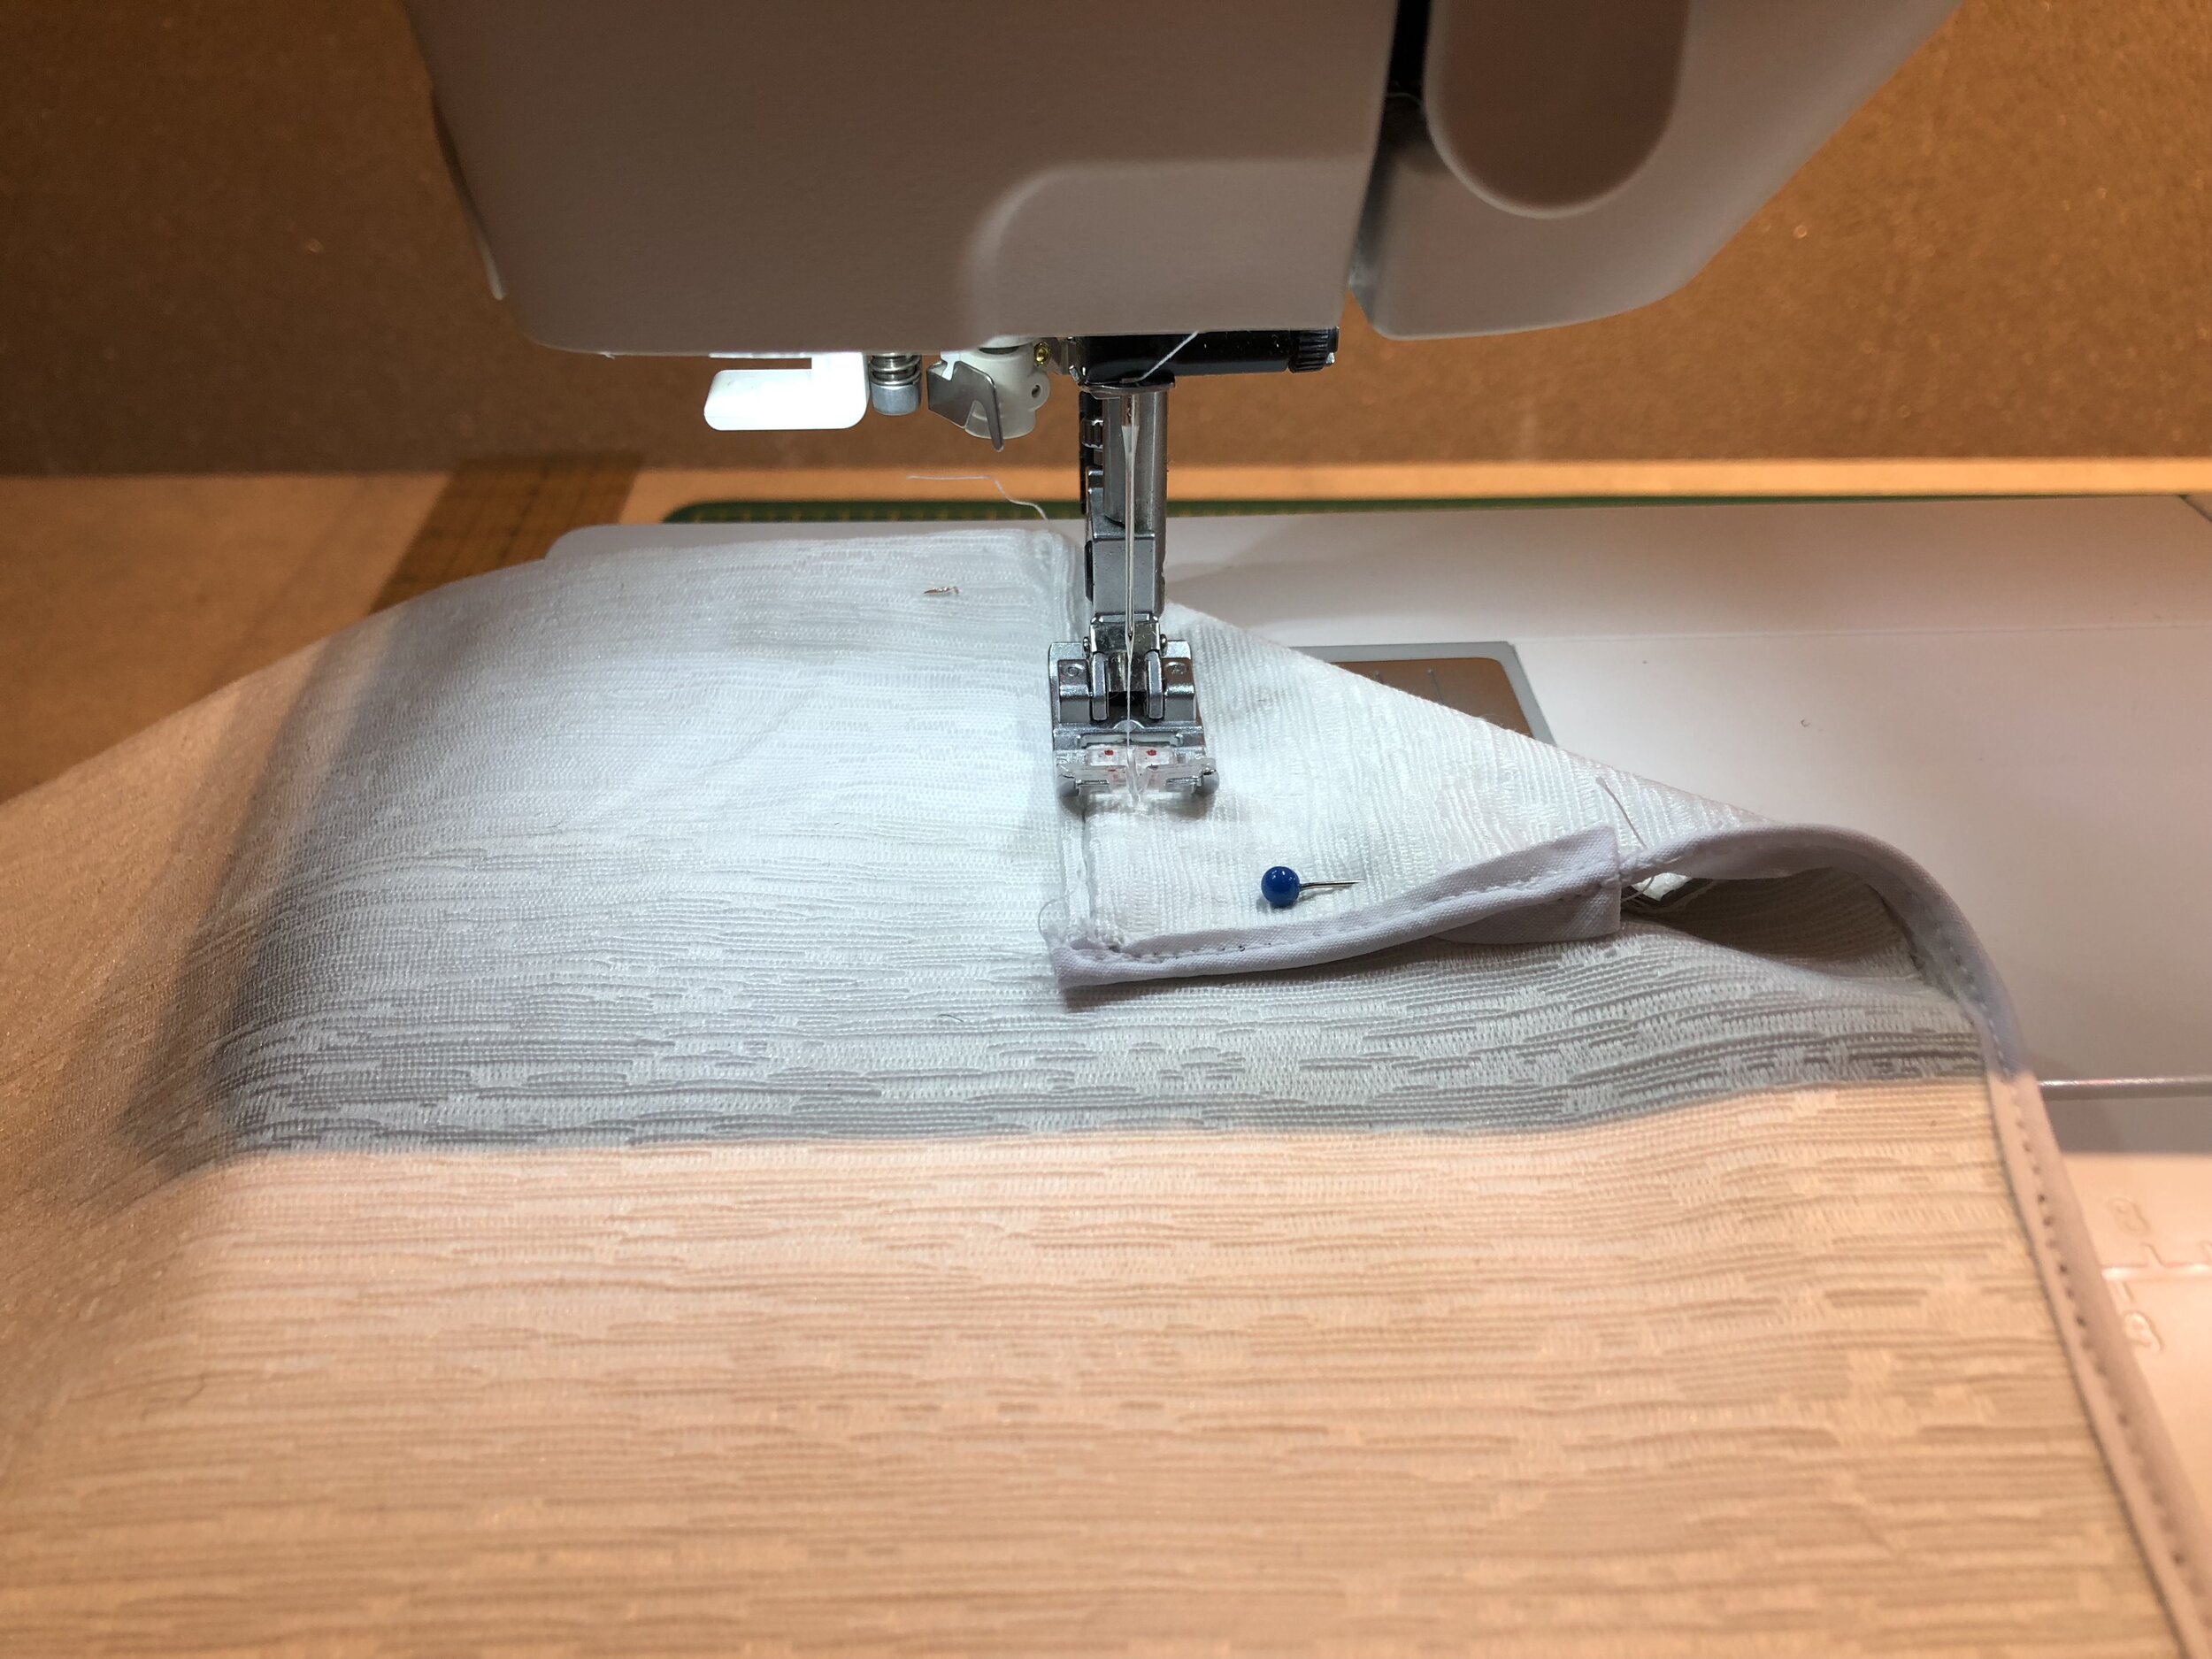
Sew close one of the open edges together. Cover with white bias binding as shown.
Pin and machine sew closing one end completely. This will now be the top of the Tea Cosy.

Fold in a triangle 3 inches (8cm) from the edge. Repeat for the other side as shown.
Pin and machine sew in place.
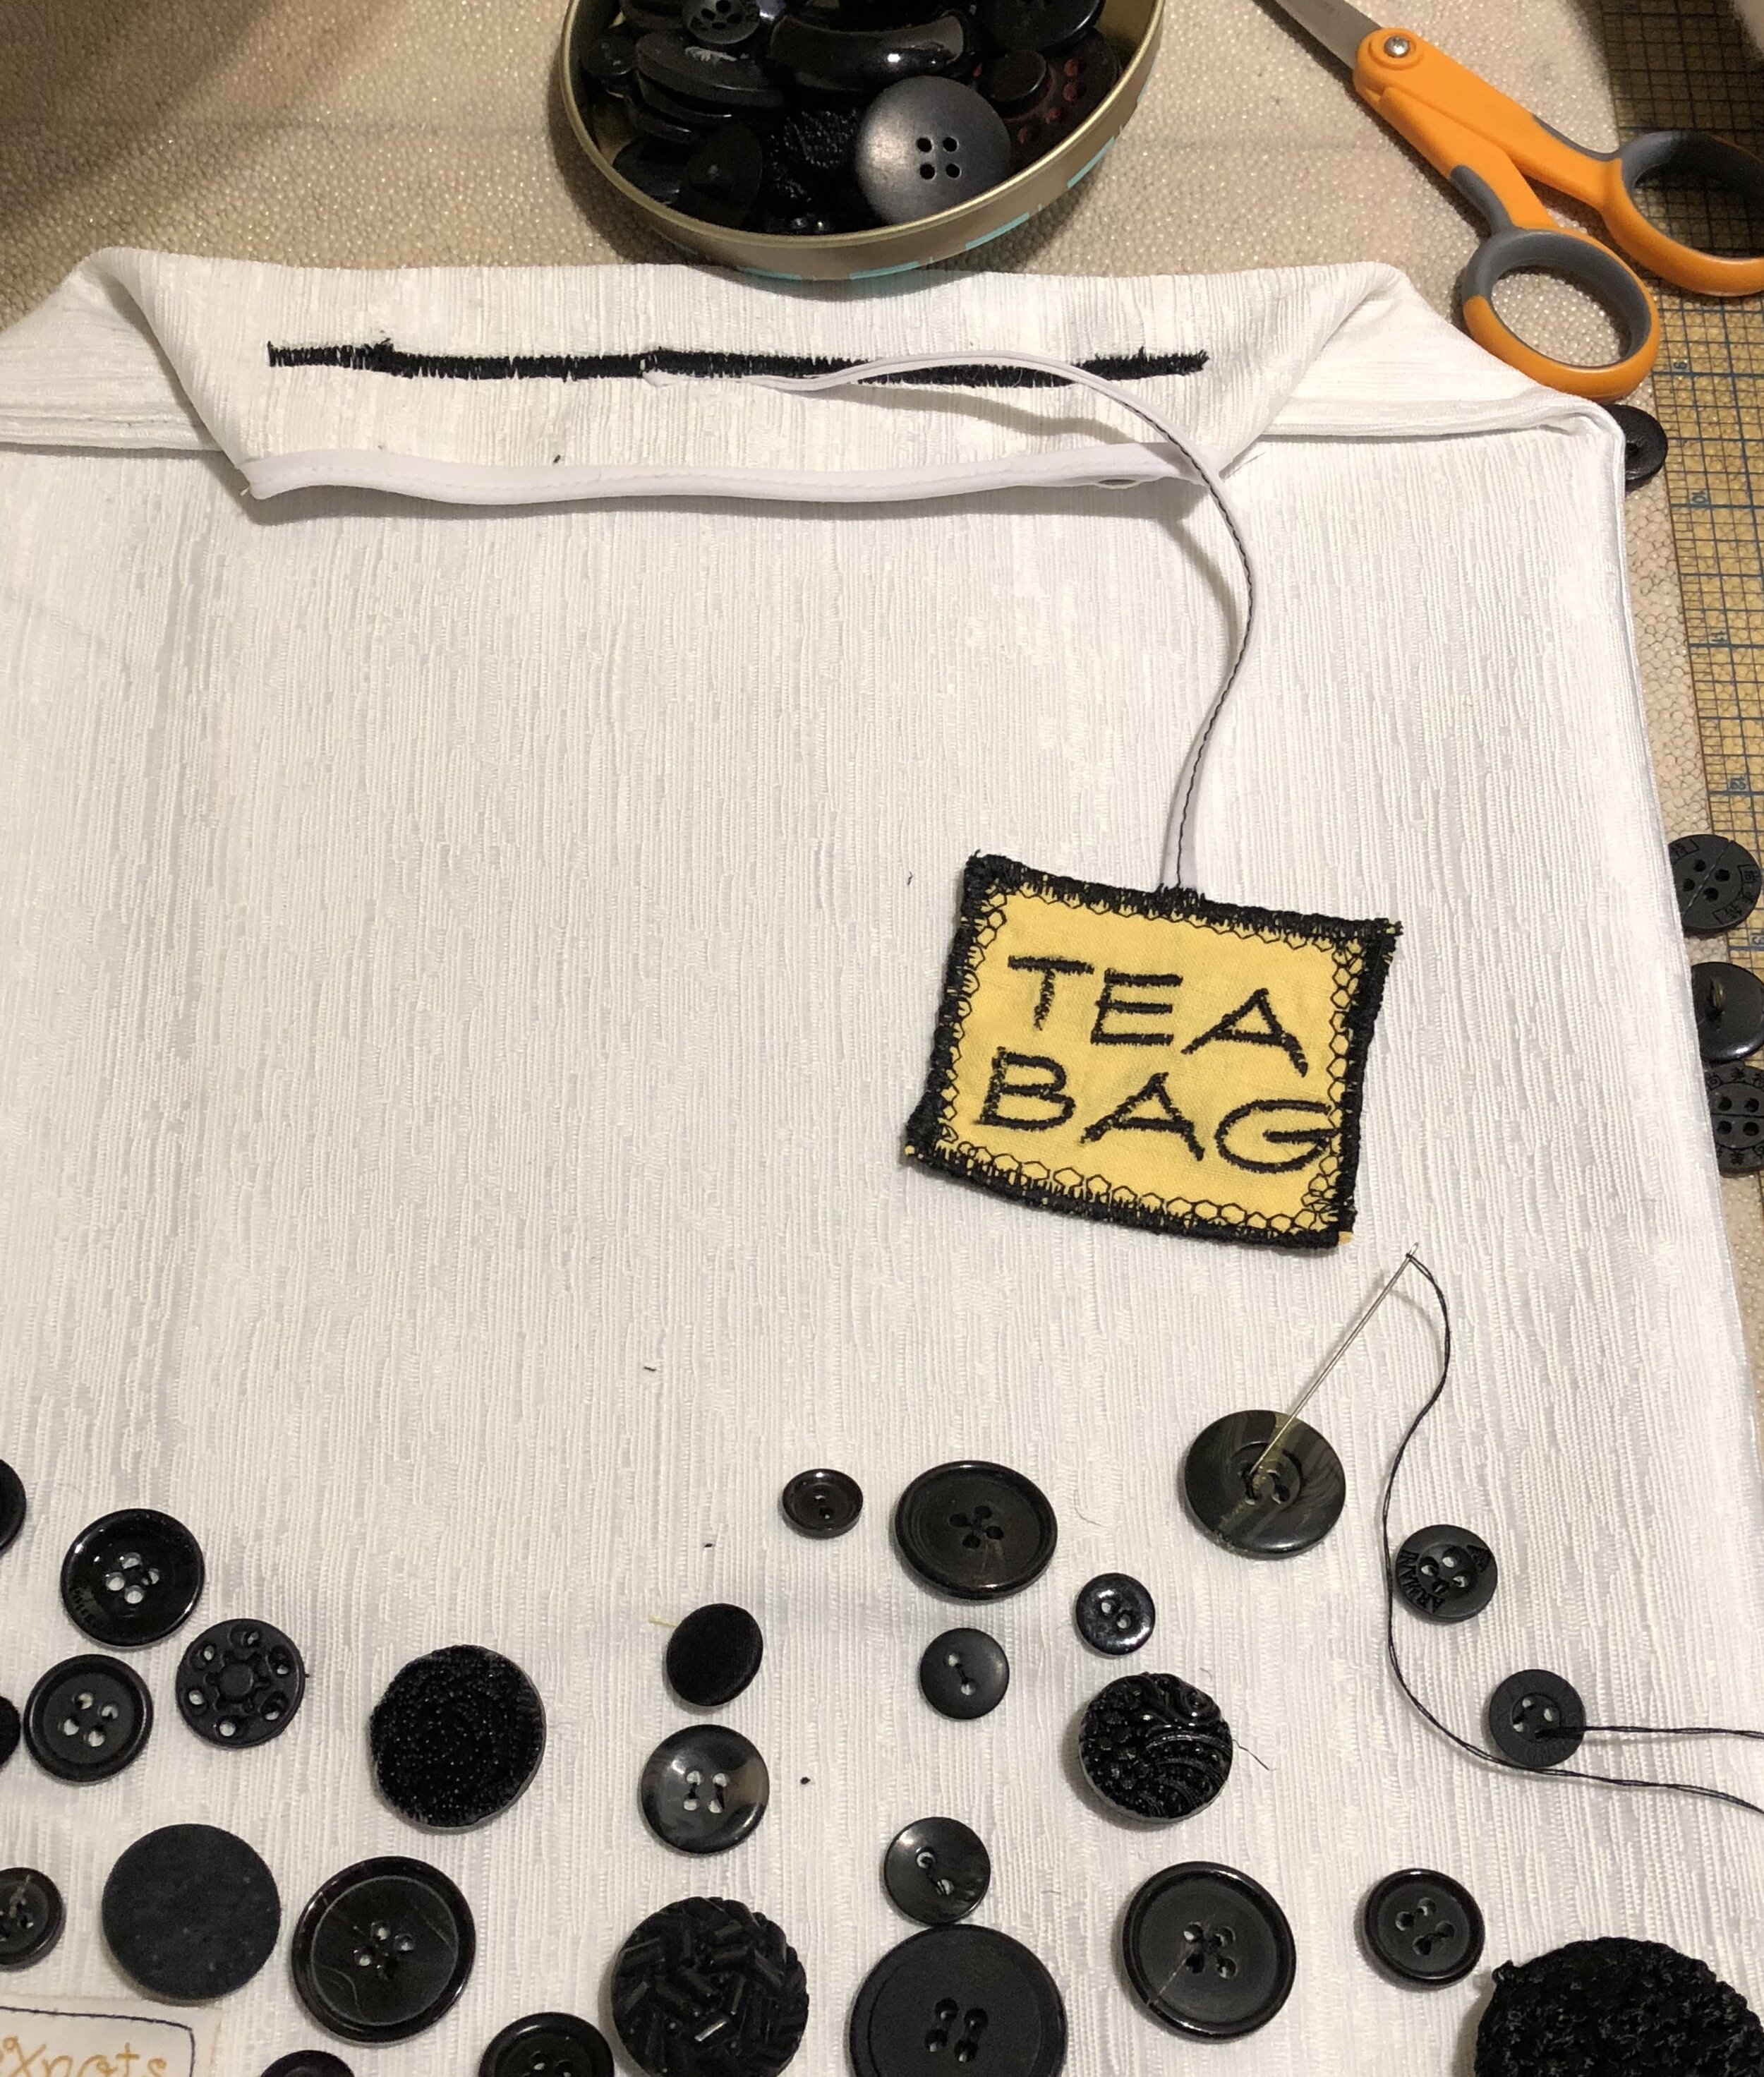
Next, fold down the top of the tea cosy as shown. Position the other end of the tea label “string” to the centre top. Using black thread, machine embroider a straight line across. Sew along the end of the “string” of the teabag label as shown below. The sewn teabag label will now be hanging down like a real tea bag label. Put aside.


Lining
Sew the horizontally cut lining to the bottom width of the vertically cut lining as shown below.


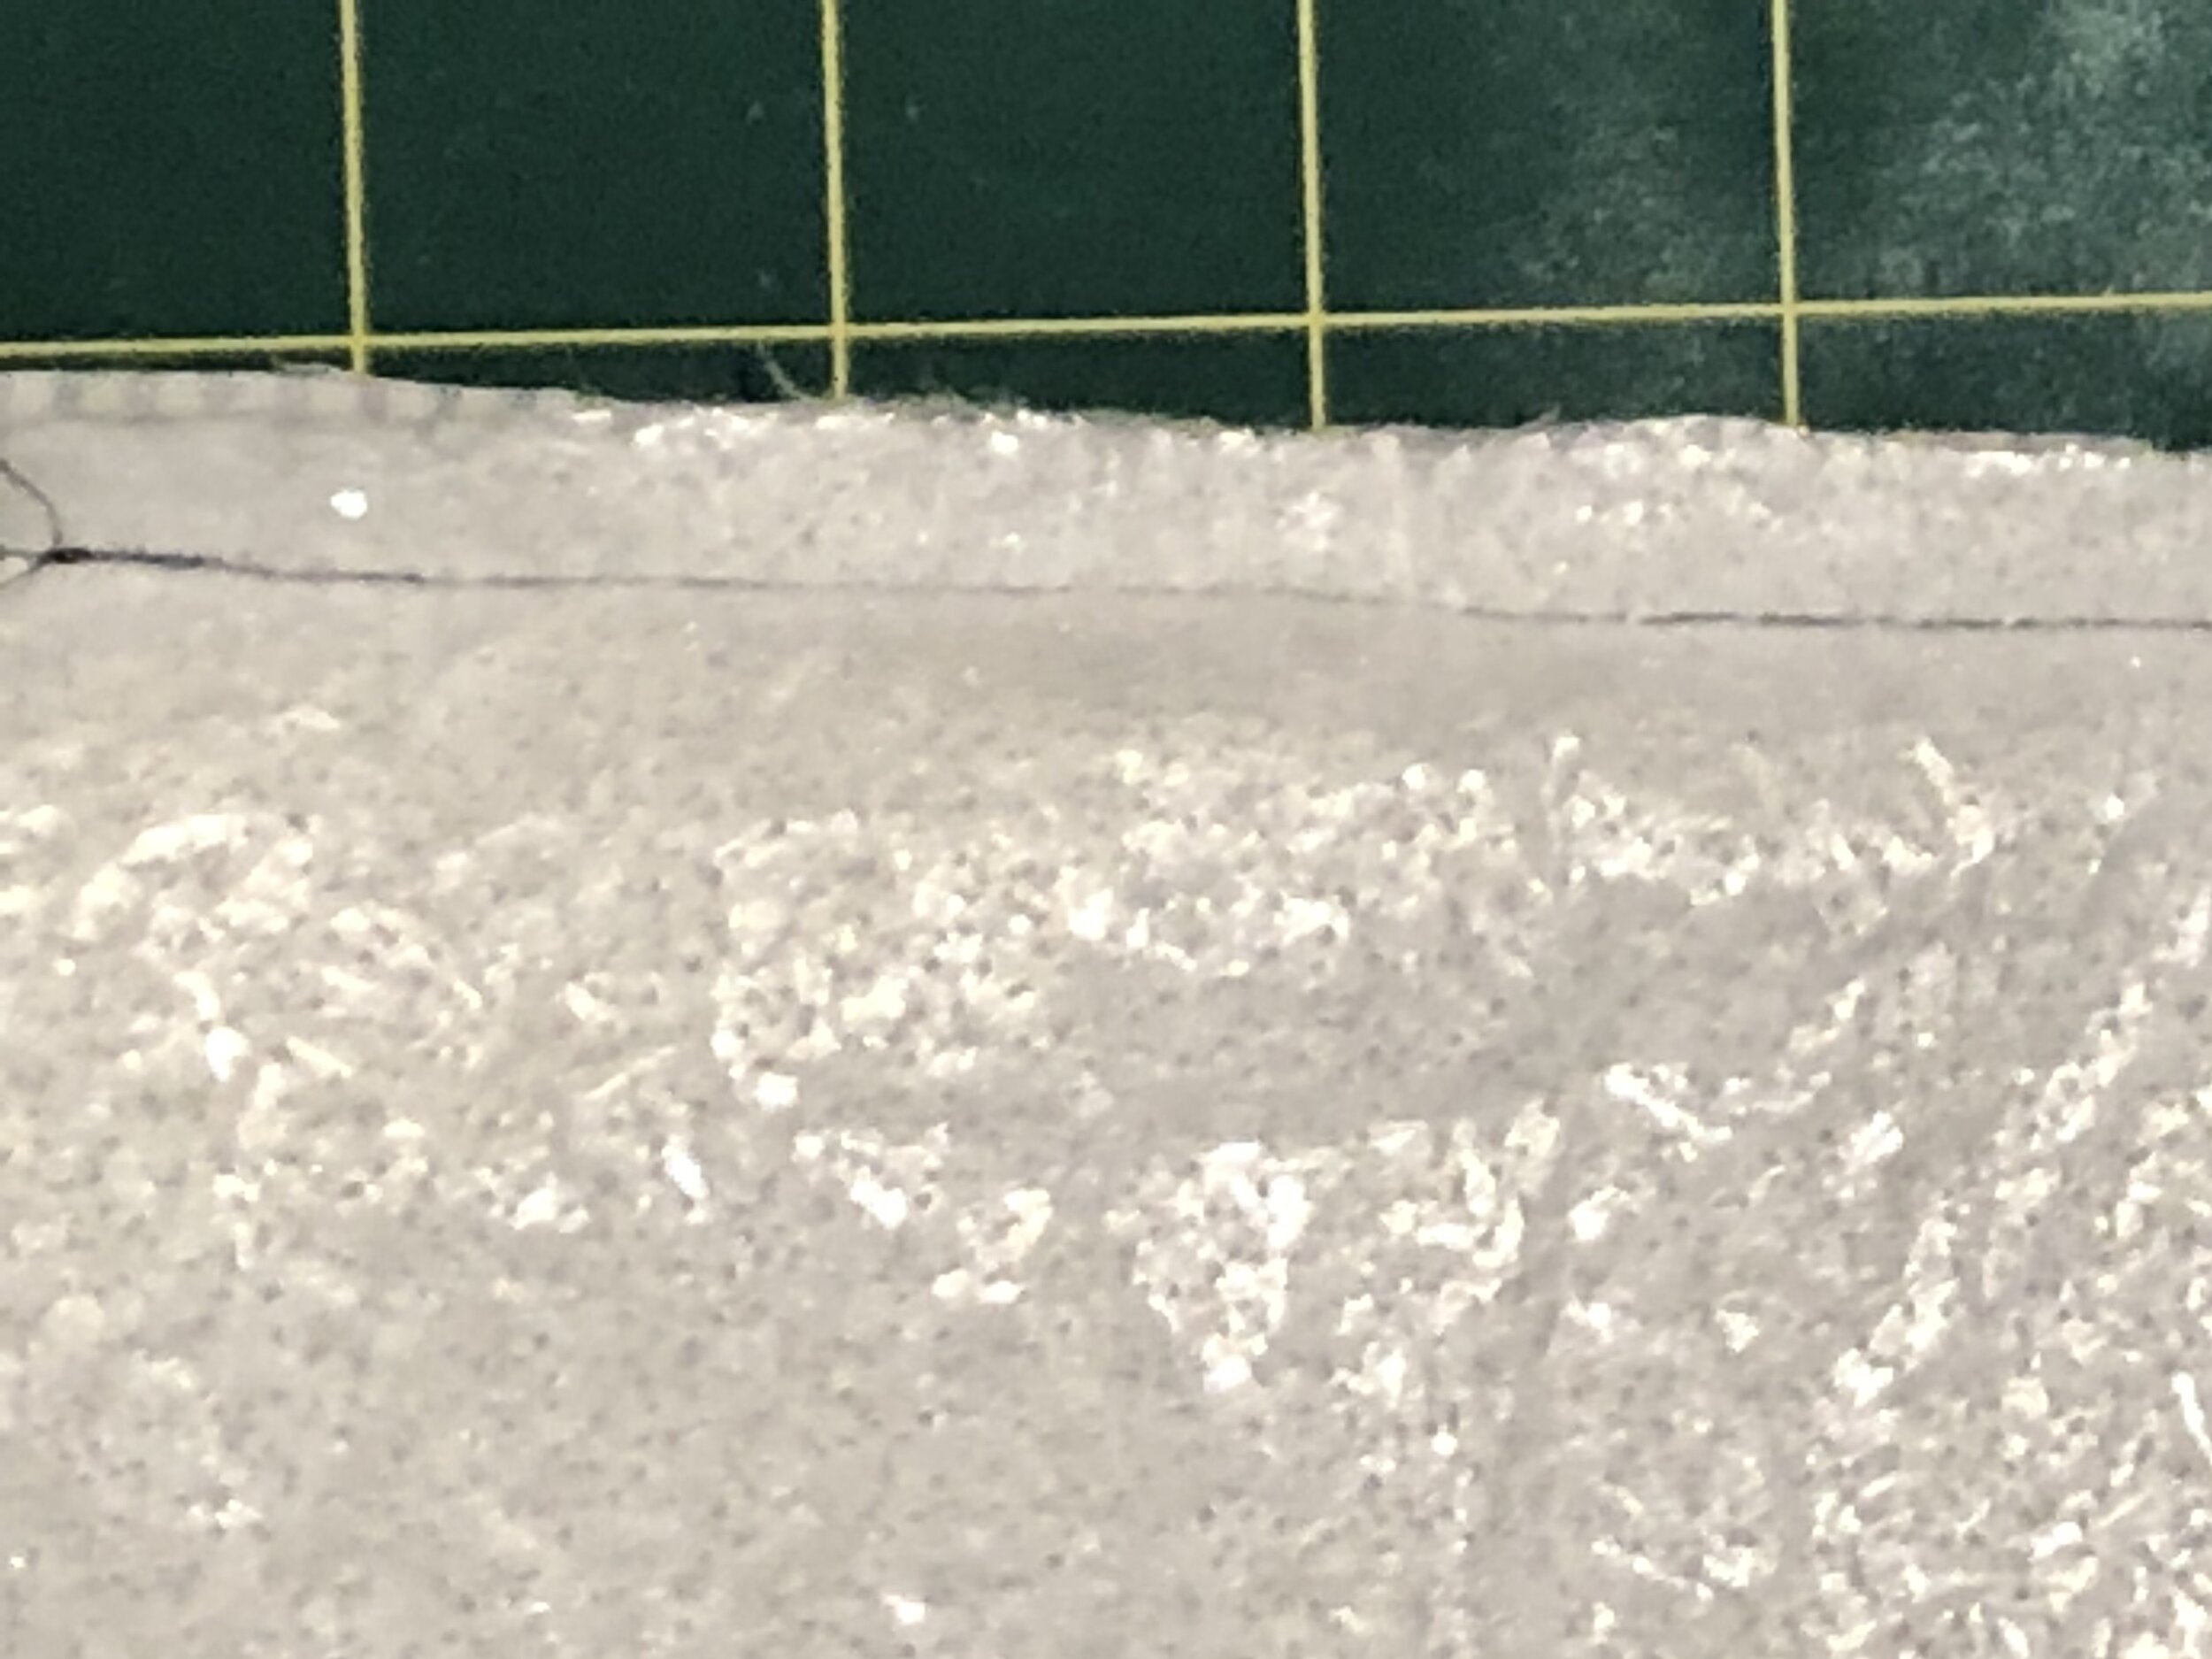
Once done, place the insulated felt wadding on the wrong side of the lining. Please note that the reflective silver exterior of the wadding faces out.


Pin and sew 3 sides of the pieces together. The bottom position of the tea cosy (the horizontal part of the lining), should be left unsewn. Please see the photos below.

The combined pieces should look as shown. Put aside.

Embellish
Hand sew the black buttons randomly on the outer Tea Cosy as shown.
Once satisfied with the button arrangements, combine the wadding/lining piece and the outer tea cosy by inserting the wadding/lining piece under and inside the outer tea cosy. Please tuck it in snugly.
Finish the combined edge pieces by sewing the black bias binding all around using white thread for contrast as shown.


Your new Tea Cosy is complete!
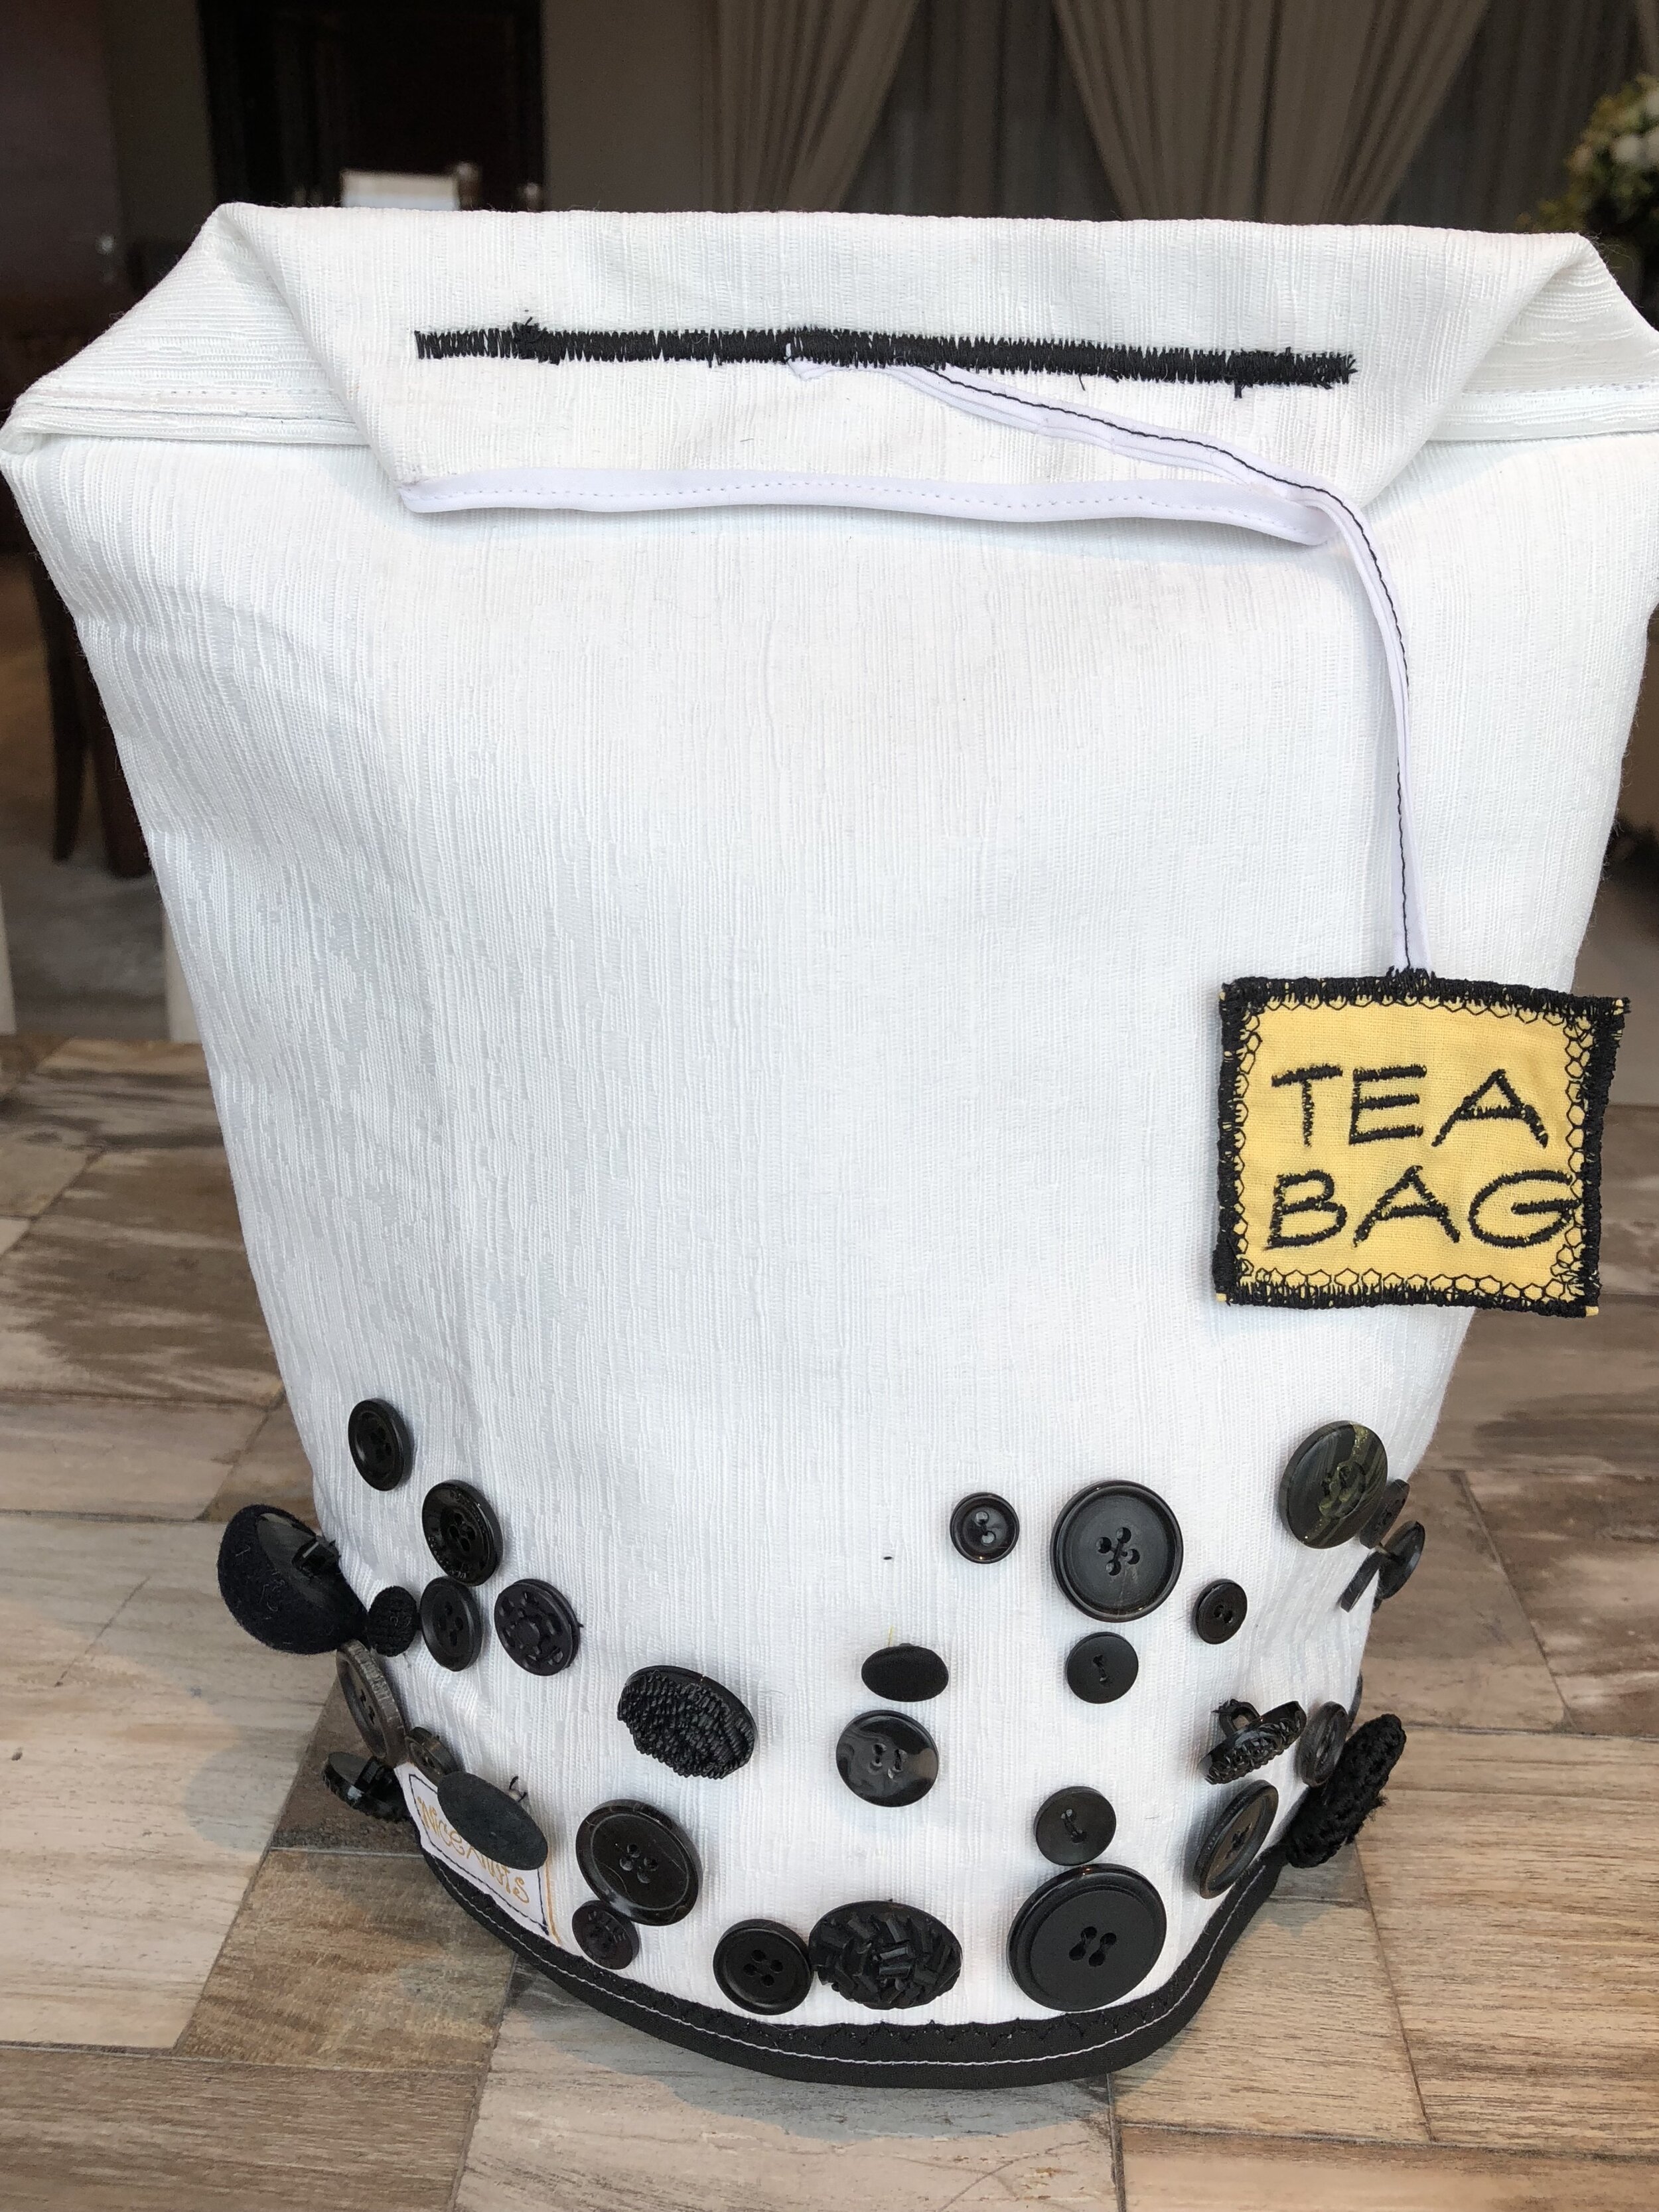

It is always nice to see something home made around the house. Seems like a great excuse for a tea party! Enjoy your new Tea Bag Tea Cosy with friends and families!
